I’m obsessed with this floral wire basket DIY!

You guys. I don’t think I’ve ever put as many photos in a post as I have with this floral wire basket. But I am so utterly enthralled with them (seriously, ask my family – I cannot stop making them), and REALLY wanted to share a tutorial that was super clear so that all of you could make them too. At the very least I won’t feel as alone in my obsession here if you do!
But seriously – I saw these baskets on Erin Boyle’s beautiful blog – and though she shares many DIYs and tutorials I have never felt compelled to try one till now. But there was just something so charming and quirky about them that I simply had to try.
So I ordered my materials, sat down and started. And I had a LOT of trouble. There were plenty of pictures (and even an Instagram video) but I just couldn’t figure it out (TBH I’m a VERY slow learner). Eventually I did, and it was smooth sailing from there, but I decided that if I was going to share this tutorial here that I’d do my best to make the steps as easy to follow as possible. Please let me know if you try this, and if you found it easy to execute!
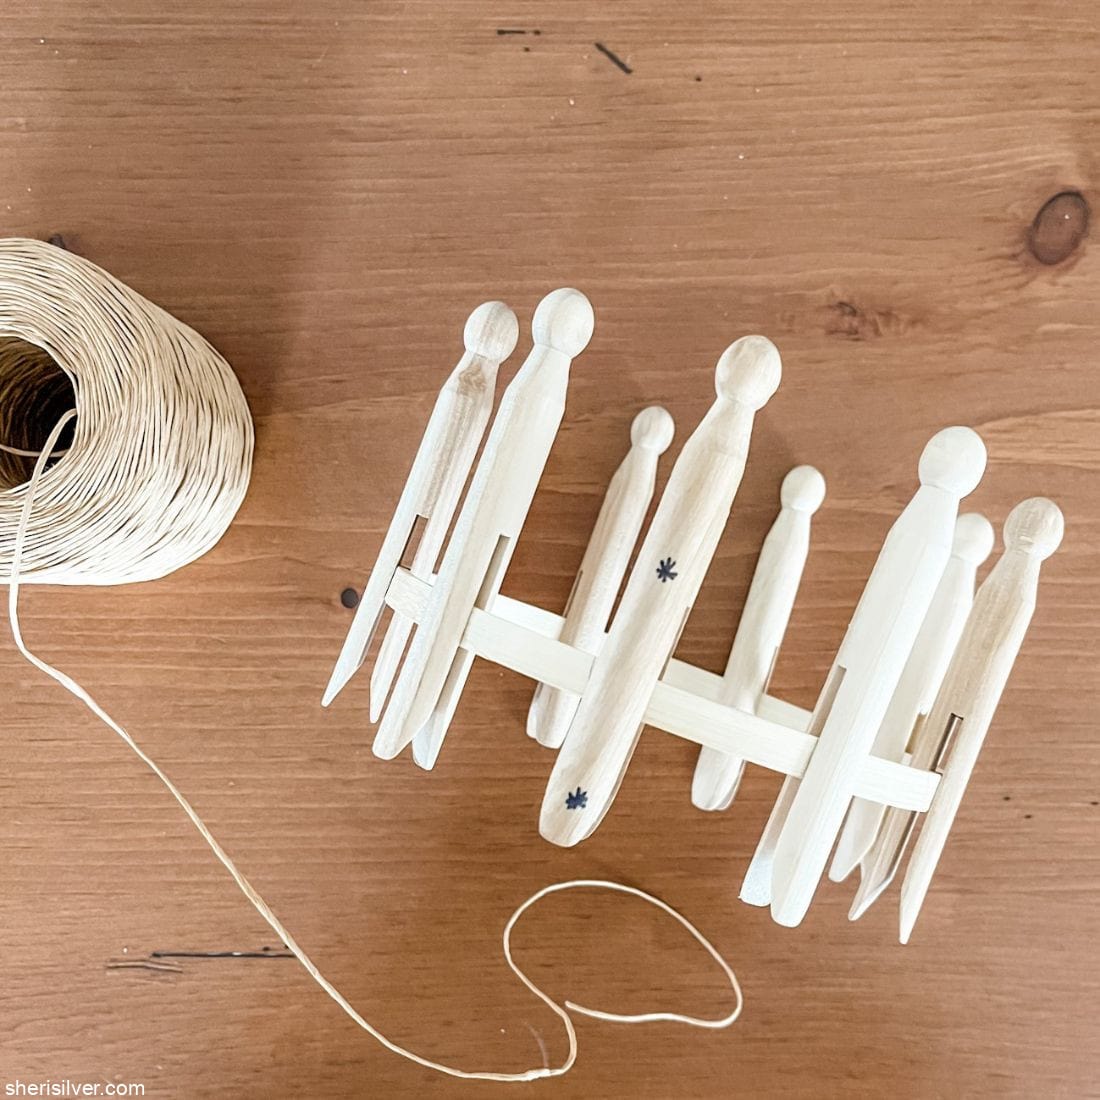
All you need are a 6″ embroidery ring (you will only use the inner part of the ring for this craft), wooden clothes pins and paper-wrapped floral wire. And while the process looks complex it’s basically only 3 steps – the initial “wrap”, the actual weaving, and the casting off. So let’s dive in!
SHOP THE POST!
[show_shopthepost_widget id=”4666059″]
Take 9 of the clothespins and place them evenly around the inner embroidery ring (again, you’ll need a 6″ ring and you won’t be using the outer piece for this project).
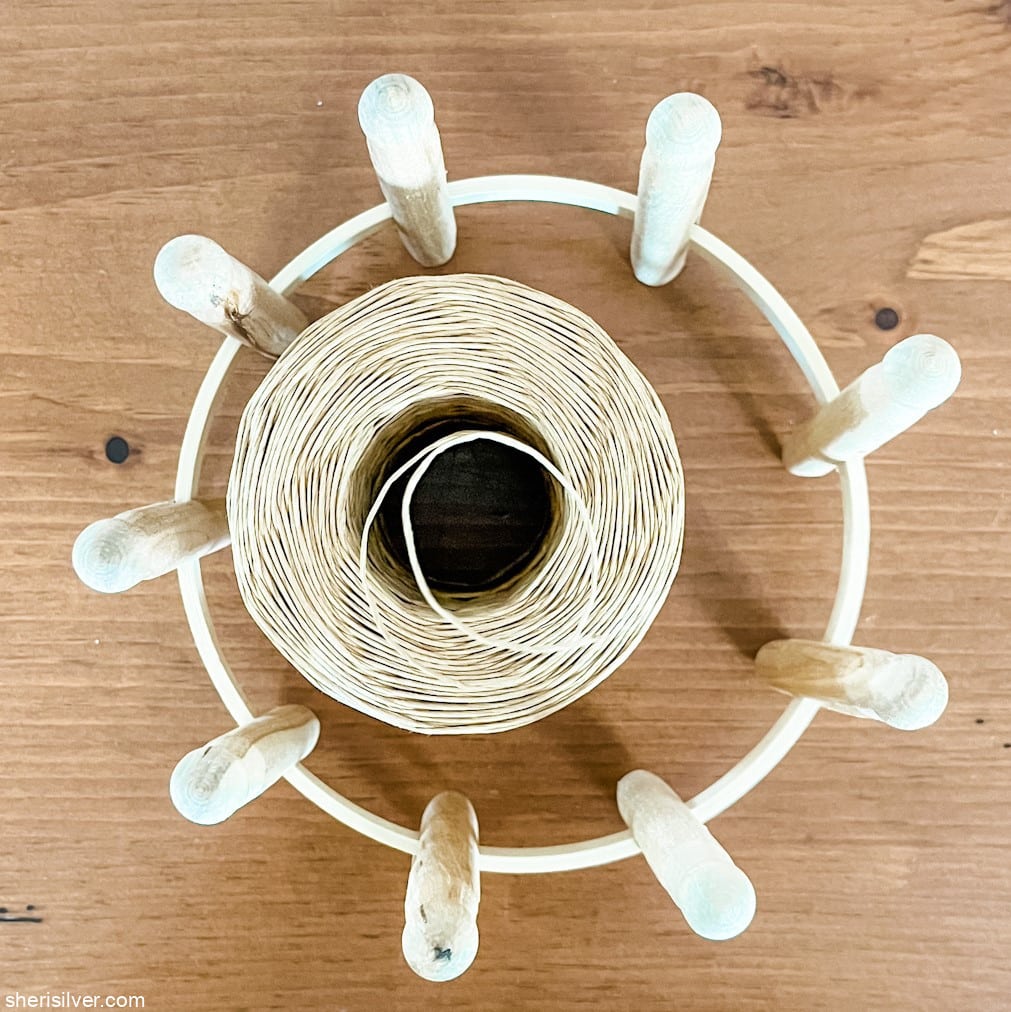
Measure about 12″ of the twine and wrap it around the bottom of one of the clothespins to keep it out of the way (this will become the handle of your basket at the end). I like to mark that clothespin to keep track of where I started weaving.

Now you’ll start the first weave. Working in a clockwise fashion wrap the twine once around your marked clothes pin and then once more right above the first loop. The looser you work the easier it will be to work with the twine. Take the bottom piece and lift it over the top piece and then over the top of the clothespin (I use my opposite thumb to hold the top loop in place as I lift the bottom one up and over).
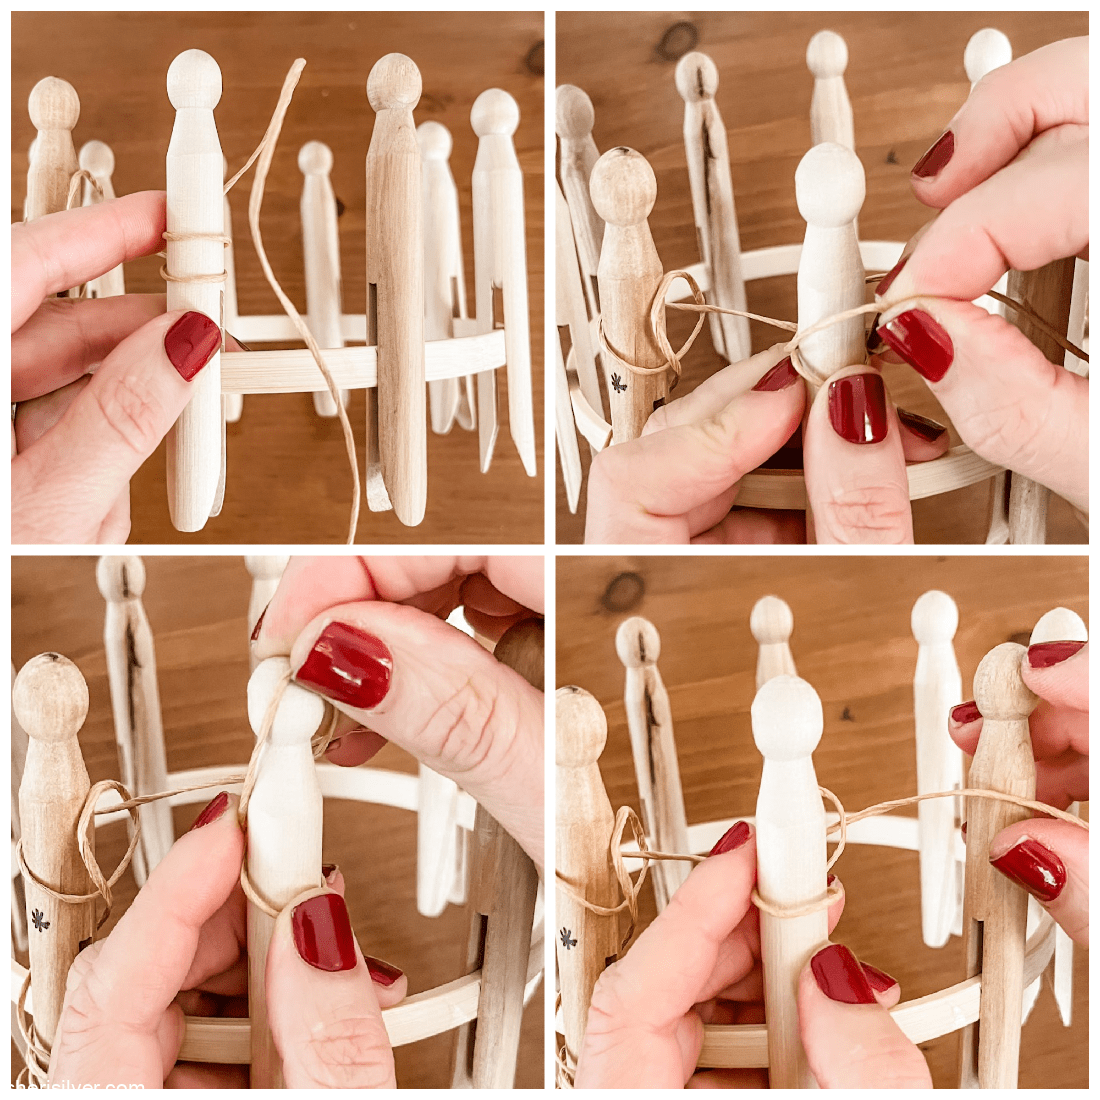
Repeat, rotating the ring in a clockwise fashion, till you’ve done this with all nine clothes pins. You should now be back to your first (marked) clothes pin.
Now you’ll start weaving. Starting with the marked clothes pin place the twine in front of the clothes pin above the loop that’s already there. Lift the loop up over the twine and up and over the clothes pin (again, I like to use my opposing thumb to hold the twine in place as I lift the loop up and over).

Go around the ring as you did before, and keep going until you’ve completed 12 – 14 rotations.

Now you’re ready to cast off. Cut about 12″ of twine from your spool – this piece will serve as the “tail”. Starting with your first (marked) clothes pin, lift the loop off the pin and pass the tail through it – front to back.
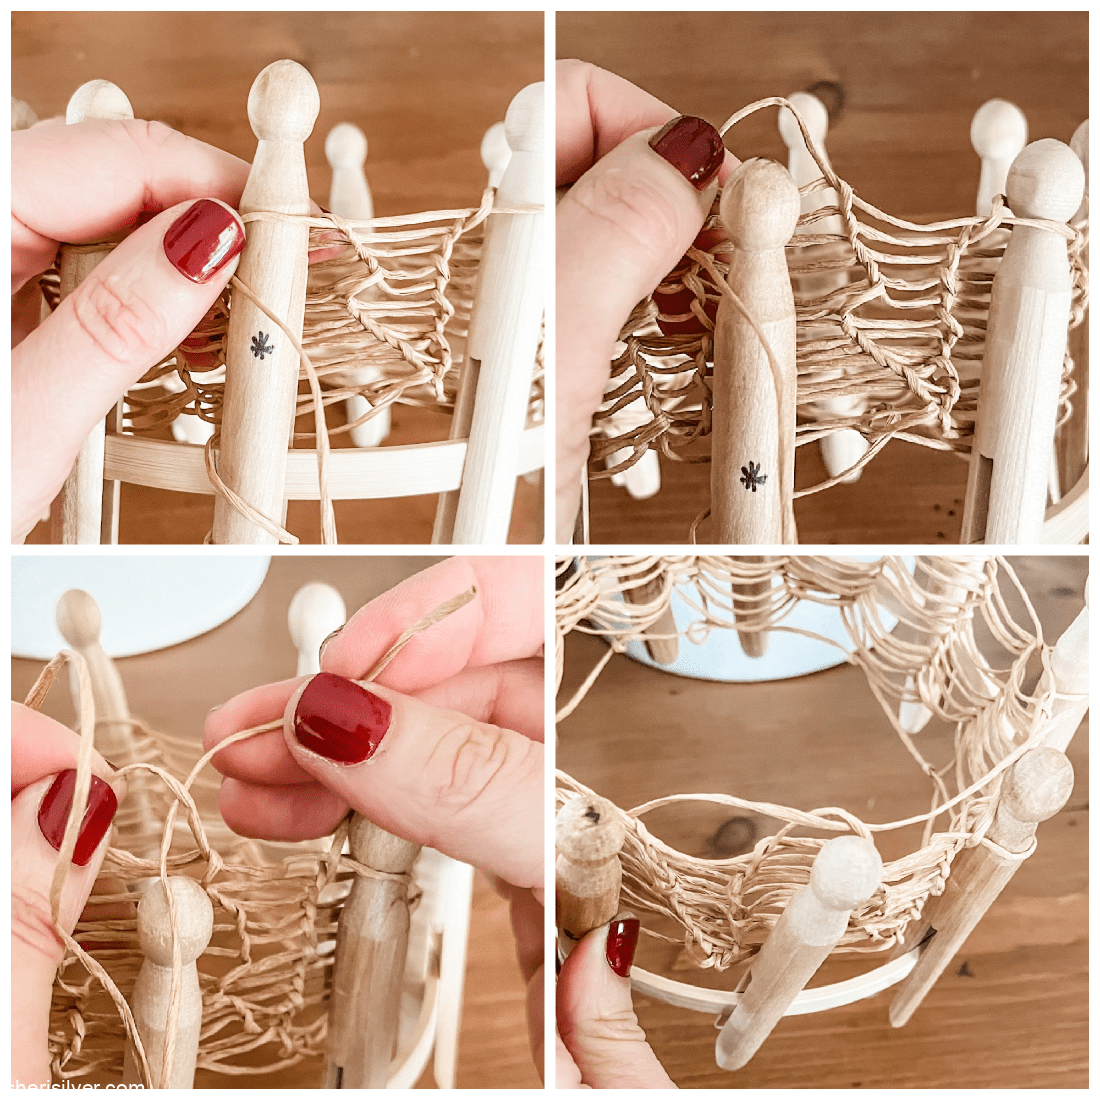
Repeat till you’ve gone all the way around, and at that point the basket should be freed from the ring. Use the tail to pull the bottom together, there should be a small hole which you’ll wrap the tail around and cut off any excess. Now turn the basket over and pass the string you started with to the opposite side of the basket and back around, wrapping the end around itself to form the handle.

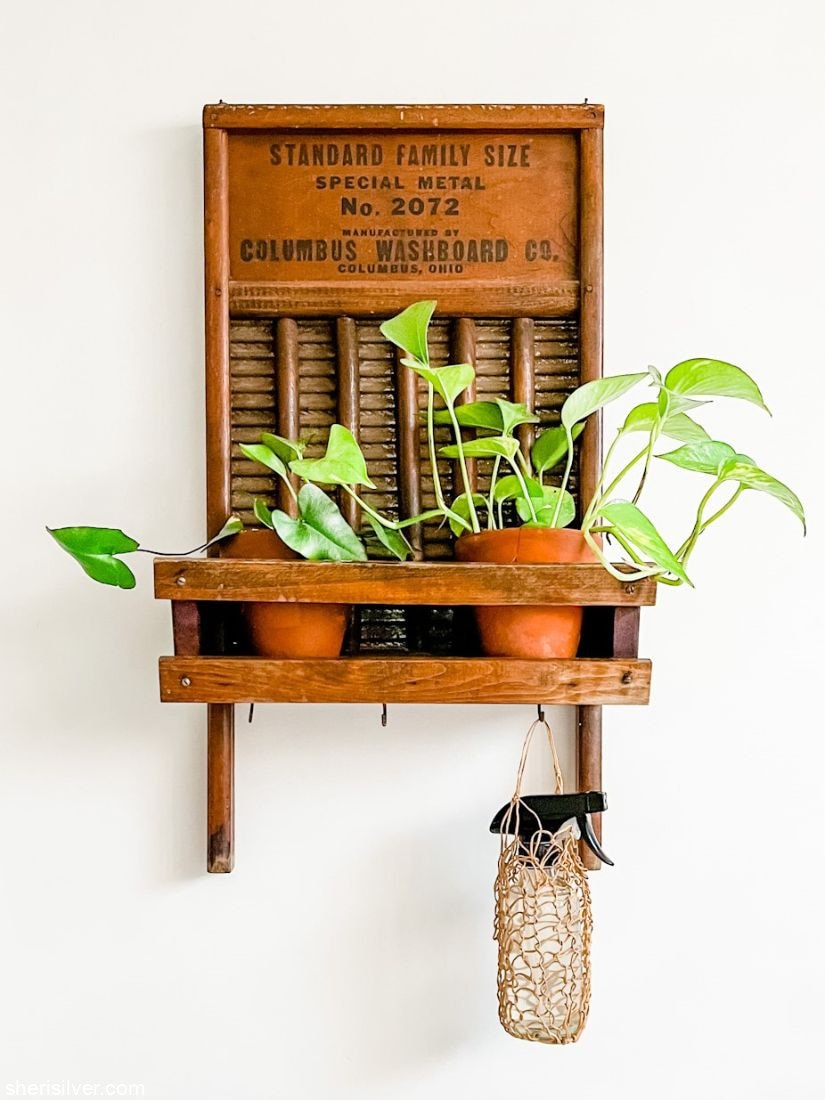
 Now you can start shaping your basket by pulling it up and out till you get a shape that pleases you. You can leave the basket “as is” at this point, or easily shape it around a jar, bottle or glass.
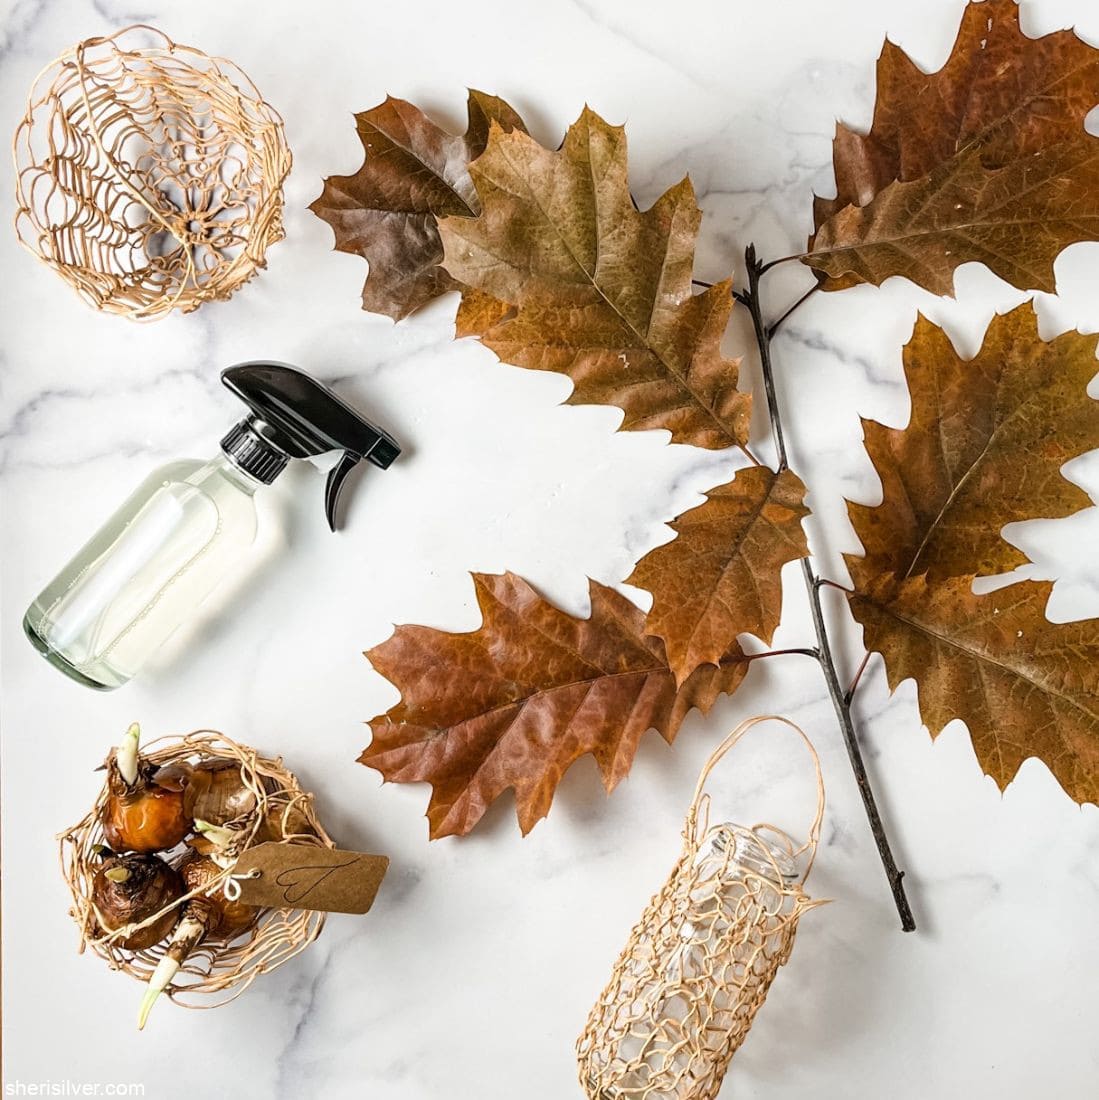
And from there the sky’s the limit!

I’ve linked to the materials here; be sure to check Instagram later today for a reel and highlight that I made to accompany this post. Please tag me @sherisilver if you make one (or more; no judging)!!!!
Need more crafty ideas (it is winter, after all)? Try these:
Please note that this post contains affiliate links. As a Rewards Style influencer I earn a small commission from qualifying purchases – at no additional cost to you.


Hi! I'm Sheri!
Welcome to my little corner of the web where you’ll find easy, delicious recipes, the best kitchen hacks and simple tips for turning your home into a clean haven that is free of toxins. So glad you’re here!
