paper bag snowflakes are the easiest (and prettiest) decorations you’ll ever make!

These paper bag snowflakes (originally seen on my sweet friend Annie’s blog) were the inspiration for the paper bag flowers I made last spring. I LOVED how they looked and wanted to make them again, but with a twist – so I took the opportunity to take a bunch of step-by-step pictures for you!
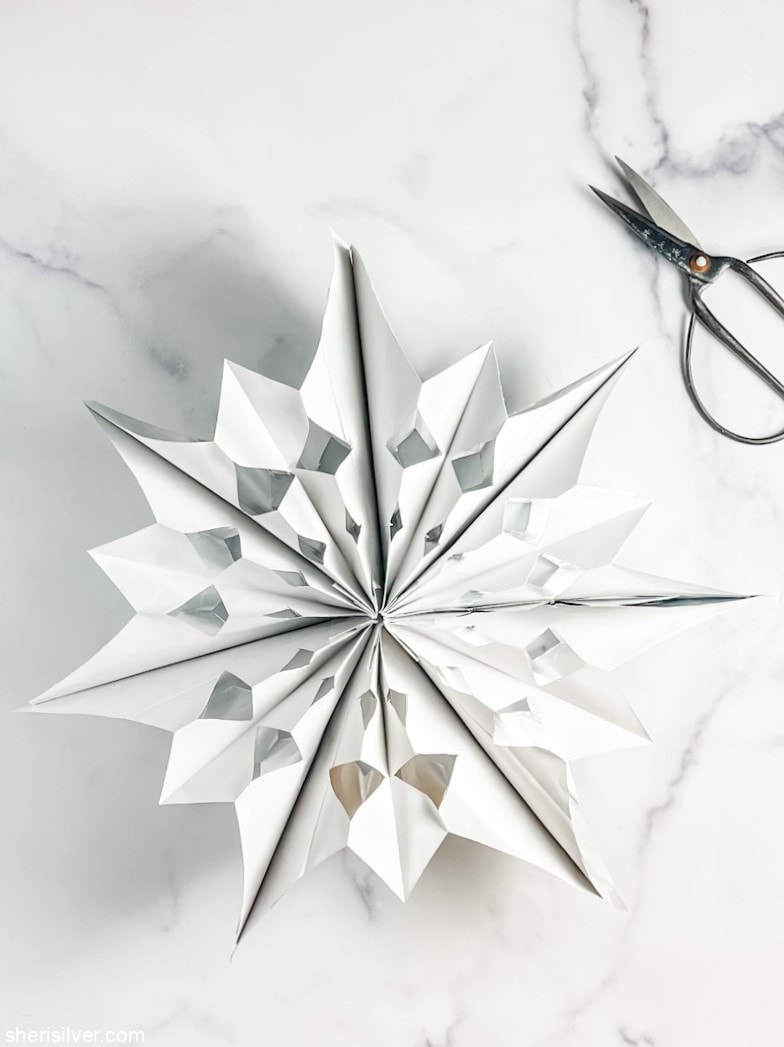
I found these food-grade bags on Amazon, and loved how they came out when made into snowflakes. The foil liner is subtle and festive, and is the perfect complement to the neutral color of the traditional paper lunch bags.
And they are seriously SO easy to make! All you need are 8 bags for each snowflake, a glue stick and scissors!

Start by using your glue stick to create an upside down “T” on one of the bags:
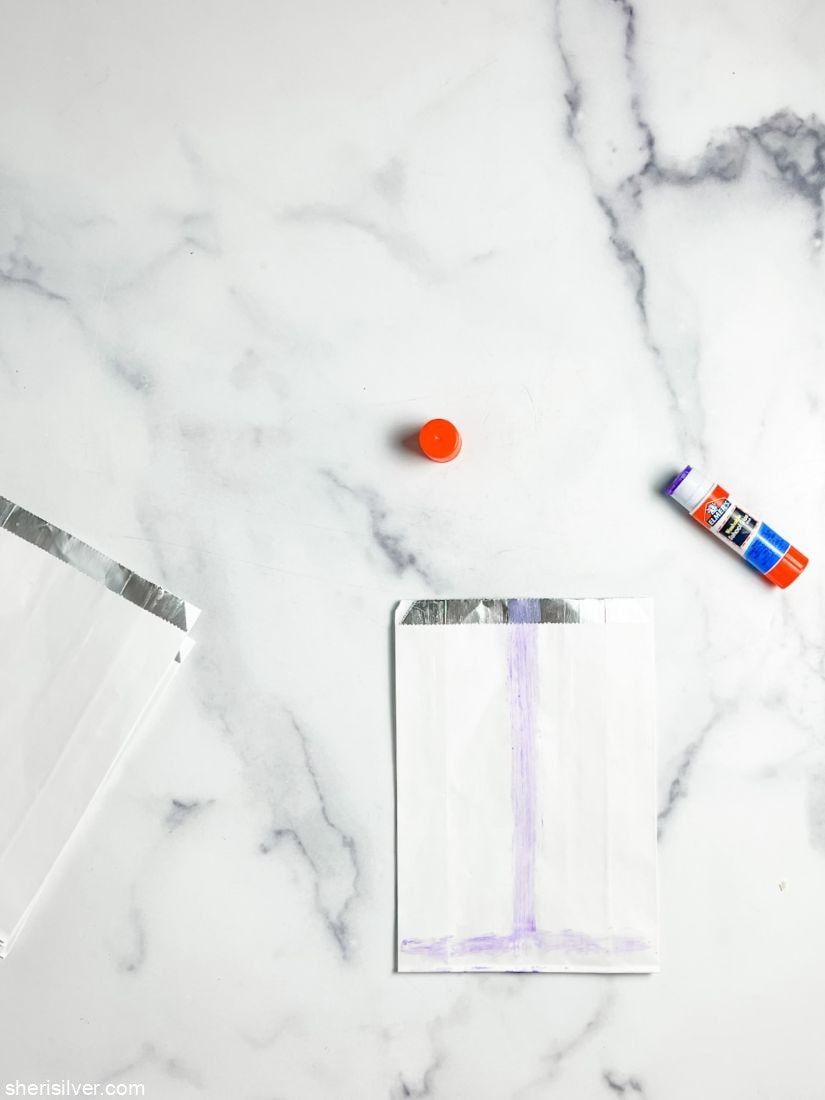
Then stack the next bag on top, pressing on the “T” to secure. Continue till all 8 bags are stacked, then draw a partial triangle on the top, with 1 – 2 smaller triangles on the sides as shown:

Then start cutting! I found it very helpful to cut through 4 layers at a time, rather than all 8, as these bags are thicker than traditional paper lunch bags. It took a little longer but was easier on my poor hands!


Continue till all the shapes are cut out, and draw a final “T” on the top bag:


Then slip one hand into the top bag and one into the bottom (like a glove) and bring your hands together as you open up the snowflake and secure:
To hang simply punch a hole through the 2 layers you attached and add a string or twine. The foil bags are quite sturdy, I like to put a piece of packing tape at the spots I punch the holes in the lunch bags so they don’t rip while hanging.


This is a PERFECT activity to keep little hands busy while you’re cooking/prepping and they seriously come out beautifully every time.
And the best part? You can save these to reuse! Gently separate the ends you glued together and store flat for next year! Let me know if you make these and please tag me on Instagram @sherisilver if you do!
Here are some more easy crafts to keep big (and little) hands busy:
Related posts:


Hi! I'm Sheri!
Welcome to my little corner of the web where you’ll find easy, delicious recipes, the best kitchen hacks and simple tips for turning your home into a clean haven that is free of toxins. So glad you’re here!
