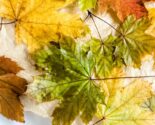
stamped clay place cards
These stamped clay place cards are a cinch to make and can be customized in so many ways!

I guess I’m a place card girl……….
I never really think of myself as a formal hostess. My style – in both my home and fashion – can be best summed up as “minimal”, and beyond a few simple accent pieces on the table (in particular these lampshades that I’m obsessed with), I don’t go nuts when setting the table.
Which I guess is why I gravitate toward napkin rings and place cards. They’re fun to make and add just that little “pop” that my table needs.
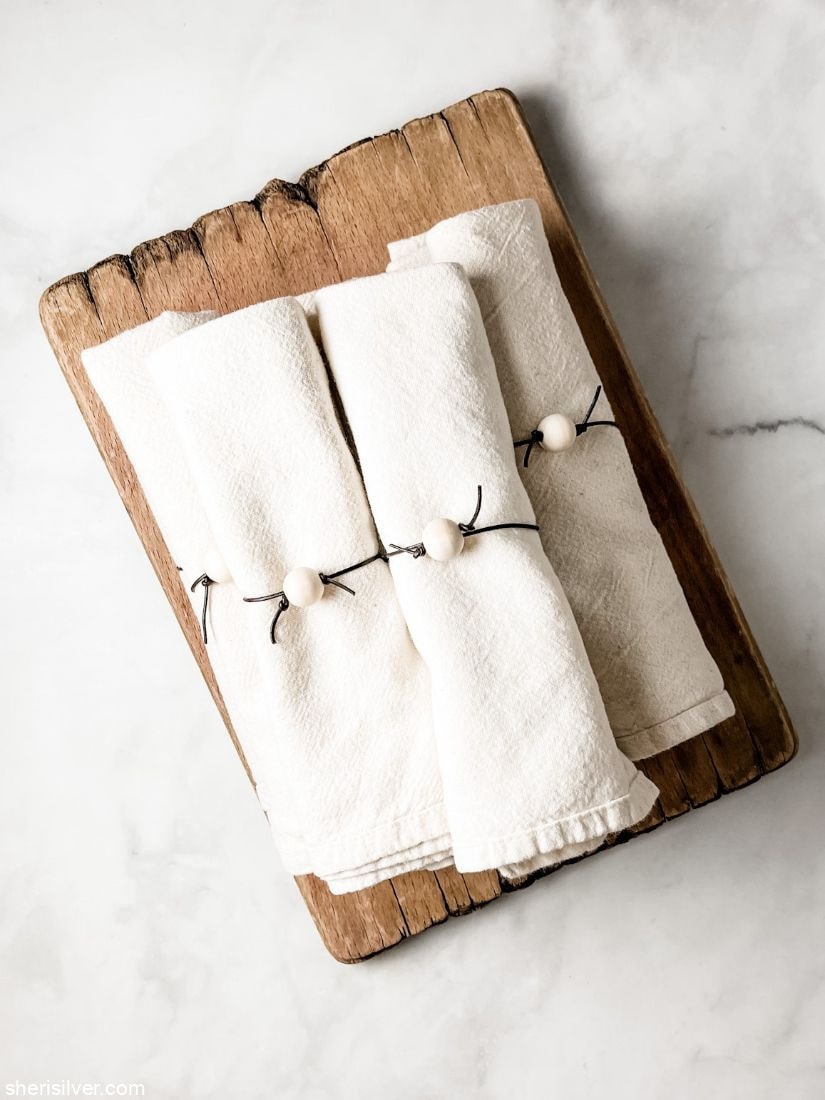
Here are some examples of past projects!


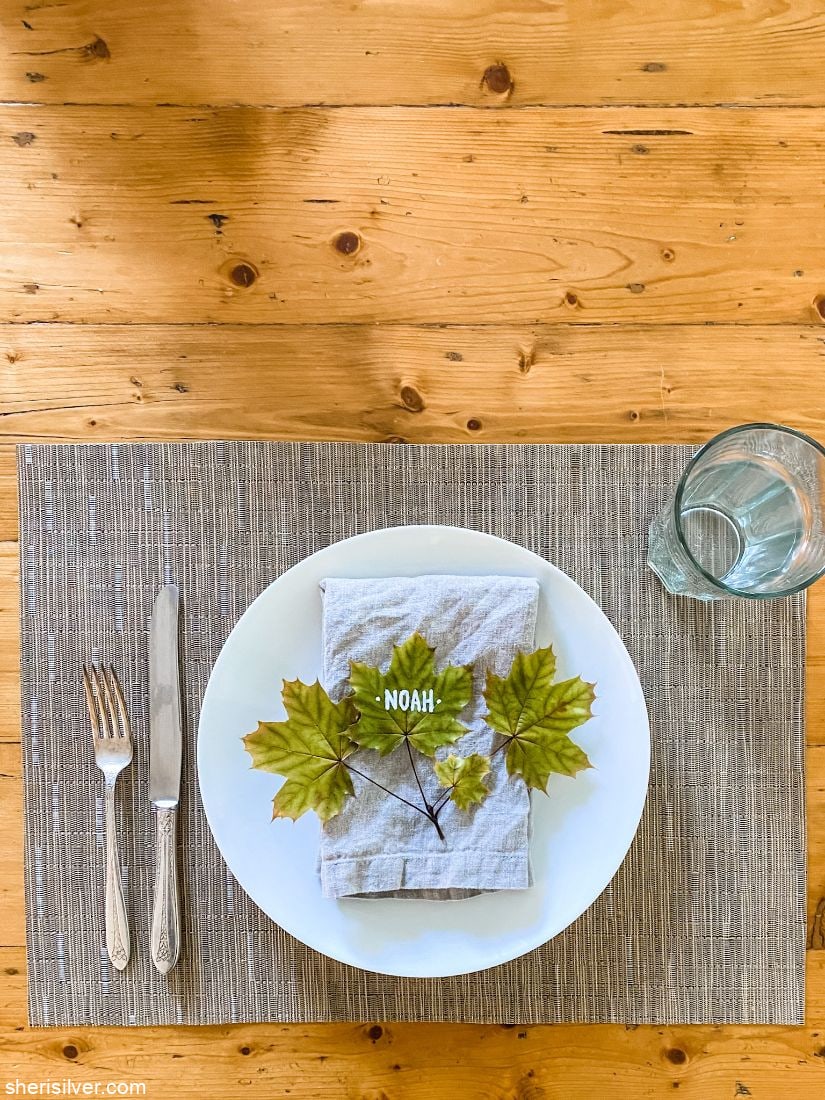
this year’s model!
I was on Etsy recently, perusing my favorite jewelry designer’s page. And, as one does, I went down that Etsy rabbit hole and came across these stamped place cards that were a whopping $5 apiece. And I had two thoughts:
- These are ADORABLE, and
- I could totally make them myself.
And here we are!
what materials do you need for these stamped clay place cards?
I’m going to start by saying, “whatever your heart desires”. Seriously, you can totally customize these cuties – from the color of the clay, to the adornment, to the ribbon. Here’s what I used:
- air dry clay
- rubber letter stamps
- dried fruit
- leather cording
Nice, but not necessary:
- rolling pin
- box cutter
- metal straight edge
- self-healing cutting board
how do you make them?
I have detailed instructions below, because that’s what I know I would want if I was following a DIY. But feel free to adjust for your personal preferences!
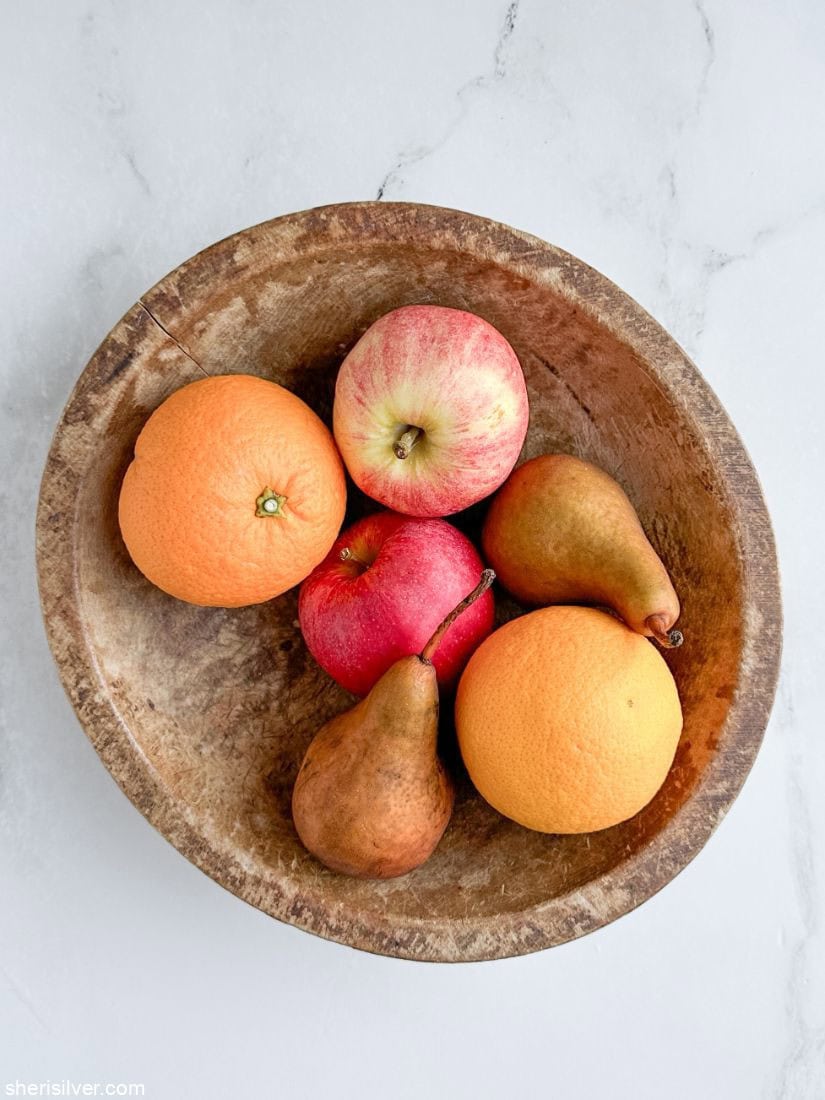
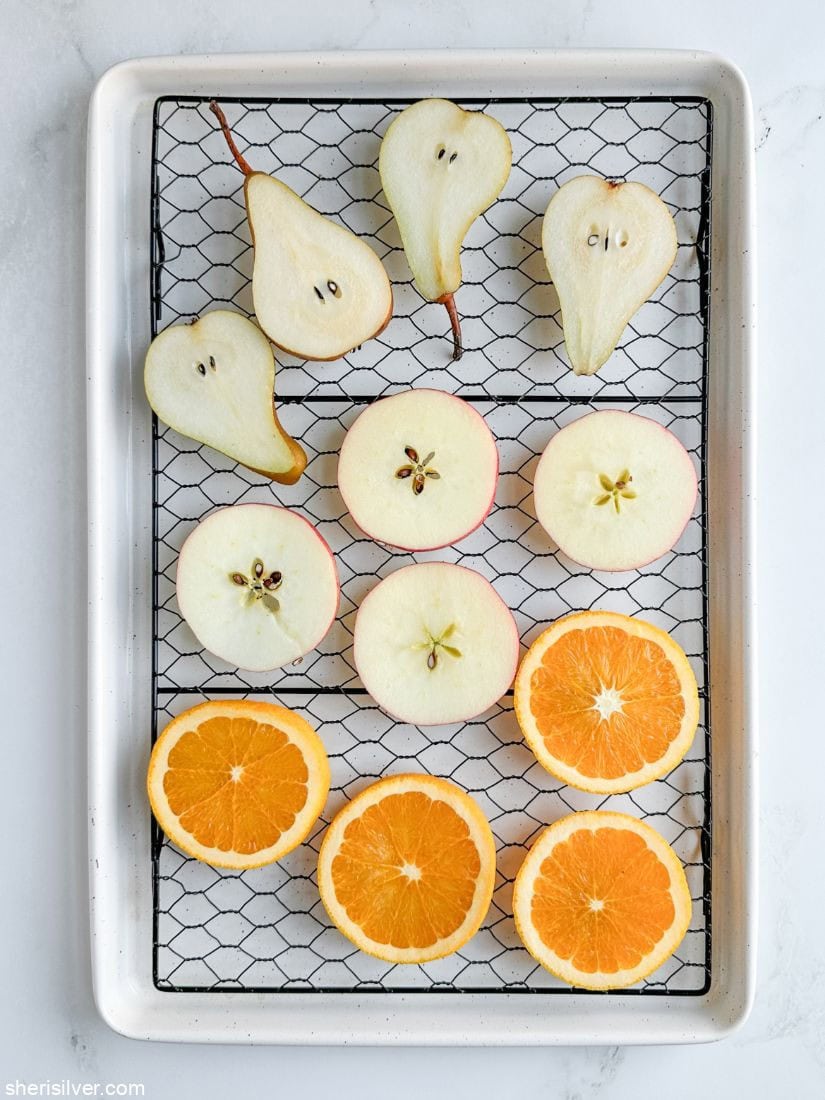
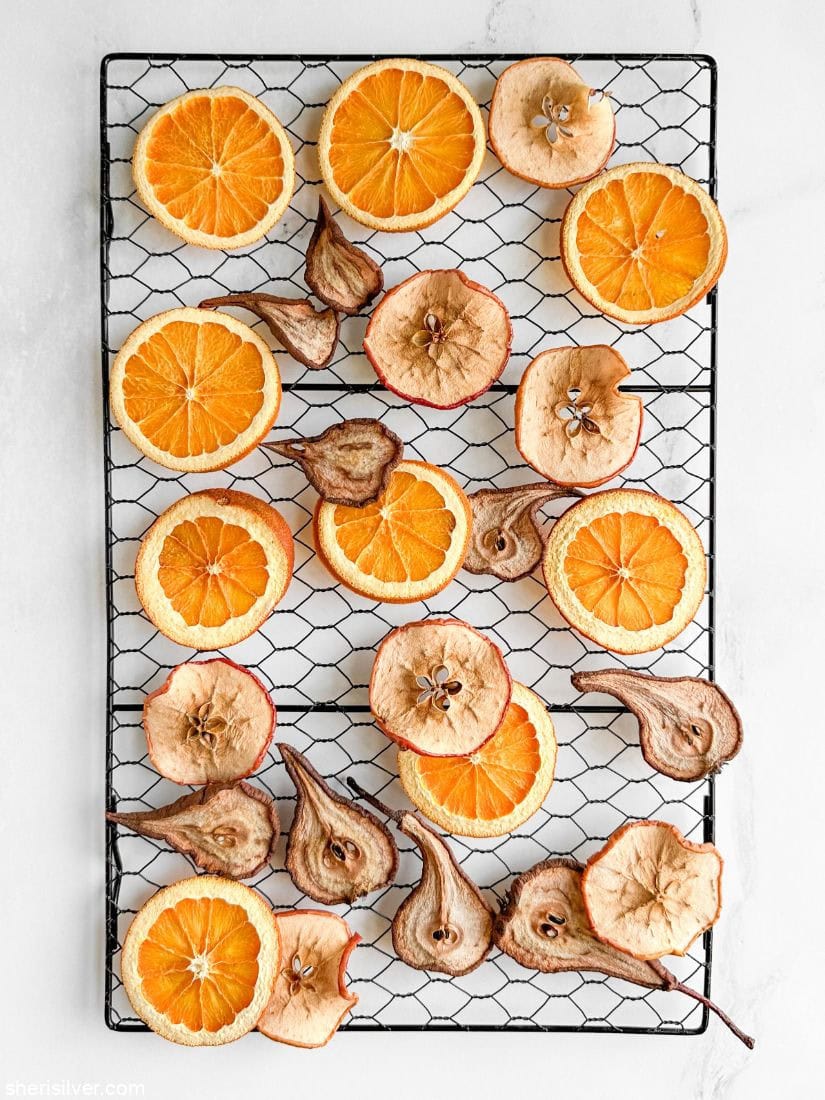
You’ll start by creating your fruit slices. I took a cue from this post I did a number of years ago and it worked perfectly.
Now roll and cut your tags! I have about a million cookie cutters and found one that gave me that mitered shape but you can eyeball it easily. You’ll also want to poke a hole at the top (I used a chopstick).
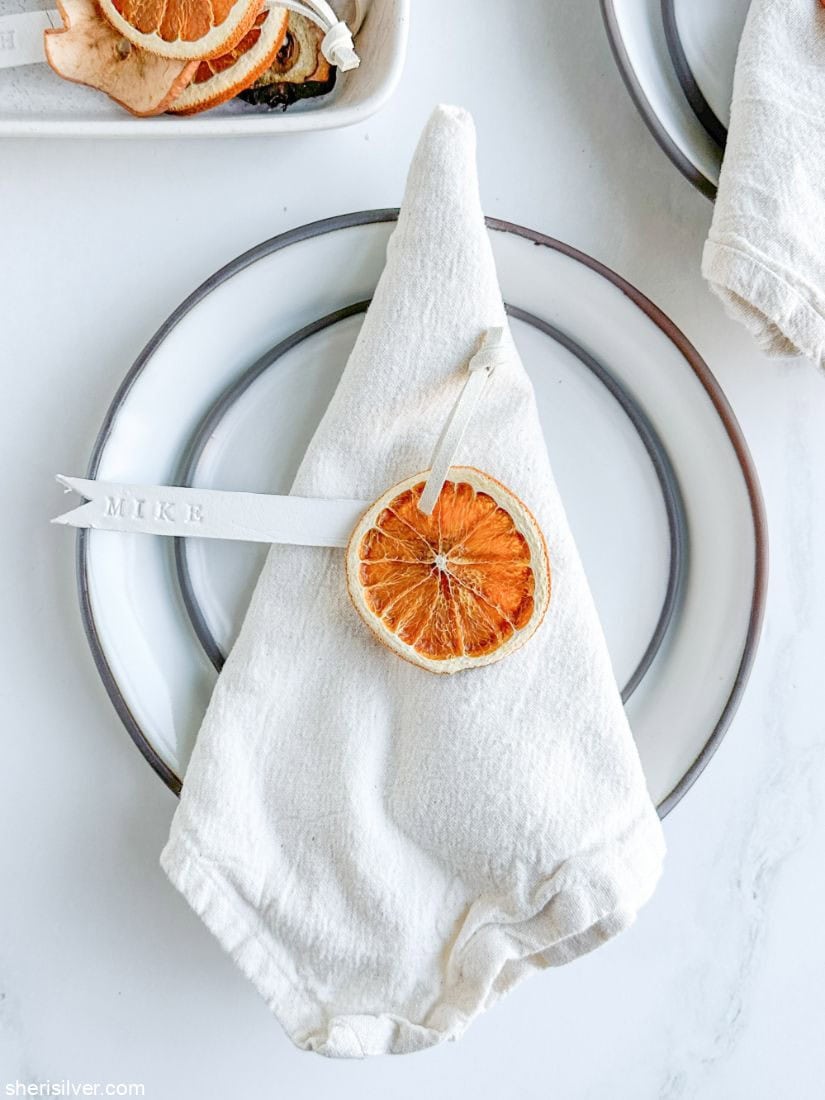
Use your letter stamps to customize each tag with your guests’ names and let dry.

Use cord, twine or ribbon to tie the two together and your place cards are complete!

SO many ways to customize!
Have I mentioned how easy it is to customize these place cards? Here are just a few ideas:
For the tags:
- use colored clay (I want to try terra cotta!) to match your table decor
- play with different shapes – use cookie cutters to create hearts, circles, gift tag, shamrocks, you name it!
- decorate the tag – remember this DIY? how pretty would these be as place cards?
For the adornments:
Again, the sky’s the limit – hit up your yard or the craft store (or your stash of preserved eucalyptus) to complement the season and/or your table!
For the ribbon:
I love this cording but clearly you can use twine, ribbon, torn fabric, whatever!

Let me know if you make these for your table!

Stamped Clay Place Cards
Equipment
- assorted fruits
- fondant rolling pin
- chopstick
Instructions
Make your dried fruit slices:
- Pre-heat the oven to its lowest setting, 150 – 170 degrees.
- Slice your fruits to about 1/4″ thickness (do not peel) and place on wire racks set over baking sheets (blot the citrus slices with a paper towel, to absorb any excess moisture before baking).
- Bake the fruit slices till they’re completely dried out, about 6 hours. Let cool.
Make your place cards:
- Roll your clay to your desired thickness - I rolled mine to about 1/8" thick.
- Cut out each tag to the size and shape you like. I made my tags 5" long by 5/8" wide. Use a cookie cutter or knife to cut an upside down "V" out of the bottom of each tag, and use a chopstick or other tool to poke a hole in the top.
- Use the rubber letter stamps to personalize each tag with your guests' names. Let the tags dry completely.
- Poke a hole in your cooled fruit slices and use the leather cording to attach a slice to each tag. Tie a knot at the ends and trim off any excess.
Please note that this post contains affiliate links. As a Rewards Style influencer I earn a small commission from qualifying purchases – at no additional cost to you.

6 Comments
Leave a Comment

Hi! I'm Sheri!
Welcome to my little corner of the web where you’ll find easy, delicious recipes, the best kitchen hacks and simple tips for turning your home into a clean haven that is free of toxins. So glad you’re here!

Really lovely; beautifully presented easy to follow instructions; fabulous idea•°;♡`°•☆°
Thank you so much! 🙂
Am I able to use oven bake clay?
I’m sure you could! Just follow the directions and let me know if you do it and how it turns out! 🙂
Thank you, I will try it and let you know!
Can’t wait to hear!