how to make a diy nature weaving (perfect for kids)!
This easy DIY nature weaving is charming and free!

love love love an easy and free diy!
We have a beautiful botanical garden right near our home, and when Noah was little we would go often. In addition to being just a stunning spot overlooking the water, it offered exceptional programming for younger children. The craft projects typically incorporated nature items and were such a great way to spend a day keeping little hands busy.
I never knew you could make loom frames from branches!
One of my very favorite projects was a simple nature weaving requiring nothing more than a “Y” shaped branch and some twine or colorful yarn. Little looms were created, and the group then went on a nature walk through the grounds, collecting leaves, flowers and seed pods to weave through the loom.

I had completely forgotten about this craft until we had a storm last month that knocked a ton of branches into my yard. A few had that distinctive “Y” shape and I remembered the loom!
what do you need to make a nature weaving?
The best part about this DIY – in addition to how adorable it is – is that it’s absolutely free!
Here’s what you need:
- a “Y” shaped branch
- yarn, twine or string
- scissors
- flowers, leaves, twigs and seed heads, even interesting grasses work!
how do you make it?
Start by heading outside – your own backyard or the local park are great places to start – and gather your materials. Look for natural items like branches, seed heads, pieces of bark, blades of grass and other natural materials. Depending on the time of year you’ll find the selection will vary, and be mindful if you’re not at home to only take what’s on the ground!
Now it’s time to make your nature loom! Working with one piece of yarn per loom, take the end of the yarn and wrap it around the base of one of the “arms” of the branch. Tie a knot and wrap it around three times. Now bring the yarn to the other “arm”, slightly higher up, and wrap it three times again. Continue in this way going back and forth on either side of the frame, spacing the strings about a half inch apart, creating what is called the warp string. This will create the shape of the loom.

When you reach the top of the frame tie a knot in the string and trim off the excess at the end of your string.
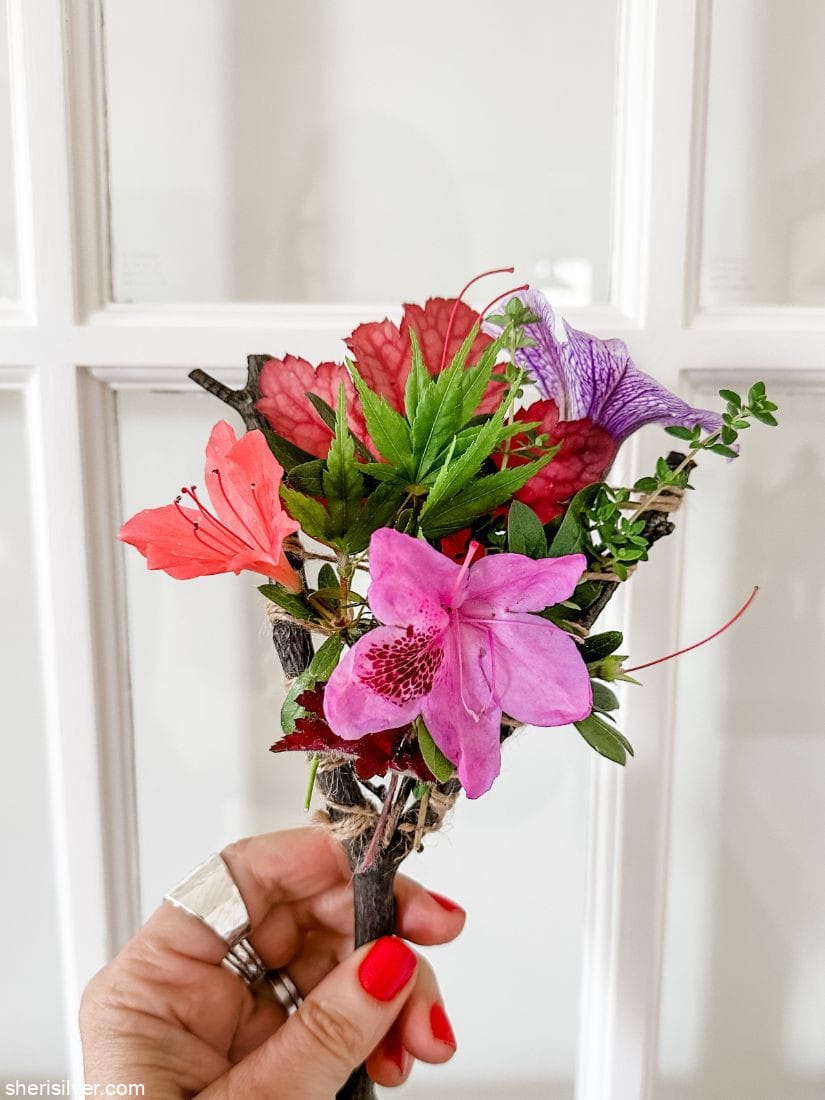
Instead of using vertical threads (also known as warp threads), you will use your nature materials. Weave them through the strings to secure them, and tuck the materials in till the loom is completely filled in. There is no wrong way to do this!

how will you use your nature weaving?
Okay, so now that you (or your littles) have made these beautiful weavings, what can you do with them?
What I loved most about the projects Noah did at Wave Hill – in addition to being so much fun – was their temporary nature (no pun intended). Not everything has to last forever! And since nature crafts use mostly found materials, it’s about simply enjoying the final product for however long it lasts. Bonus points here for being a great activity for promoting fine motor skills!

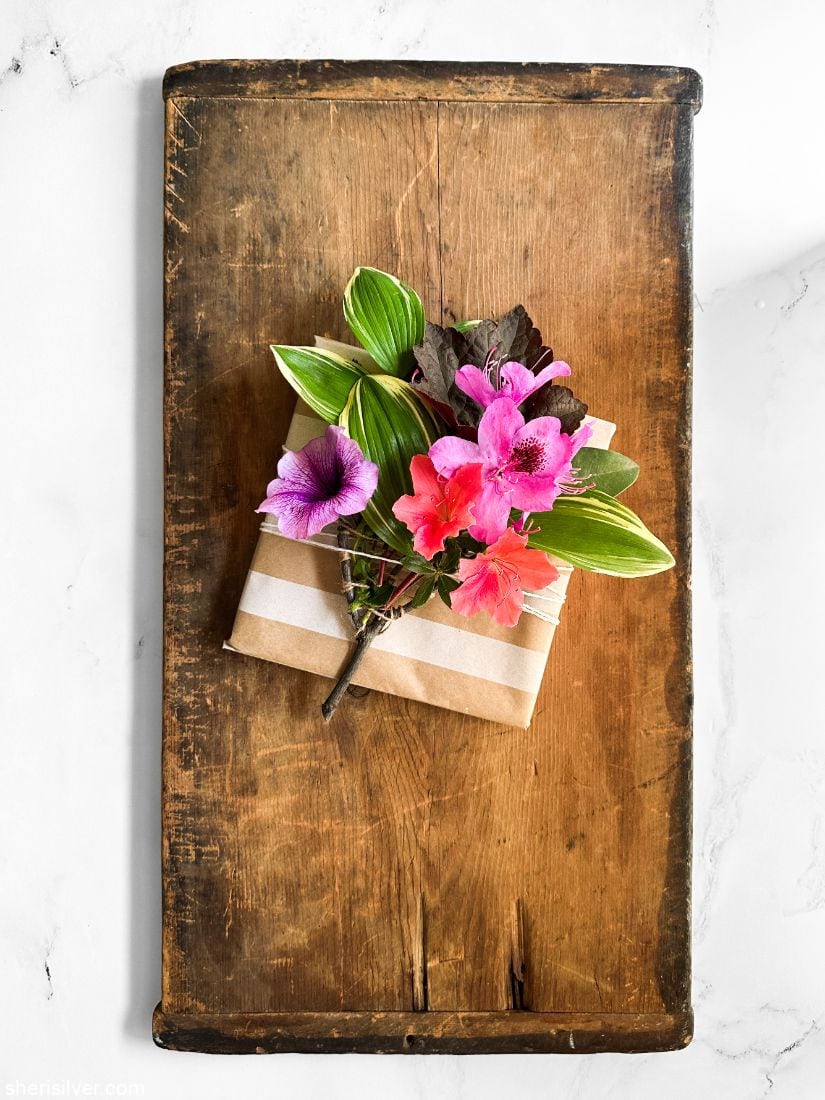
That said, these beauties would make a lovely teacher gift, unique decoration for a wrapped present, or super cool wall hanging. Of course you can save the loom itself and reuse it throughout the year, changing up the materials with the seasons. This is a perfect project for any age, and even young children can get in on the fun!
So tap into your creative side, get outdoors during these warm and (finally) sunny days and let me know if you try this DIY!
Here are a few more nature-y inspired DIY projects from years past:
plantable paper pots
seed bombs
nature mobile
leaf place cards
how to make a terrarium

DIY Nature Weaving
Ingredients
- a "Y" shaped branch
- yarn, twine or string
- scissors
- flowers, leaves, twigs, seed heads, bark, grasses
Instructions
- Working with one piece of yarn per branch, take the end of the yarn and wrap it around the base of one of the "arms" of the branch. Tie a knot and wrap it around three times.
- Now bring the yarn to the other "arm", slightly higher up, and wrap it three times again. Continue in this way going back and forth on either side of the frame, spacing the strings about a half inch apart.
- When you reach the top of the frame tie a knot in the string and trim off the excess at the end of your string.
- Weave your nature materials through the strings to secure them, and adding materials till the loom is completely filled in.
Please note that this post contains affiliate links. As a Rewards Style influencer I earn a small commission from qualifying purchases – at no additional cost to you.
Related posts:


Hi! I'm Sheri!
Welcome to my little corner of the web where you’ll find easy, delicious recipes, the best kitchen hacks and simple tips for turning your home into a clean haven that is free of toxins. So glad you’re here!
