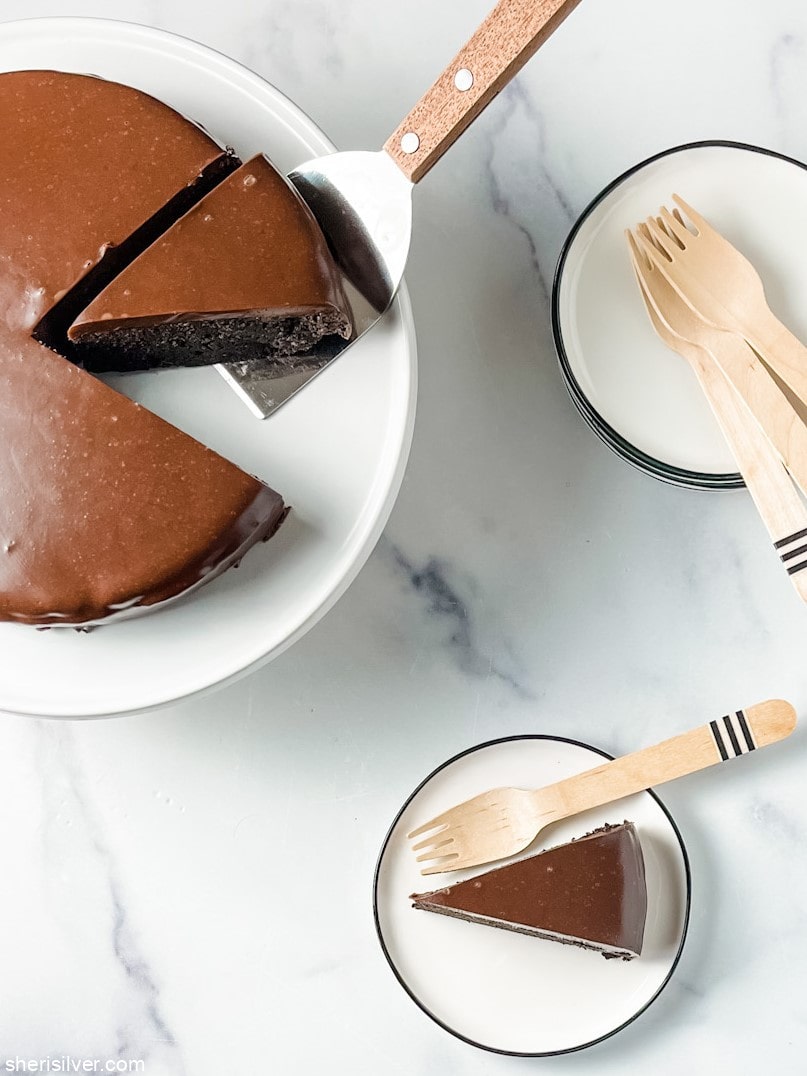
4-ingredient Oreo cake actually worked!

Well why NOT 4-ingredient Oreo cake? I mean, if we’ve done Coke cake, 7 Up cake, Sprite pie and ice cream sandwich cake, we’re certainly not too good for Oreo cake.
That said, this viral TikTok recipe needed a bit of tweaking. But I’ve gotcha.
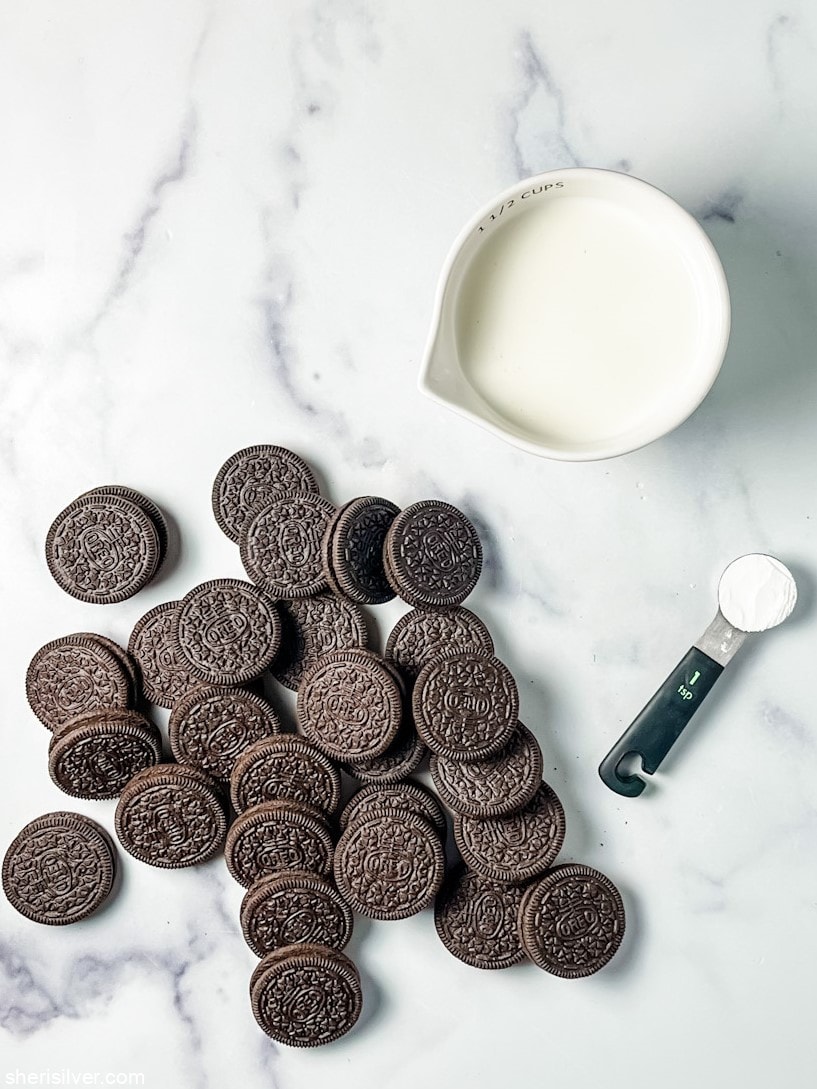
To start, I knew that I was going to want to top this cake with ganache – which meant I would need chocolate chips (hence, why this cake is called “4-ingredient” as opposed to the viral “3-ingredient”).
And to make said ganache I would need heavy cream – so I simply swapped the milk used in the original recipe for heavy cream so that I’d only need one type of liquid (if we’re baking with Oreos let’s keep it simple, shall we?).
Finally, I simply CANNOT get behind baking a cake in the microwave. It goes against everything I’ve ever been taught, and though I know we’re talking OREO CAKE here, we can have some standards people! Fortunately there was one intrepid soul out there who did NOT use a microwave/stovetop/air fryer to make this cake, and so I had a sense of time and temperature.
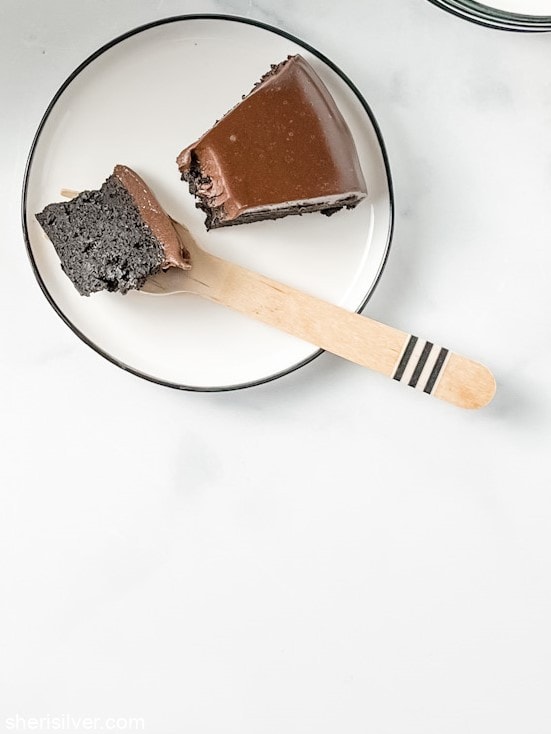
NOW I was ready to bake. I made this cake a few times, crushing the cookies in ziploc/rolling pin situation, and in the food processor. And I used 2 different sized pans – an 8″ and a 6″. The recipe I’m sharing is – I feel – the easiest and most foolproof method for the best results, and I can guarantee a delicious little cake that you can quickly and easily whip up any time!
Let me know if you make it, and tag me on Instagram @sherisilver if you do!
28 Oreos
1 teaspoon baking powder
1 1/2 cups heavy cream, at room temperature, divided
1/2 cup chocolate chips
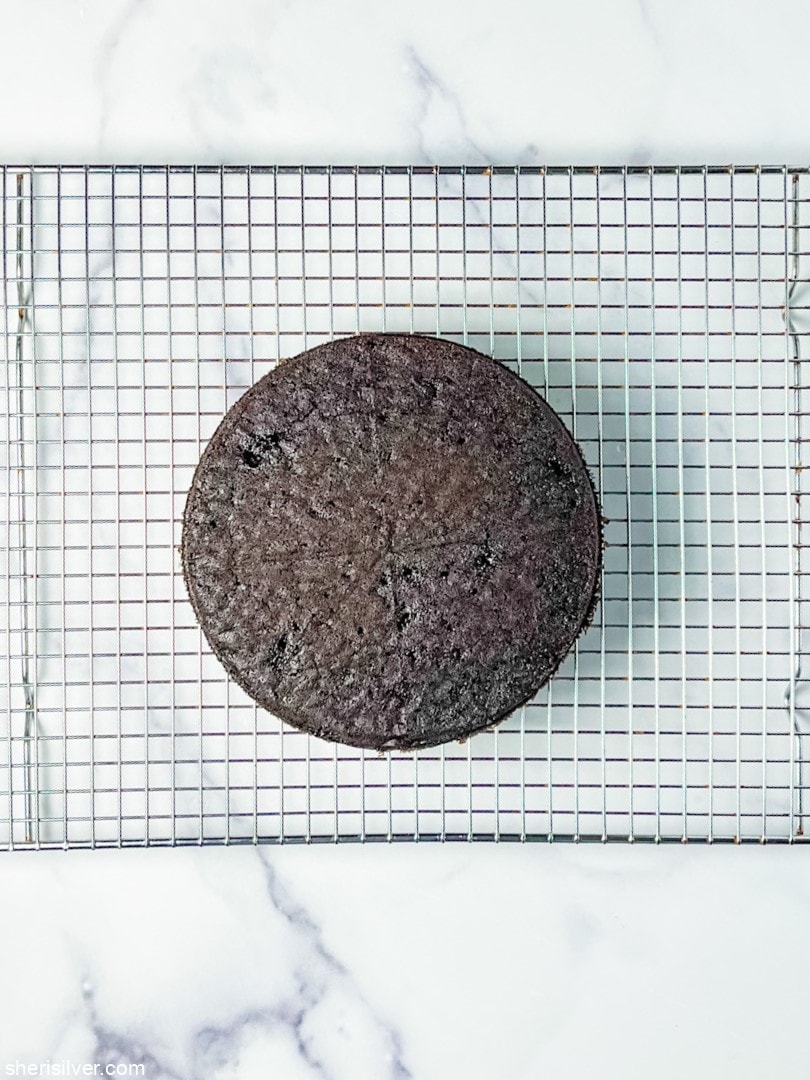
Pre-heat oven to 350 degrees; line a 6″ cake pan with parchment paper and spray the sides and bottom with non-stick cooking spray.
Separate the Oreos, placing the cookies in a food processor and the filling in a small bowl. Process the cookies to fine crumbs and transfer to a medium bowl. Add the baking powder and whisk. Add 1 cup of the cream and whisk till smooth. Add the filling and whisk once more. Transfer to your prepared pan and bake till a tester tests clean, 20 – 25 minutes. Let cool in the pan on a wire rack for 10 minutes and then remove from pan to cool completely. Clean out the small bowl that held the filling and place the chocolate chips in.
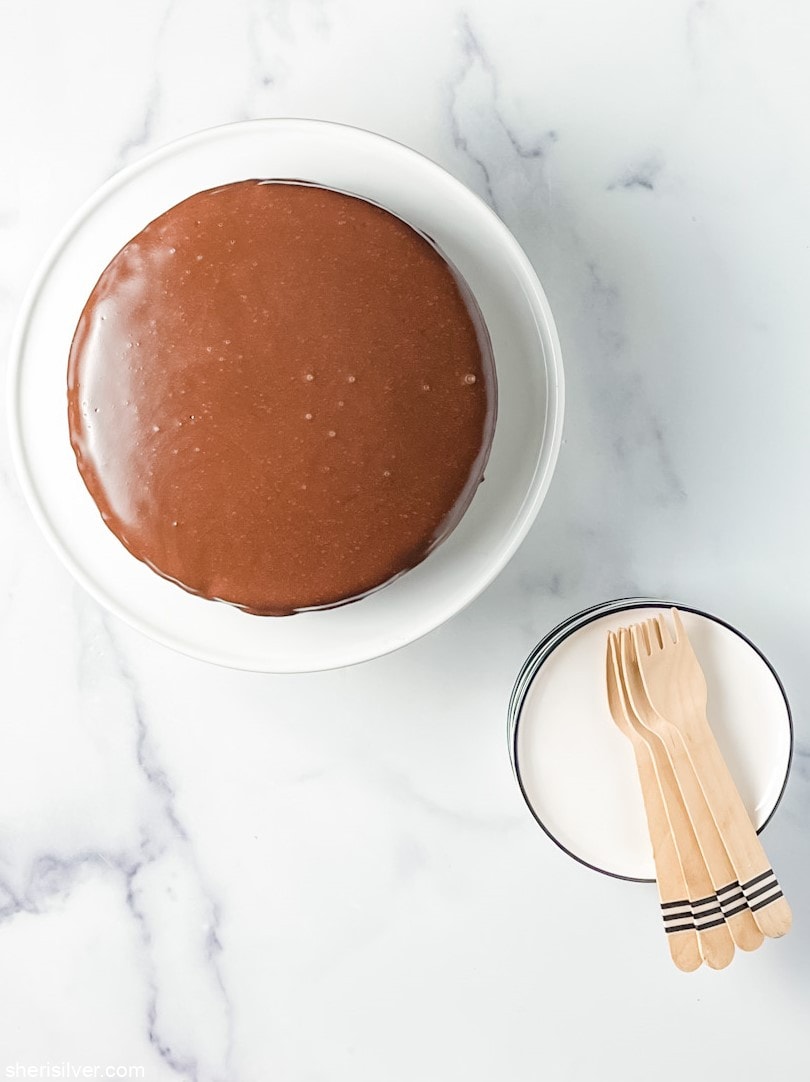
Heat the remaining 1/2 cup of cream in a small saucepan till small bubbles form around the edges. Immediately pour over the chocolate chips and let sit – undisturbed – for 5 minutes. Whisk till smooth and completely emulsified.
Place the cake – still on the wire rack – on a baking sheet lined with wax paper. Pour the ganache over the center of the cake, letting it drip down the sides. Let set before serving (you can place in the fridge to speed things up if you like).
Notes:
1. You can place the cookies in a ziploc bag and use a rolling pin to crush – I loved the ease and speed of the processor myself.
2. You may be wondering why you need to separate the cookies from the filling (I did!). The reason is that if you crush the whole cookies you won’t have those fine, dry crumbs, making it harder to get a smooth batter.
3. As Oreos are “accidentally vegan” I’d love to try this with almond milk for a 100% vegan cake – let me know if you do! Same for the gluten-free cookies!
4. If you want a more “frosting-like” topping, let the ganache cool for about 45 minutes, then beat in a mixer for a good 5 minutes on high – the ganache will turn into frosting!
This delicious recipe brought to you by Sheri Silver
https://sherisilver.com/2022/02/18/4-ingredient-oreo-cake/


14 Comments
Leave a Comment

Hi! I'm Sheri!
Welcome to my little corner of the web where you’ll find easy, delicious recipes, the best kitchen hacks and simple tips for turning your home into a clean haven that is free of toxins. So glad you’re here!

I’m so excited. There are now gluten free Oreos which I used to make my daughter’s Oreo mousse birthday cake but this will be what I make for my husband’s upcoming birthday. Hurrah. Thanks Sheri!
Yay!!!! So happy to hear that! xoxo
Thanks for the recipe but what do you do with the filling of the oreos? Do you use it for the ganache or just the heavy cream and chocolate chips?
The filling goes into the cake! If you look at the 2nd paragraph you’ll see that it goes in after you add the heavy cream!
Sadly it didn’t cook in the alloted 25 minutes.. took 40 mins and I did have it at 350°F. It didn’t stay as a “cake” but would crumble very easily. Idk why it didn’t work for me. When I tried it it was too rich in flavour – possibly cause of the Oreos being just naturally rich in flavour.. I’ll try again another day and hope for a better result.
Oh no! I’m so sorry! Sometimes “viral” recipes are an absolute disaster but I’ve made this several times and have not had a fail yet! I hope you have better success on your next try!
I saw another recipe like this but it included flour so I was surprised this does not.
I think there are a lot of variations – this one worked for me! 🙂
Followed the directions to the T and it’s a crumbly MESS. So disappointed.
Oh no! I’m so sorry to hear that! I’ve made this cake so many times with no problems! How did the batter look going into the pan?
This cake was so amazing. I made it and everyone raved about how delicious it was. It is so moist. Thanks so much for your recipe!
So glad you loved it! It’s such an easy recipe! 🙂
I was wondering if you could share a photo of the batter consistency. Followed recipe exactly and my battery looked like brownie batter.
Hi! I don’t have a photo of the unbaked cake – if you look it up you’ll find lots of videos showing the process so that you can see what the batter looks like (I didn’t shoot a video myself). You can compare it to yours that way. Let me know if this helps!