witch’s broom treat bags are so easy and will hold all of your treats!
I’m a little obsessed with these adorable witch’s broom treat bags!
How. HOW did we go from popsicles to Halloween already???
Yet here we are, so let’s get to it!

You know that if I’m sharing a craft on these pages, it’s going to be super-duper easy – and these “witch’s broom” treat bags are no exception.
This is what I like to call a “TV”craft – one that’s easy to do while you’re binge-watching your favorite show. Probably not “The Crown” or “Better Call Saul” (where you need to pay full attention – or is that just me?), but definitely “The Marvelous Mrs. Maisel”.
Not only is this craft really easy, it requires very few materials and zero special tools (my fave kind as you know).


As I do every October, come back each Wednesday for a Halloween-themed craft or treat, and check my Pinterest board for more ideas!
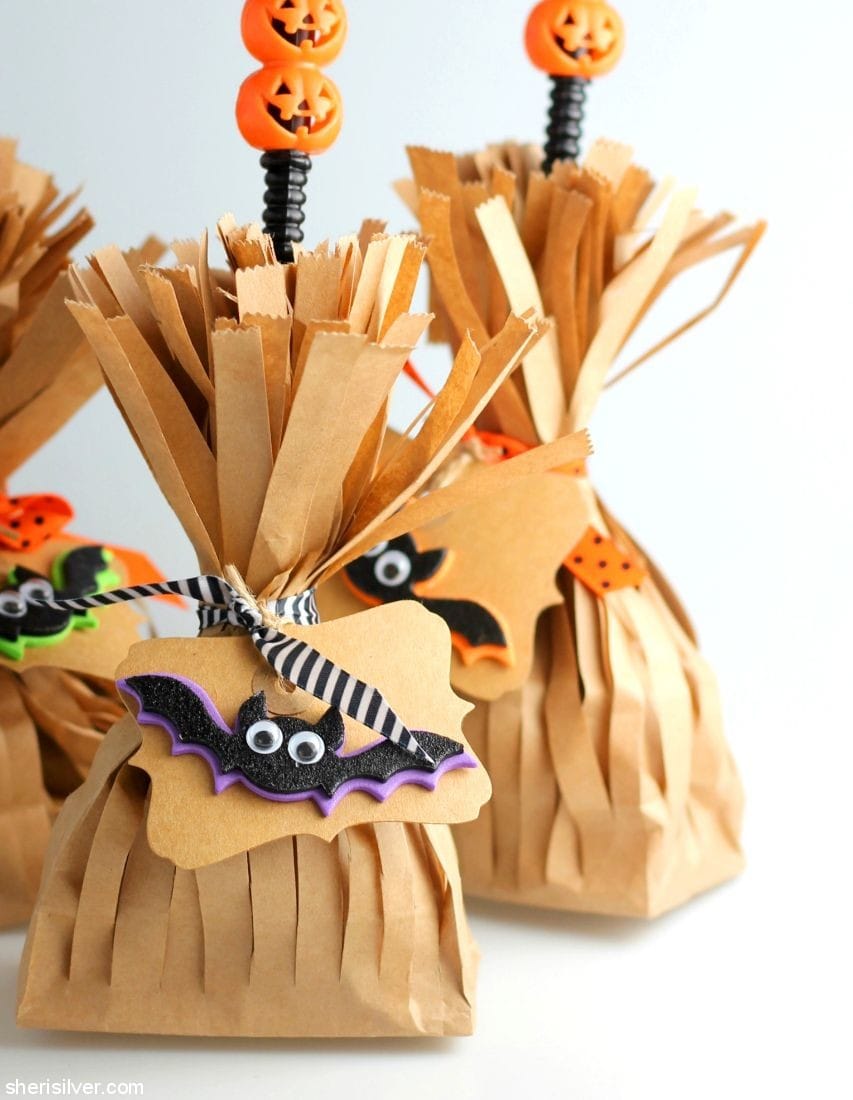
Witch’s Broom Treat Bags
adapted from Martha Stewart
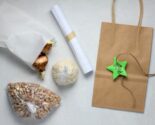
for each bag you will need:
(2) flat-bottomed paper bags – I used these paper sacks (you could also use regular paper lunch bags; I’d cut 4″ – 5″ off the top if you do)
1 “branch” – you could use a branch or other stick – I used these cute straws instead
ribbon or twine
tag
candy
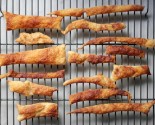
Push out the bottom of one bag, while keeping the sides folded in.** Cut thin strips down to the base. Cut 1″ – 2″ strips along the top of the second bag, and place inside the first bag. Fill with your treats or goodies and place the “branch” inside. Secure with ribbon and add your tag.
**Note: I placed 2 bags inside a third for the “shredded” ones, so that I could cut 3 at a time – this made the process go much, much quicker.


4 Comments
Leave a Comment

Hi! I'm Sheri!
Welcome to my little corner of the web where you’ll find easy, delicious recipes, the best kitchen hacks and simple tips for turning your home into a clean haven that is free of toxins. So glad you’re here!

Soooo cute!!! I am going to make this for my kiddos at school!!!
Yay! Let me know how they turn out!
Sheri, these little treat bags are adorable!
Thank you so much! So easy too and something a little different, right? That Martha – she’s the best!