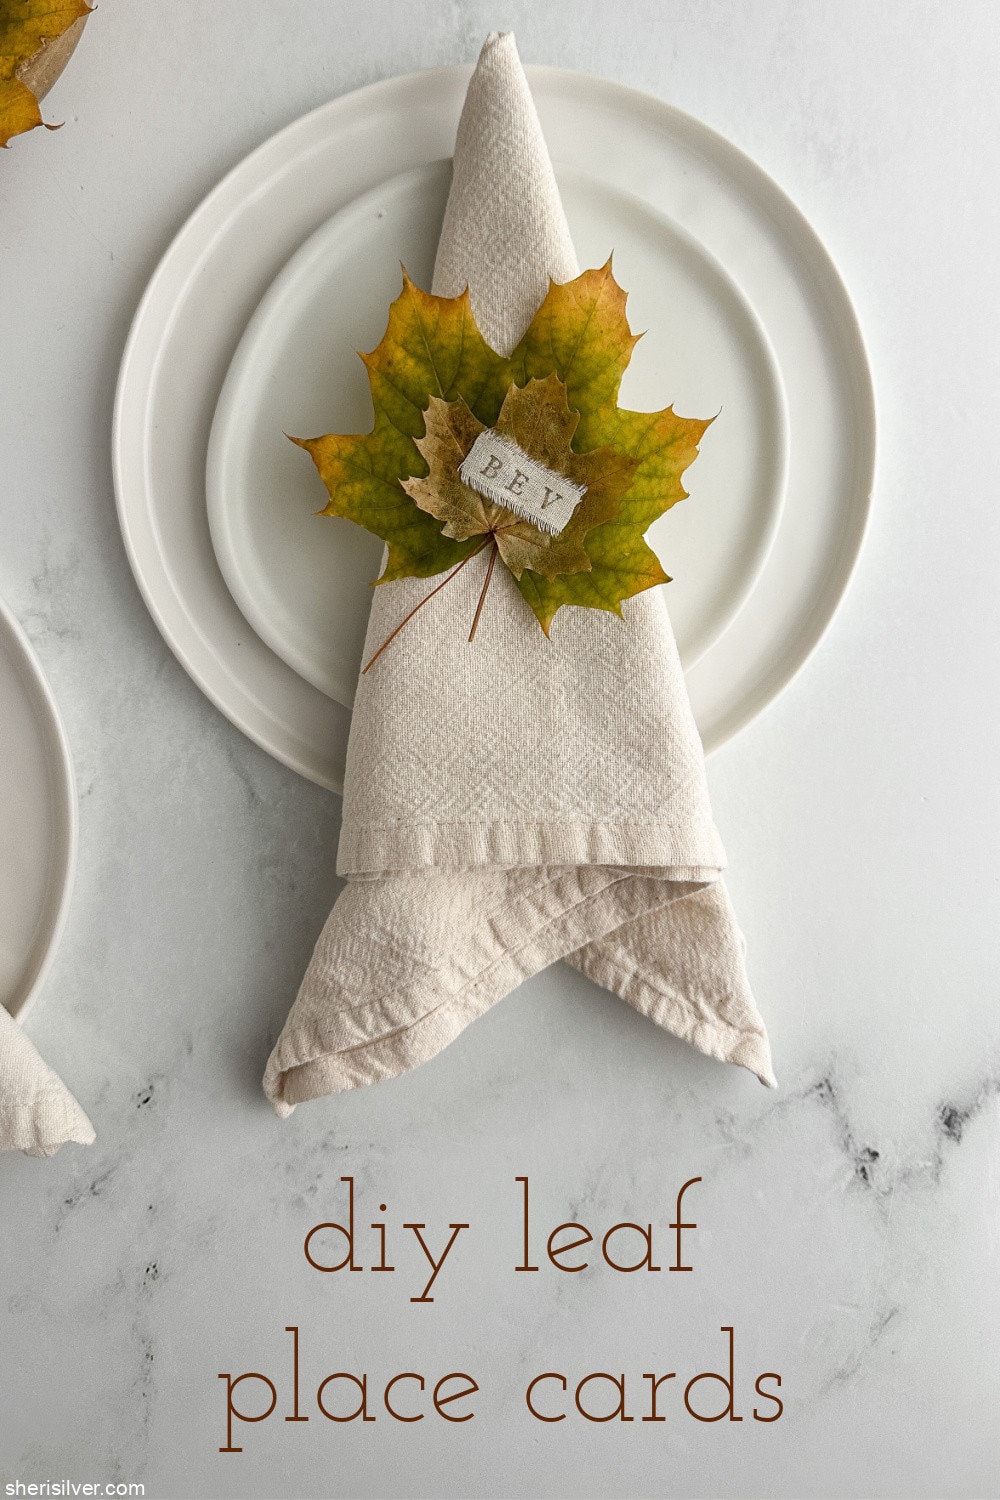
Easy DIY Leaf Place Cards for Thanksgiving
These DIY leaf place cards are the perfect Thanksgiving table touch!
Learn how to preserve real leaves (or use faux!) and personalize them with stamped ribbons!
A Funny Thing Happened…
When I posted my fall version of the nature lantern I made last year, I received several messages about the leaves I used:
Are those real leaves?
Why do your leaves look so perfect?
Where can I buy those leaves?
And I get it — they looked good.
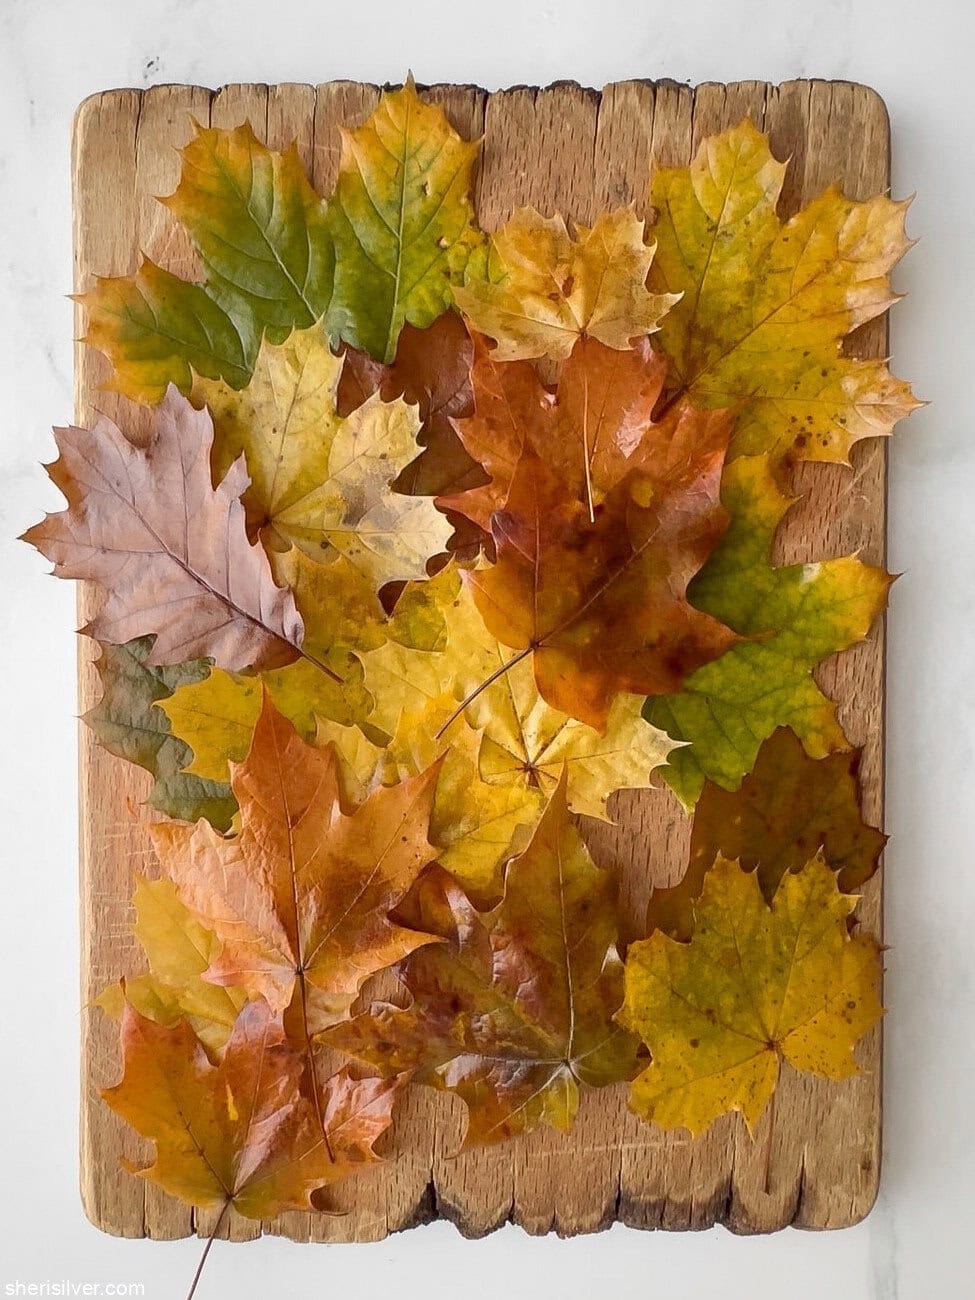
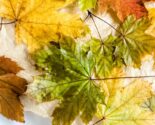
They were real, I didn’t buy them, and they looked so perfect because I used a simple technique to retain their color and softness. When I collected the leaves, I didn’t know when I’d actually get to the project and didn’t want them drying out.
With Thanksgiving around the corner (and my love of a good place card/napkin ring situation), I thought it would be fun to revisit the leaf place cards I made a while back — but with a little update!
How I Made These Easy DIY Leaf Place Cards
I used the same leaf-preserving method as before, but this time I swapped my chalk marker for something prettier.
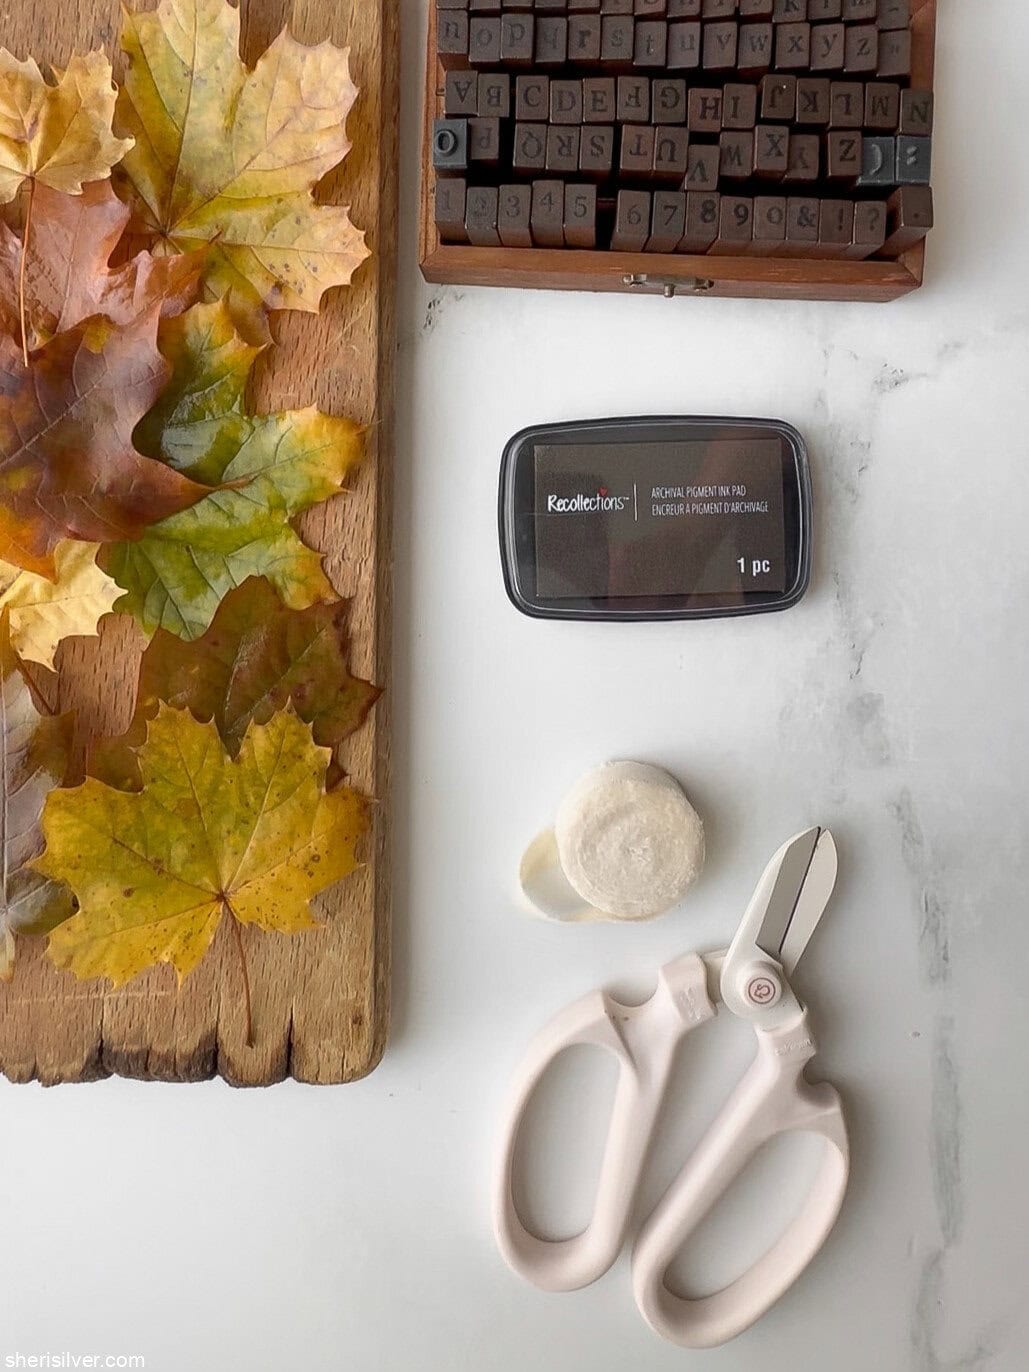
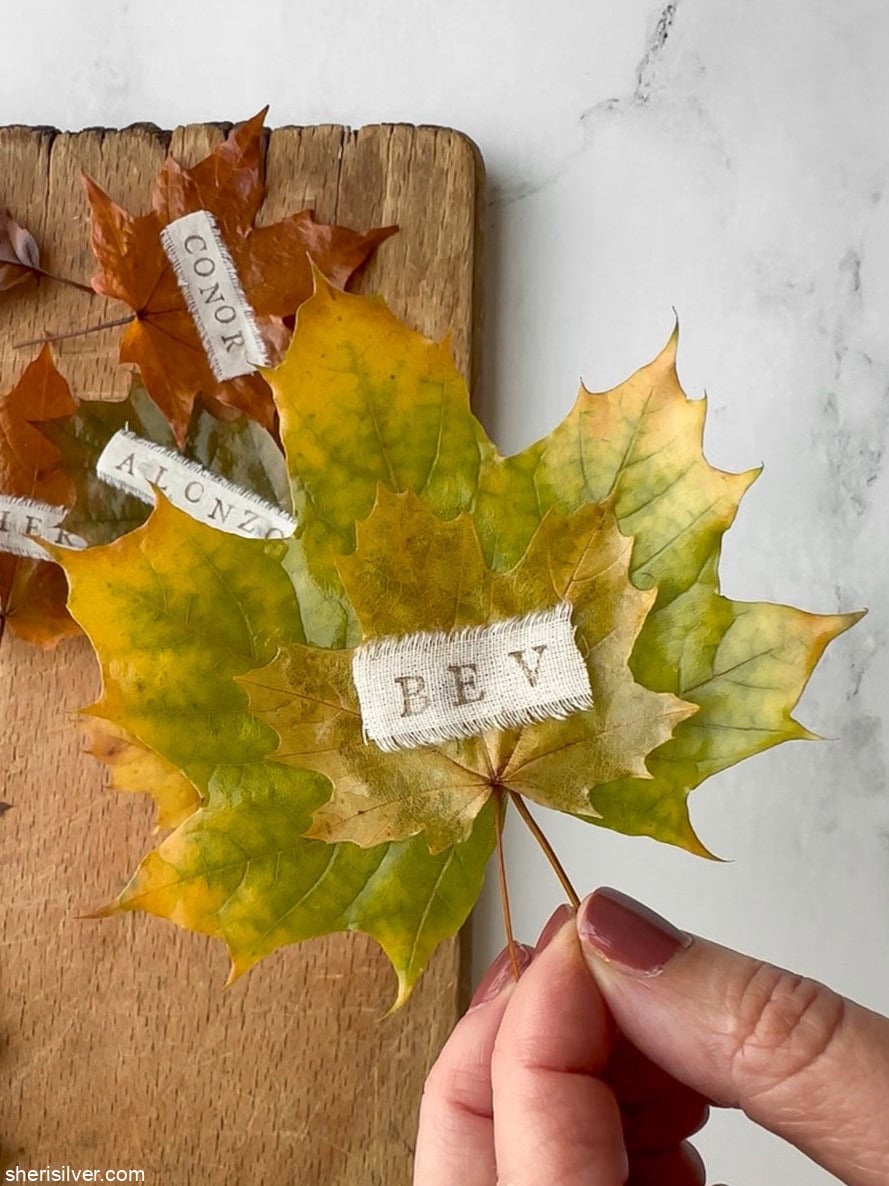
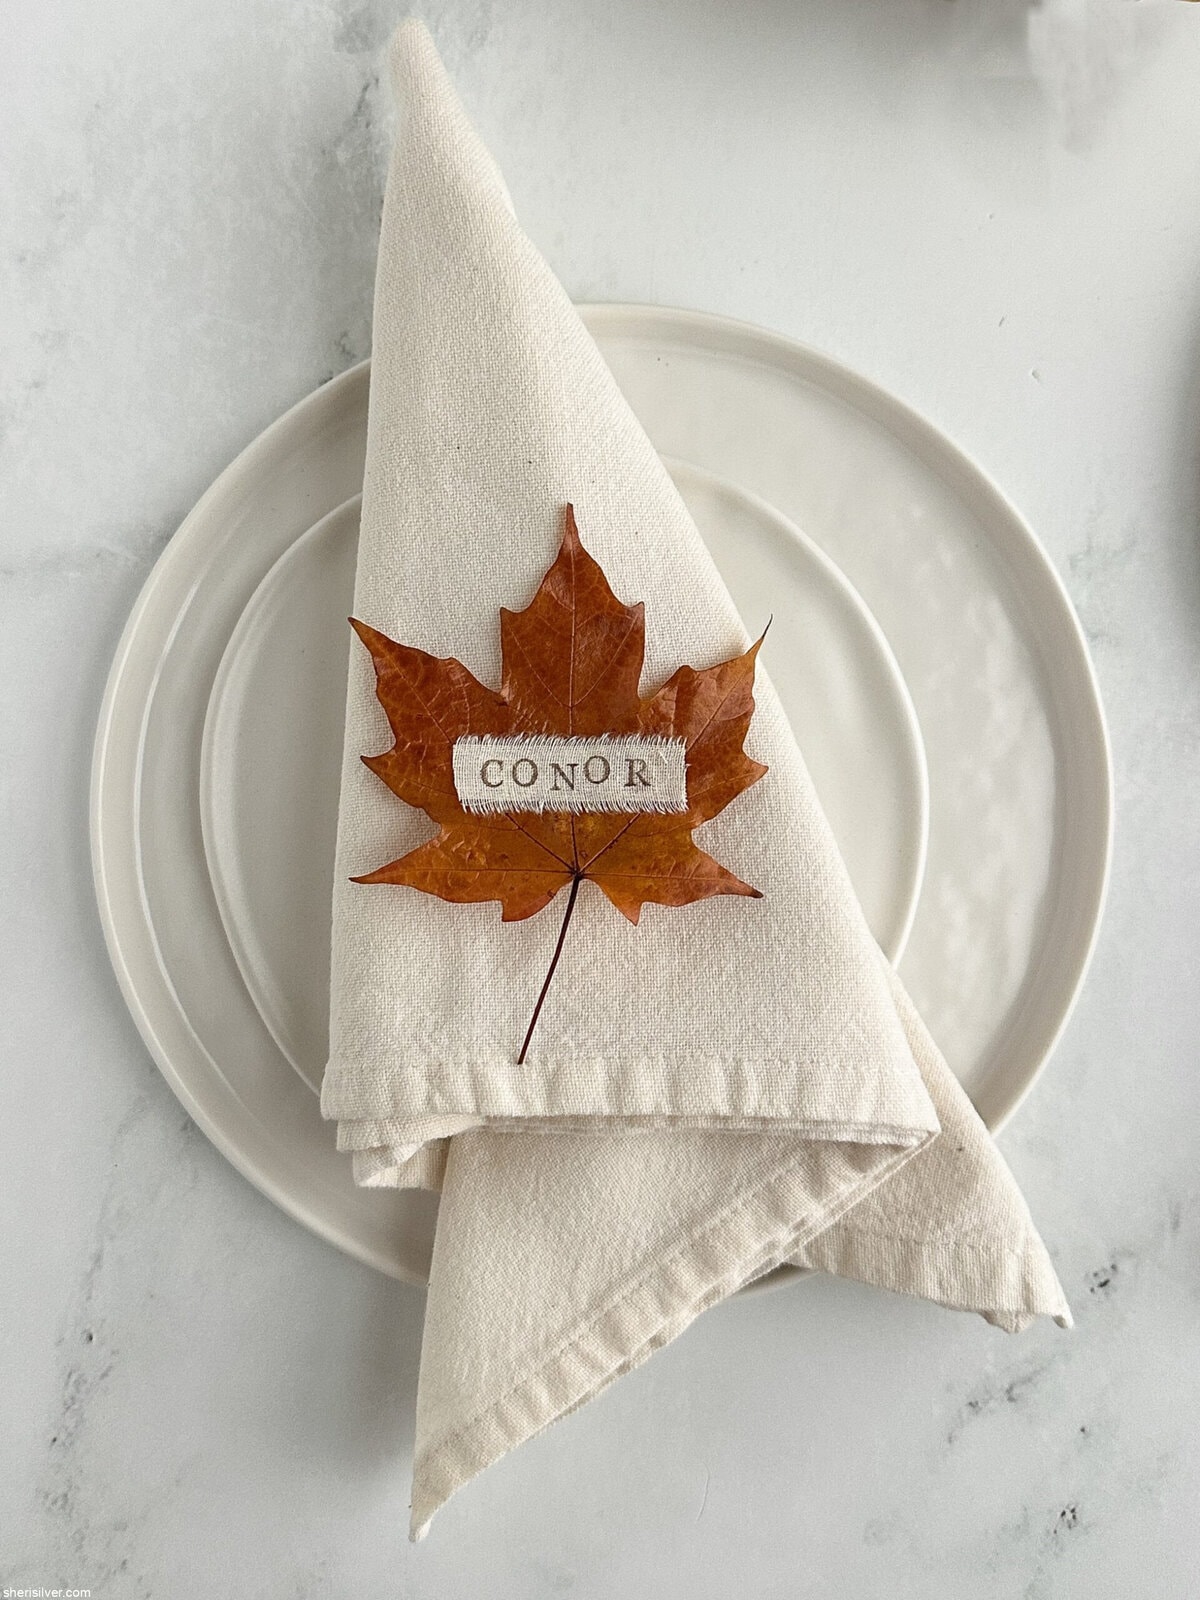
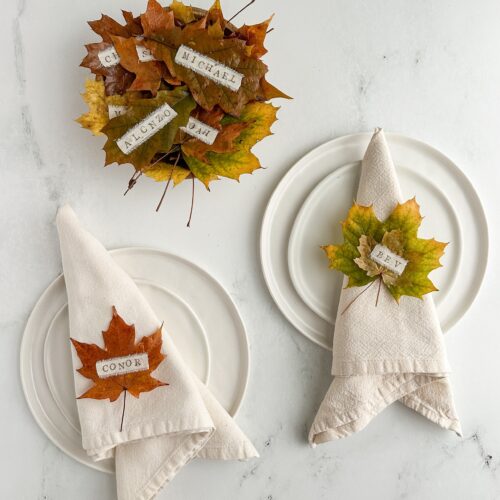
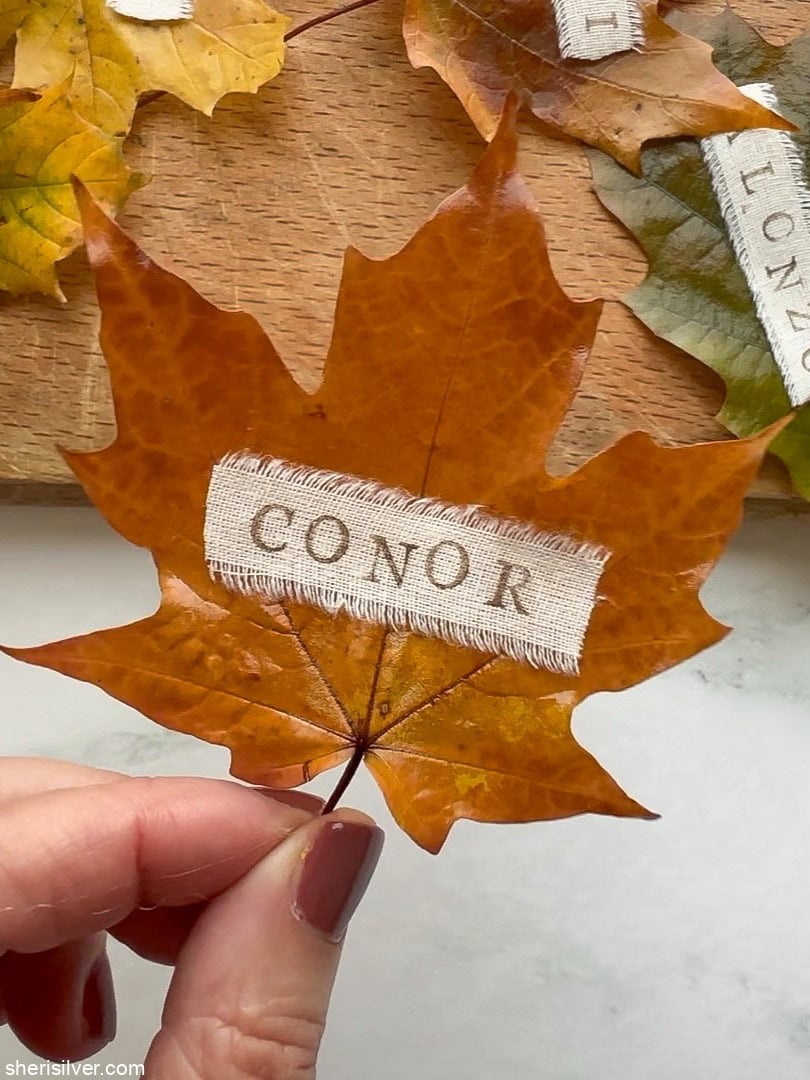
Using cotton ribbon, a brown ink pad, and my alphabet stamp set, I stamped everyone’s names onto strips of ribbon and hot-glued them to the preserved leaves.
For shorter names, I layered a smaller leaf over a larger one — I love the way they came out!
And they couldn’t be easier!

DIY Leaf Place Cards
Equipment
- water
- fresh leaves
- 2 shallow pans (I like to use the disposable aluminum ones, which often come in a handy set of 2)
- cans or other weights to keep the leaves submerged
Instructions
- Mix 2 parts warm water to 1 part glycerin (depending on the size and number of your leaves - I used 1/2 cup glycerin and 1 cup of water) and pour into one of the pans. Add your leaves and turn to coat - try to keep them separated if possible but as long as they are coated on all sides you'll be fine. Top with the other pan. Place some cans on top of the top pan to help keep the leaves submerged and leave for 3 - 5 days. Remove the leaves and blot dry – they will be soft and supple and retain their color.
- Using your stamp set, ink and ribbon, stamp the names of your guests, leaving room on either side to trim. When you've finished all of the names you can trim the tags if needed.
- Use your hot glue gun to attach the tags to the leaves. You can glue a smaller leaf to a larger one for the smaller tags.
Notes
- Faux leaves are a great alternative for the real thing!
- You can also cut out leaf shapes (free hand or with a cookie cutter or stencil) from colored craft paper.
- If you want to write directly onto the leaves I like these chalk markers!
Alternatives & Quick Hacks
No beautiful fall leaves where you live (or it’s too late in the season)? Try one of these:
- Faux leaves from the dollar or craft store look lovely too.
- Mod Podge brushed on both sides works if you don’t want to make a glycerin mixture (I actually prefer soaking the leaves — less mess!)
- Craft paper leaves made with a cookie cutter or leaf stencil are also charming!
- Don’t have stamps? Write names directly on the ribbon — or right on the leaves, like I did in my original version!

FAQ: DIY Leaf Place Cards
Q: How do you preserve real leaves for crafting?
A: Mix 2 parts vegetable glycerin to 1 part water, submerge the leaves in the mixture for a few days, and let them dry flat — they’ll stay soft and keep their color beautifully.
Q: Can I use fake leaves instead?
A: Definitely! Choose thin, flexible faux leaves that look realistic. They’re reusable year after year.
Q: What can I use instead of stamps?
A: A fine-tip permanent or chalk marker works great for writing names directly on the ribbon or leaves.
Q: How far in advance can I make these?
A: Preserved leaves last indefinitely!
Please note that this post contains affiliate links. As a Rewards Style influencer I earn a small commission from qualifying purchases – at no additional cost to you.

Hi! I'm Sheri!
Welcome to my little corner of the web where you’ll find easy, delicious recipes, the best kitchen hacks and simple tips for turning your home into a clean haven that is free of toxins. So glad you’re here!
