the best way to make a parchment cake pan liner!
For perfect cake layers that come out of the pan intact every time, you need to line your pans!
cakes stuck in the pan = baking heartbreak!
When I first started seriously baking, I cannot tell you how many times in those early years I would go to invert a cooled cake out of the pan – only to have half of it remain stuck inside.
This was before the internet, when I had only a handful of cookbooks and the occasional magazine to guide me.
HEARTBREAK.
it took a few baking classes to teach me all the things!
I was working in the city in those early years, and decided to take a few pastry courses at night after work. And while I certainly learned some important baking techniques, I ALSO learned the importance of proper pan and food prep in executing perfect recipes. Those were not the sexiest or most glamorous lessons, but they truly set me up for success going forward. And one of those lessons was all about how to line cake pans using parchment paper!
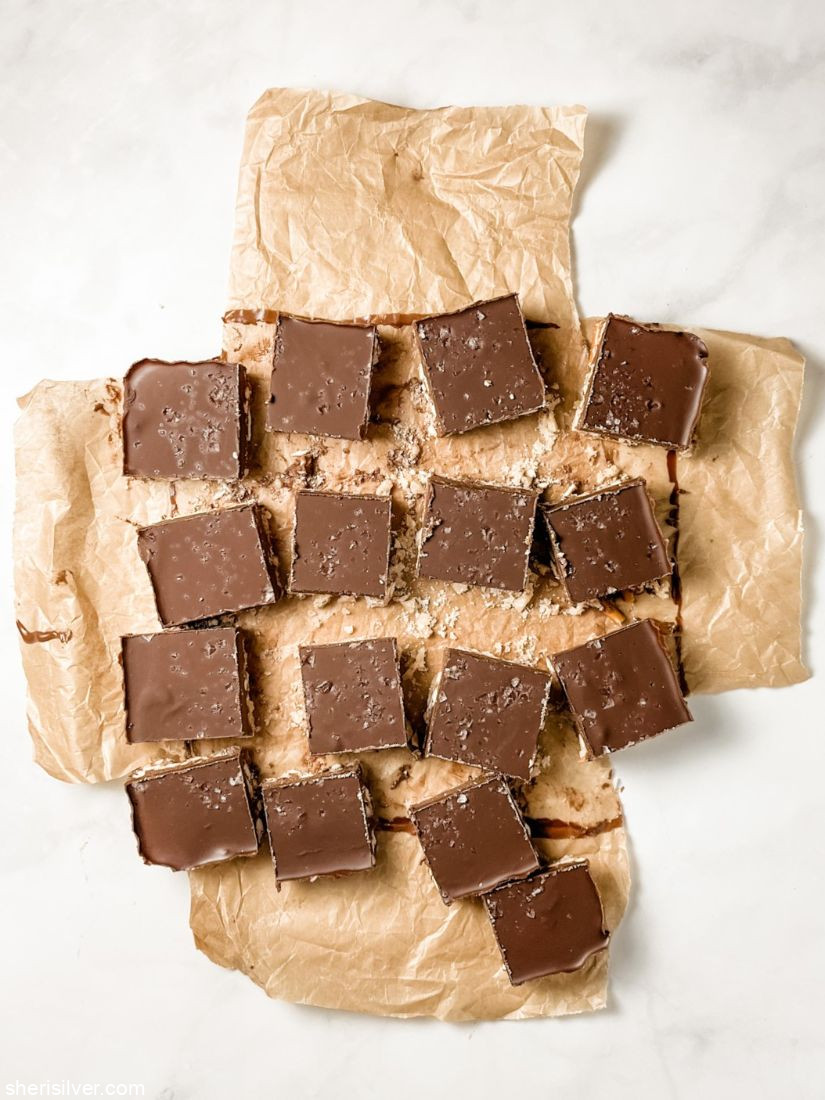
ginger pumpkin butter blondies
why parchment paper is so important when baking!
Parchment paper – whether we’re talking rolls, parchment rounds or pre-cut sheets of parchment – is one of the most important tools to have if you do any kind of regular baking. They are the key to creating a nonstick surface in your pan, and essential for the clean release of cakes, brownies and bar cookies.
what is so special about parchment paper?
It is easy to think that parchment paper is the same as wax paper, or could be substituted with a foil liner. But there are two features of parchment paper that set it apart and make it a more appropriate choice for lining cake pans.
The first is the coating – unlike wax paper, parchment paper is coated in silicone, giving it superior non-stick properties along with a tolerance for higher oven temperatures. Wax paper is – as the name implies – coated with wax, which will melt when it hits the high temperatures of a hot oven. Foil is not coated with anything, requiring a layer of nonstick spray and flour before adding your cookie dough or cake batter .
The second is the weight and texture. Parchment paper is heavier than wax paper (or freezer paper), and smoother than wax paper and aluminum foil. This is important if you want the sides of your baked good to have a smooth surface upon release.
how is parchment paper packaged?
I have three types of parchment paper in my kitchen. The most commonly used is my package of pre-cut parchment sheets. These are sized to fit perfectly into standard sheet pans or cookie sheets, for easy clean-up. Essential for chocolate chip cookies and easy cleanup of sheet pan dinners made on a baking sheet!
Next up would be my roll of parchment paper. This is what I use to line the bottom of the pan for brownies or bar cookies, and less expensive than cutting up a precut sheet of parchment paper.
triple layer pretzel krispies bars
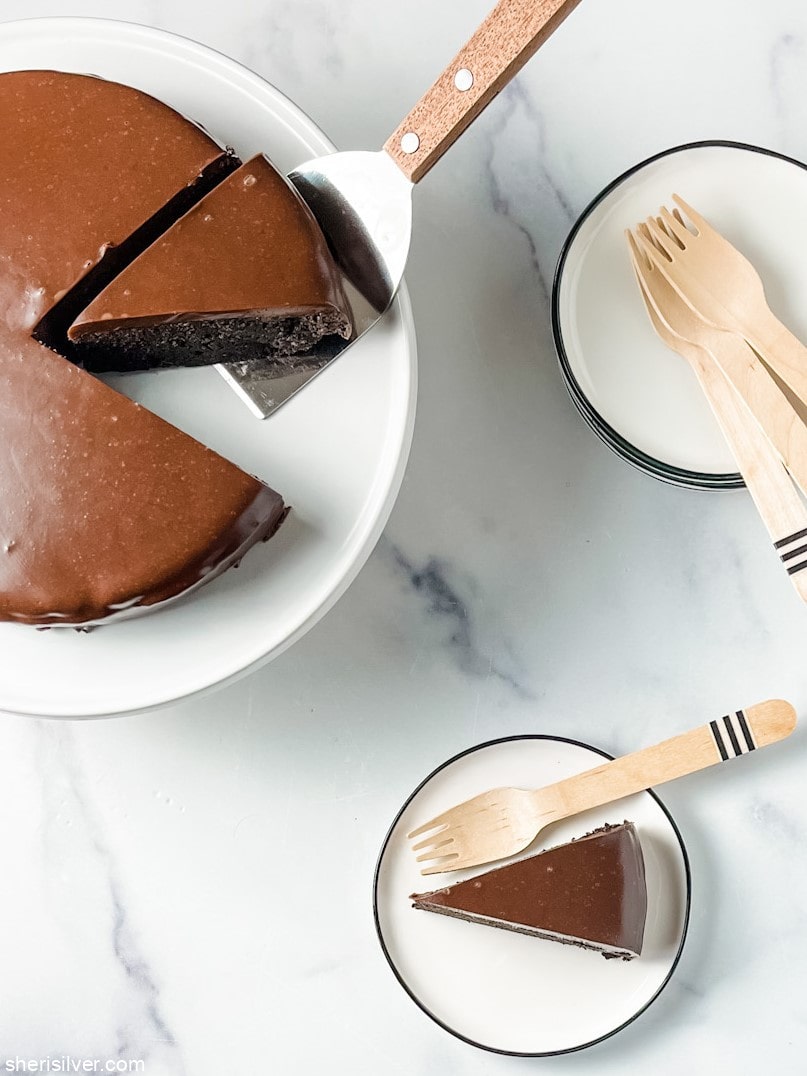
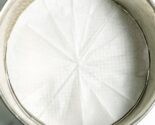
Finally there are my pre-cut parchment rounds. I make a lot of layer cakes so having pre-cut 9″ rounds are handy for popping into the bottom of a round cake pan. They are also easier to trim to size for a smaller round pan, so I like to have them on hand.
how do you use a parchment liner?
Parchment paper liners can be used in a few ways, depending on the baked goods you’re making. I’m going to share the four most common ways I use parchment pan liners for baking!
The first, and most common way I line a baking pan is to use a combination of parchment paper, cooking spray and flour. This is a classic way to prep a pan and the one I’ve used the longest. You’ll start by cutting a piece of parchment to fit the bottom of the pan. Set it aside. Now give the sides and bottom of the pan a light spray with cooking spray. Pour a spoonful of flour into the bottom, and begin tilting and tapping the pan so that the flour sticks to the sides and bottom. Tap out any excess flour. Place your circle or square of parchment in the bottom of the pan, spray and flour again, tapping out any excess.

I’ve seen over the years vegetable oil, coconut oil and olive oil used in place of cooking spray. You’d use a pastry brush to apply and then follow up with the flour as above. These are certainly fine options but I love the convenience of the spray.
There are also sprays that combine the cooking spray with flour, for an all-in-one product. These are sometimes called “pan release” or “quick release” sprays, but I’ve personally never used them. Expensive cake release sprays are just one more item to have in my pantry and I do try to be somewhat minimal!
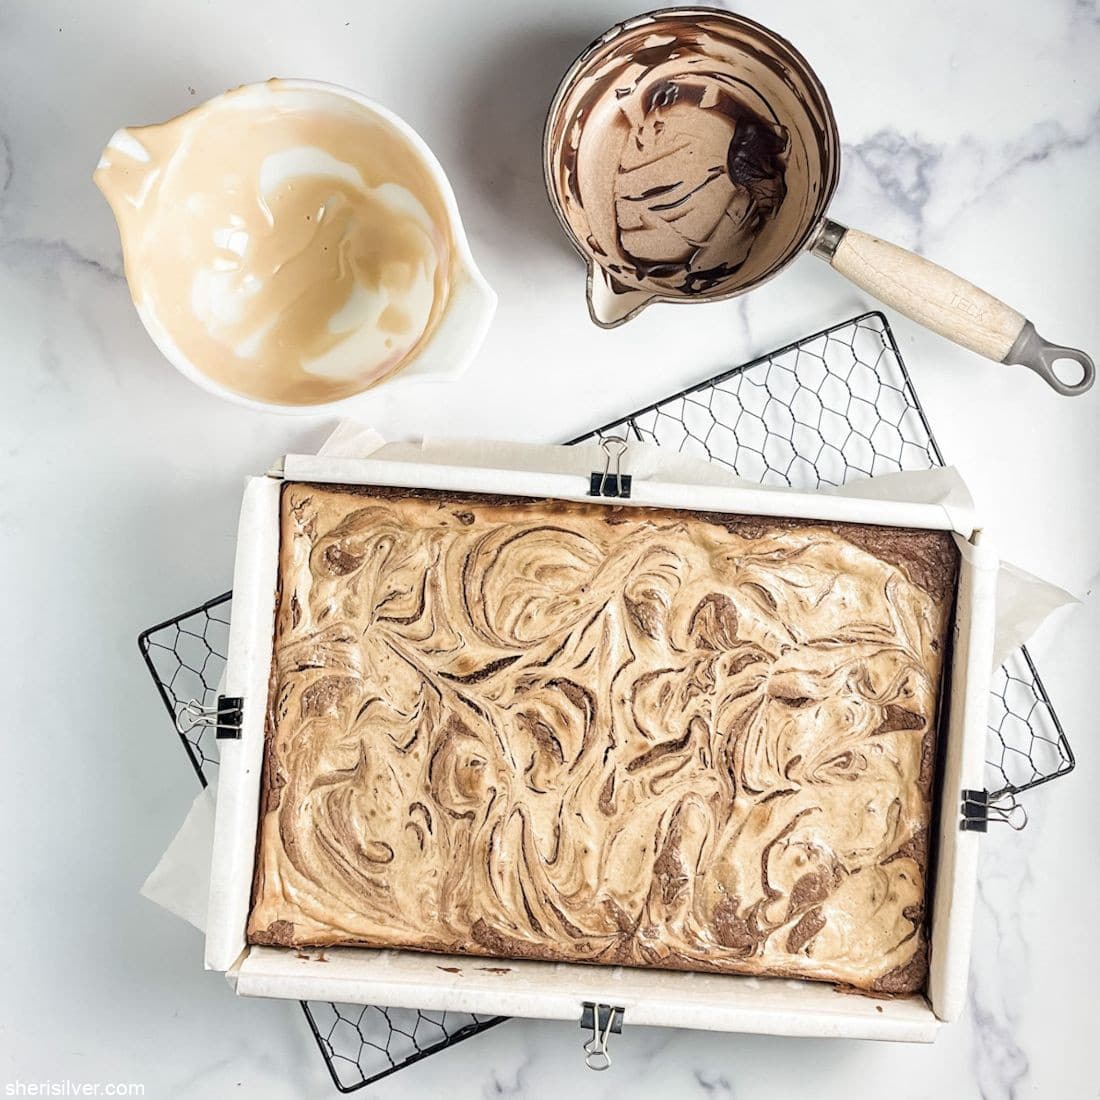
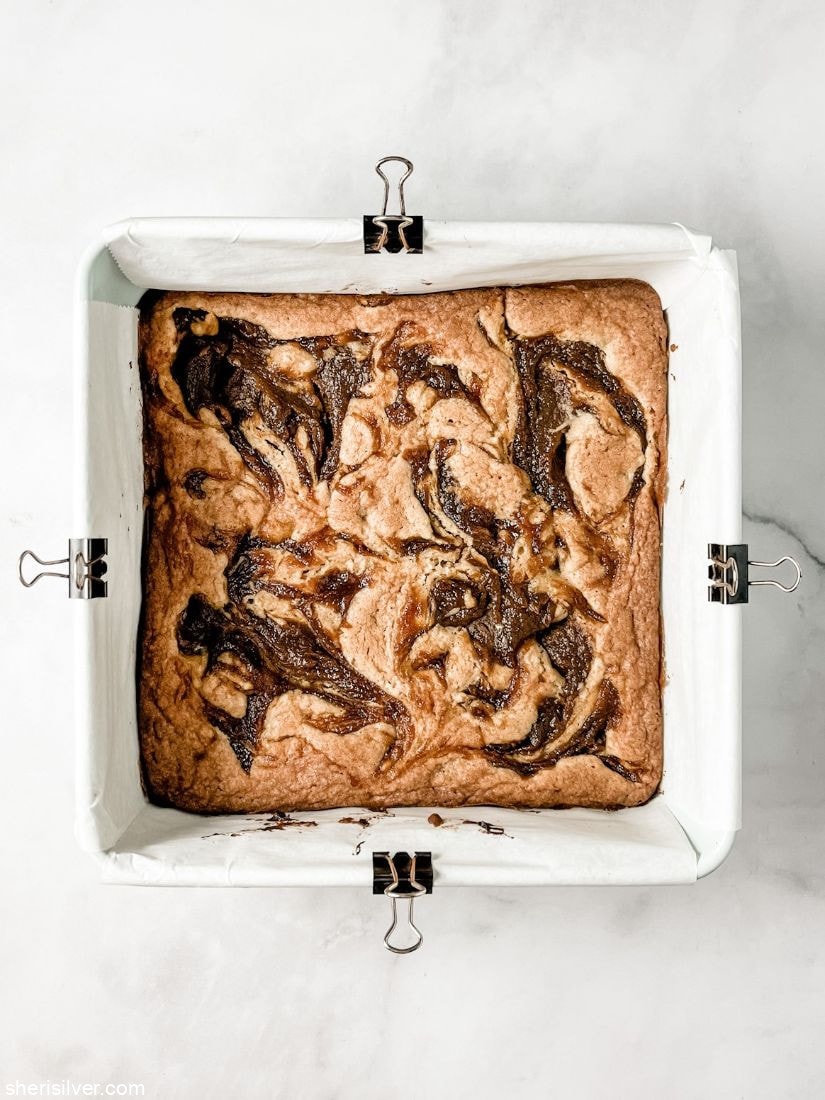
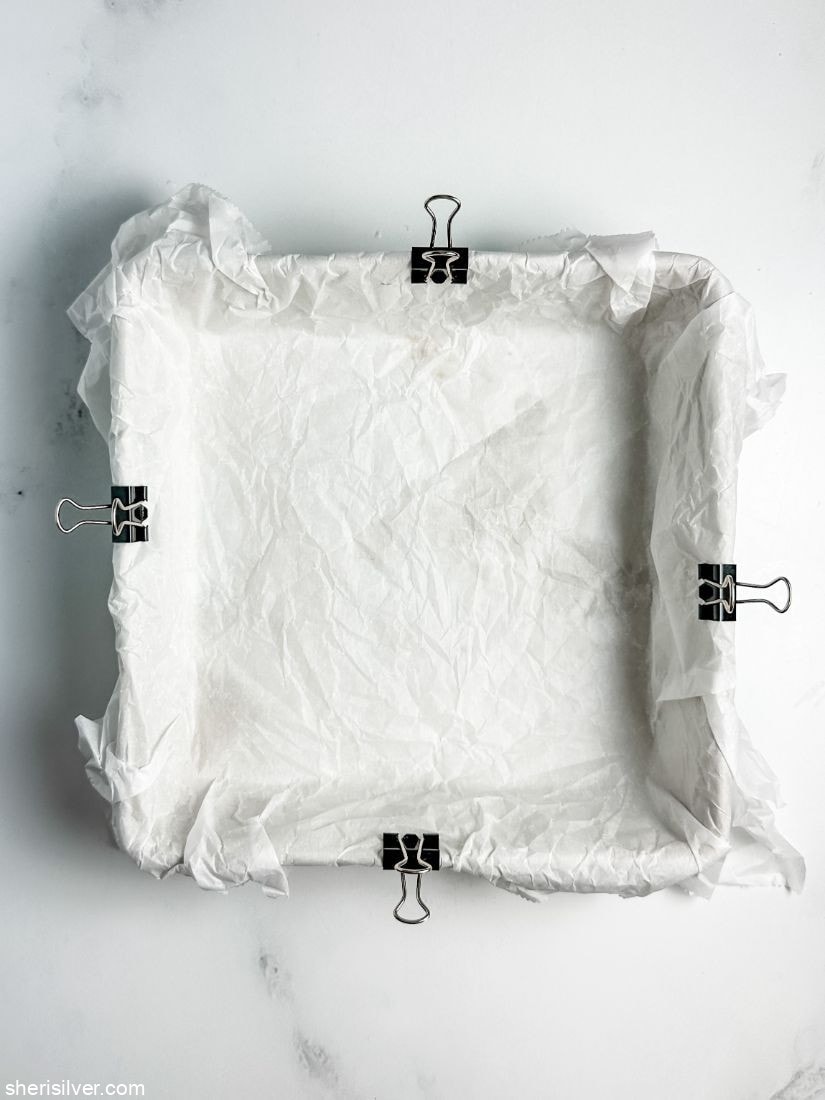
The second method I use is sometimes called the “sling” method. This is very useful when making bar cookies, brownies, or baked goods that you wouldn’t want to invert out of the pan – say, a coffee cake with a crumb topping.
To make a sling, you’ll cut a piece of parchment into a long strip that is the width of one side of your pan, plus the two sides, plus an inch or two to come beyond the top.

You’ll then cut a strip for the opposite side, measuring the same way. You’ll lay one piece over the other, which should now completely cover the bottom and sides, with pieces sticking up all around.

I like to secure those pieces with binder clips (make sure the clips are all metal, with no plastic or rubber coatings), so that they don’t fall into the batter.

This method requires no spray or flour and makes for easier cleanup too. This can be a big time saver if you’re doing a lot of baking and cooking!
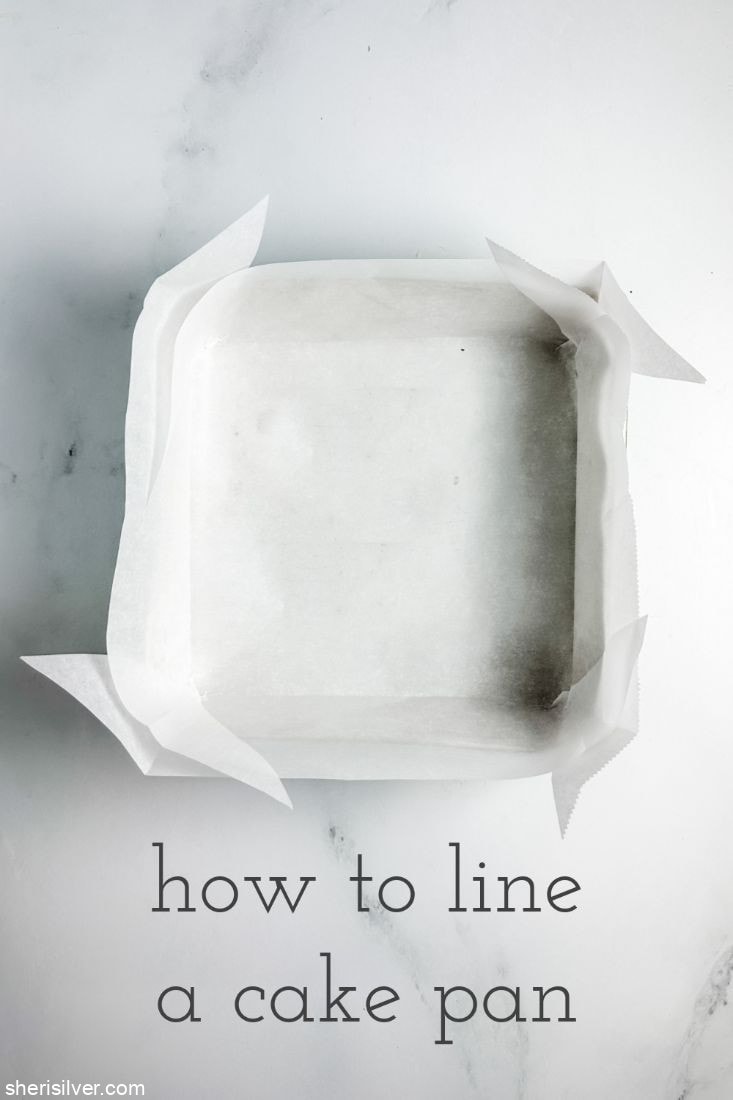
The last two methods involve lining the entire pan with a single sheet of parchment paper. Check out the short video I made, below, to demonstrate the “neat way”! Tear a piece of parchment paper that is large enough on all sides to cover the bottom of the pan and come up just beyond the sides, as shown:

Place your pan in the center of the paper so that the sides all around are even. With a pair of scissors cut a slit from the corner of the paper to the corresponding corner of the pan. It will look like this when you are through:

Now fold in the four sides to create creases that will allow the paper to fit perfectly into the bottom of the pan:

Place the sheet into your pan and tuck the cut ends around for a smooth fit. Here again you can use binder clips to secure.

If I’m rushed/feeling lazy/can’t even I will crumple a large piece of parchment (to soften it and make it easier to work with) and tuck it as best as I can into the pan, again, securing with binder clips. This will not yield the smoothest sides but is just fine for things like brownies and other bars.
frequently asked questions!
can I use a silicone mat in place of a parchment sheet?
can I use nonstick sheet pans in place of parchment paper?
how do you line a tube or bundt pan?
does parchment paper have any other uses?
Whether you make a lot of cakes or are just a seasonal baker, keep a roll of parchment paper around – and let me know how you use it!
SHOP THE POST!

Please note that this post contains affiliate links. As a Rewards Style influencer I earn a small commission from qualifying purchases – at no additional cost to you.
Related posts:


2 Comments
Leave a Comment

Hi! I'm Sheri!
Welcome to my little corner of the web where you’ll find easy, delicious recipes, the best kitchen hacks and simple tips for turning your home into a clean haven that is free of toxins. So glad you’re here!

This is brilliant! I’ve been using binder clips to keep the sides in place, all because of you!!
I’m so glad! I never knew that you could put them in the oven and it’s been a game changer ever since!