put those mesh produce bags to work to make your own nylon scrubber!
If you’ve got a bunch of nylon net produce bags lying around I’m going to show you how to make a nylon scrubber – it’s so easy!

got bags?
I don’t know about you but winter always finds me flush with those nylon netting produce bags – from clementines, onions and so many potatoes. I usually just throw them away but then I came across a cute DIY that I had to share!

do you use nylon pot scrubbers?
I ditched gross kitchen sponges years ago, and have been using (and loving) Swedish dishcloths instead (you can read more about them in this post!). But for tougher jobs – and I clean a lot of dishes throughout the day – I swear by my nylon scrubbies. They get the job done without scratching my good pots and pans, and are gentle enough to use on my vast collection of vintage dishware.
I never knew I could make my own!
I was determined to figure out an easy way to make these!
Once I decided to give this a try I did some research – as you know I’m not a big DIY-er and would never share anything complicated here. And my initial search was NOT encouraging – words like crochet hook, slip stitch and pattern kept popping up, and this was quickly becoming a hard pass. But then I found a video that looked similar to the one I originally saw and got to work!
what do you need to make a nylon scrubber?
No need to run to the shop to buy anything – the whole point here is to keep it simple and use what you have in your home. Here’s all you need to make the scrubber:
mesh produce bags
some sort of thread, twine or string
a needle
how do you make one?
You’ll first stack 4 – 5 net bags together (leave one aside). They don’t have to be the same shape or size – just stack them up and then stretch and flatten as best as you can.

Then fold the bags into a snug rectangle – this will form the body of the scrubber. I made mine about the same size and shape of the ones I use, but there’s no hard and fast rule here.

Now take that bag you put aside and wrap it around your rectangle. I had a smallish bag that was still intact so I was able to put the rectangle right inside and fold the edge over. Use your needle and thread to simply sew the edge shut (this is very easy, promise! I don’t sew!), fold it over and scrub away!

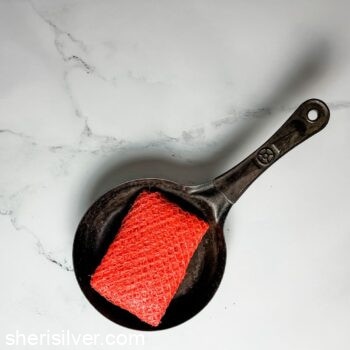
these really work!
It wasn’t long before I was able to put my little scrubbie to use and I have to say it worked better than I thought it would! And because it’s mesh throughout it dried quickly too.
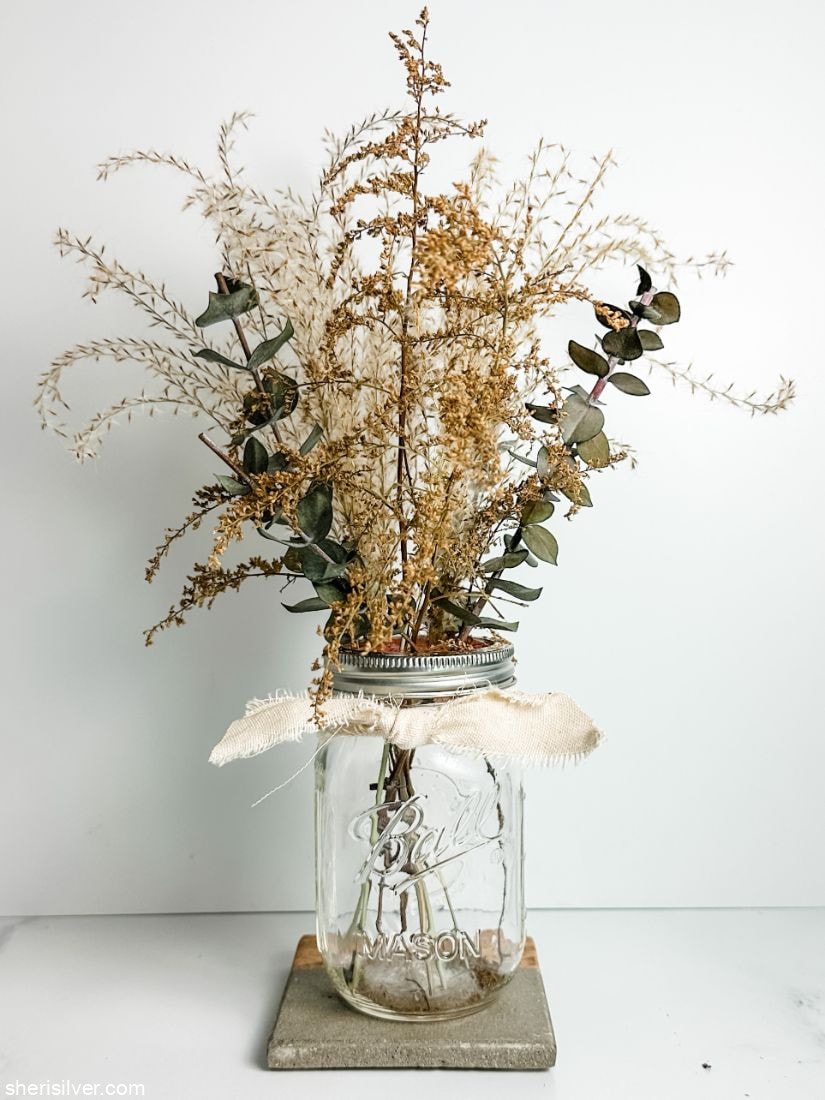
bonus tip!

Now that you’re sure to be amassing a collection of nylon bags, here’s my other favorite way to use them!

Stretch a piece of nylon netting over the mouth of a mason jar. Replace just the ring of the lid to secure the mesh and trim off any excess. Voila! You have a perfect flower arranger! You can wrap some twine or ribbon around the neck of the jar to conceal any rogue bits of mesh that peek through.
Let me know if you try it!
How to Make a Nylon Scrubber!
Ingredients
- 6 nylon mesh produce bags
- needle
- string or twine
Instructions
- Stack 4 - 5 bags together (leave one aside). They don't have to be the same shape or size - just stack them up and then stretch and flatten as best as you can.
- Fold the bags into a snug rectangle - this will form the body of the scrubber.
- Take the bag you've put aside and wrap it around the rectangle. Fold the edge over itself and sew it to the body of the bag.
Related posts:


2 Comments
Leave a Comment

Hi! I'm Sheri!
Welcome to my little corner of the web where you’ll find easy, delicious recipes, the best kitchen hacks and simple tips for turning your home into a clean haven that is free of toxins. So glad you’re here!

This is brilliant! For both making a scrubber and using on top of a jar for flowers!
Thanks Annie! I’ll never be at your level but you always inspire me!