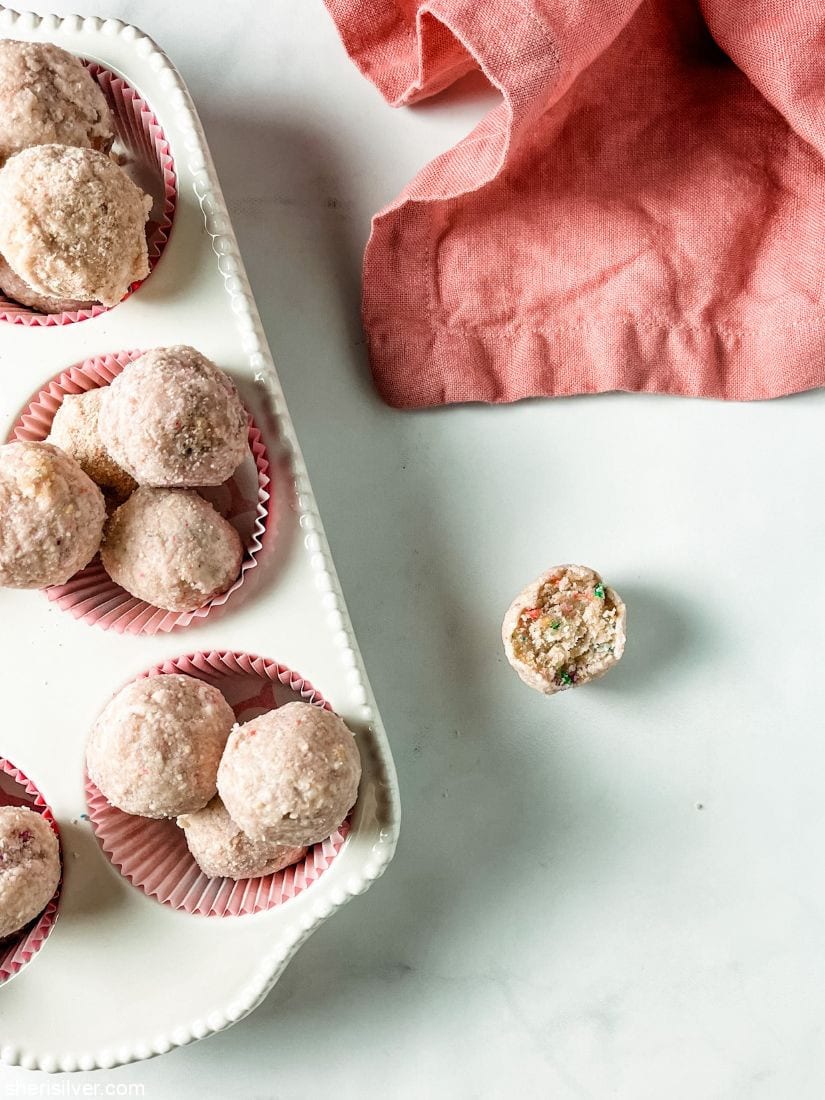
I made milk bar birthday cake truffles!
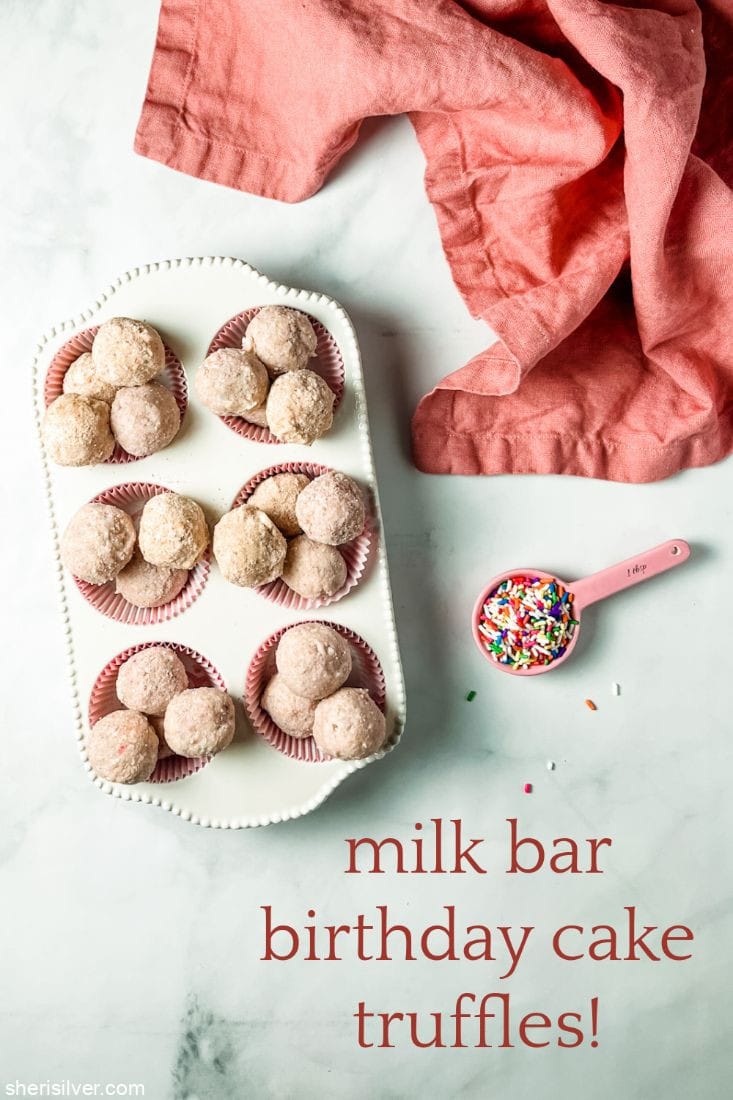
I was psyched to have the opportunity to make milk bar birthday cake truffles, as I knew they were a cult favorite and always wanted to try my hand at them!
what are milk bar birthday cake truffles?
A mouthful, right? Longtime readers know what a fangirl I am of the inimitable Christina Tosi, baker extraordinaire and founder of the one and only Milk Bar bakery. I’ve made many desserts from her classic cookbook but the one I’m most closely associated with is the now-iconic Birthday Cake. Probably (?) because I make it for Chelsea’s birthday. Every. Single. Year.
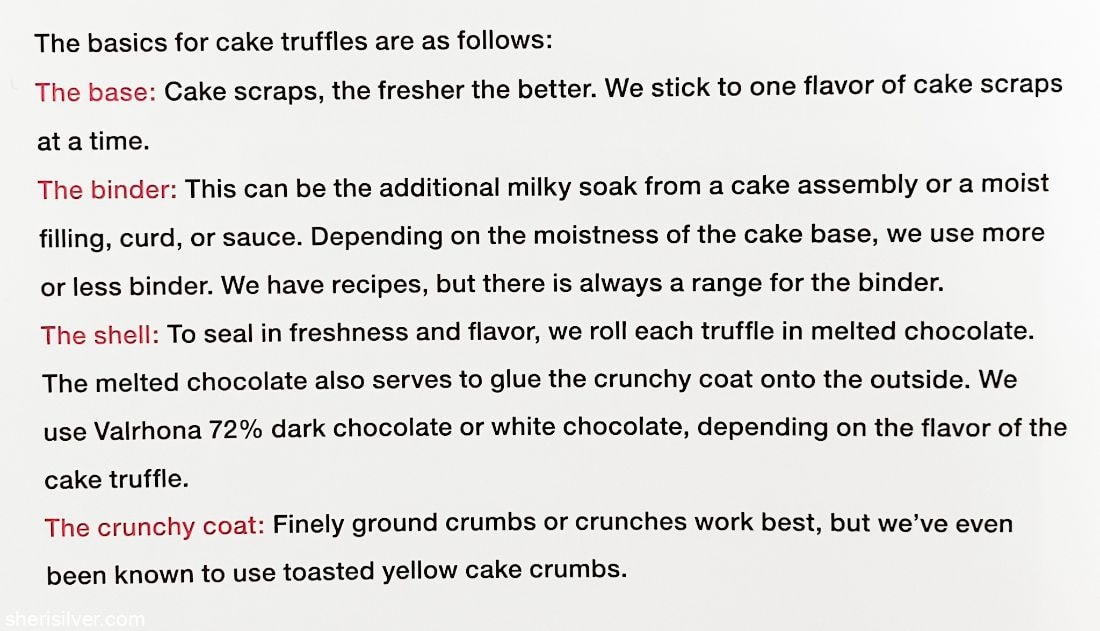
But I only knew of the truffles from seeing them in the Milk Bar shop. And since the only “recipe” for them in the cookbook was way too vague for this card-carrying-recipe-follower, I never really knew what they were:
the special request that changed everything…………
And then a few months ago a very good friend asked me to make – you guessed it – birthday cake truffles! And since I don’t say no to this very good friend I had to figure it out.
I went back to my book, hoping that always-too-vague recipe would somehow magically now have actual measurements! Detailed instructions! Nope. BUT. As luck would have it, right on the Milk Bar web site was, in fact, a recipe for birthday cake truffles! And I finally learned what they are:
From Christina Tosi: My favorite offering at Milk Bar is our cake truffles, spawned entirely from leftover bits and pieces of cake! You can choose to follow the recipe, or get crazy, without our guidance, using leftovers to concoct your own. Don’t limit yourself to birthday cake; you can use any cake scrap and any leftover fillings, crumbs, or crunches from your kitchen!
I ignored these silly suggestions of “getting crazy”, and “no guidance”, and proceeded to slavishly follow the recipe.
what’s in these truffles?
Much like the cake itself, the truffles have four main components:
Birthday cake (natch)
Vanilla milk
Birthday “sand”
White chocolate
how do you make them?
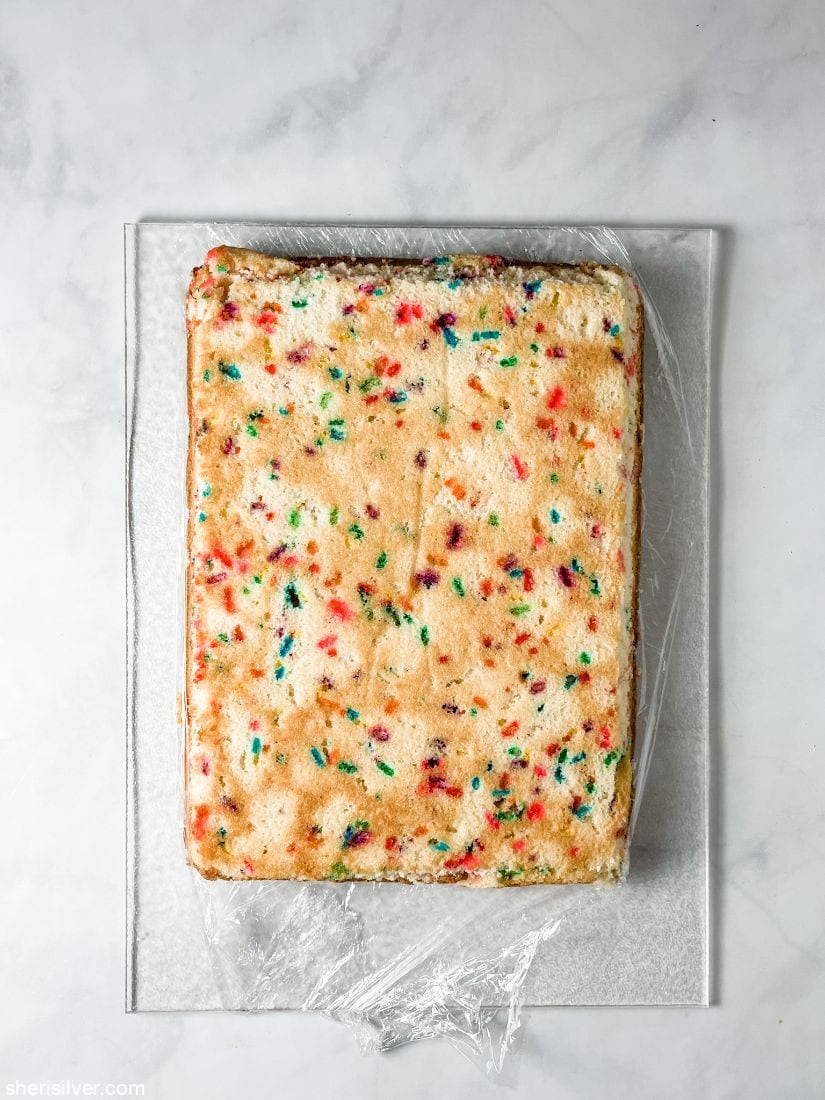
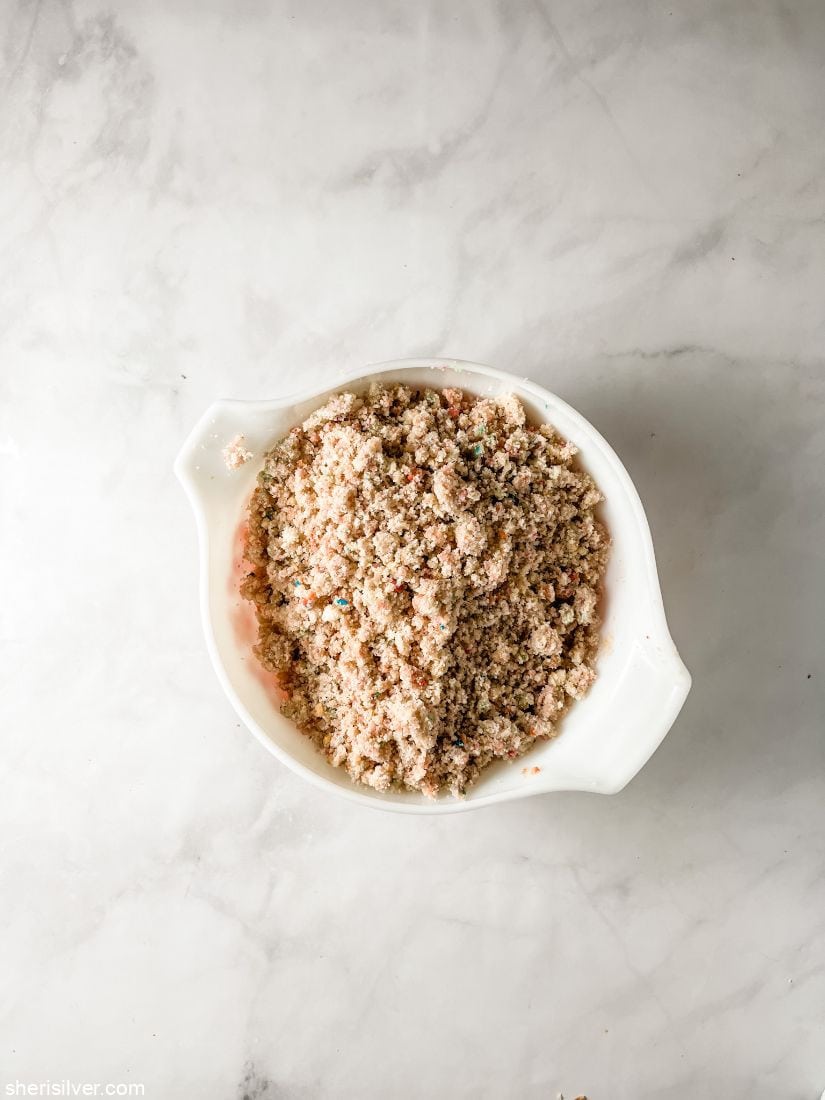
Again, much like the cake recipe, you start with a birthday cake baked in a quarter sheet pan. And, much like the recipe, you make a simple soak by whisking vanilla extract and milk. You break up the cooled cake in a large bowl and toss it with the vanilla milk till the crumbs hold together (if you’ve ever made cake pops the process is very similar).
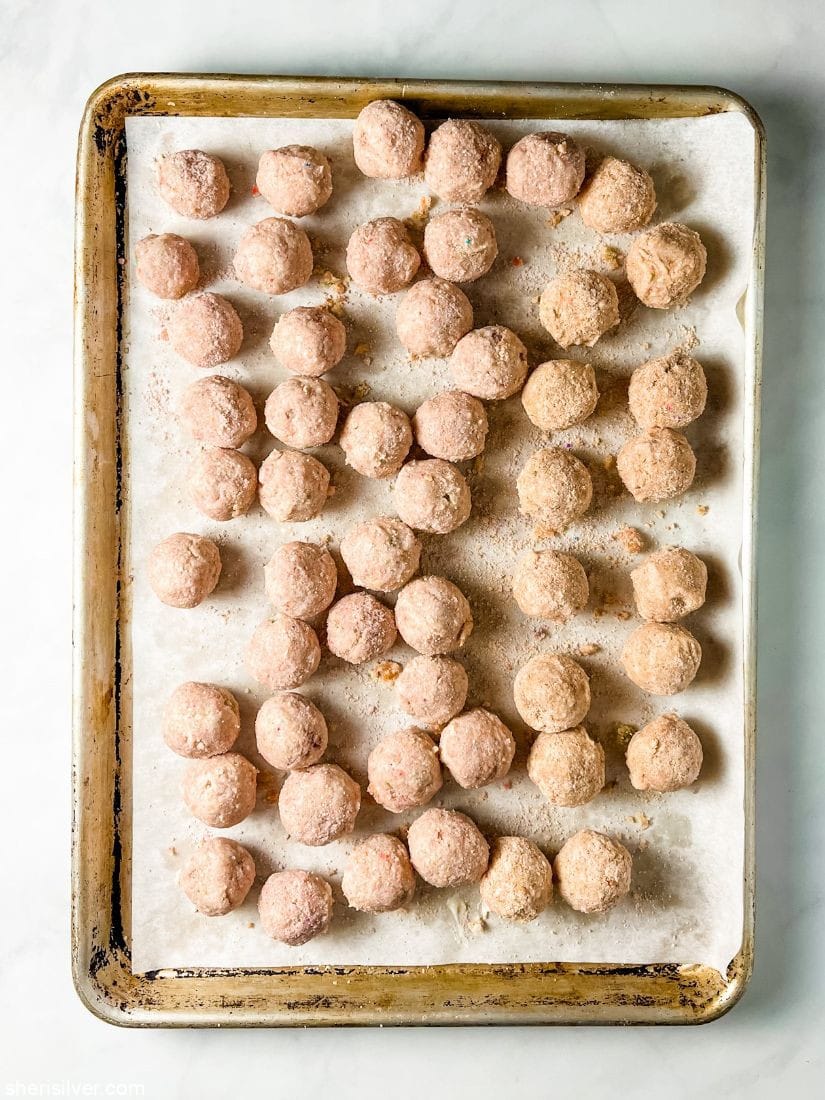
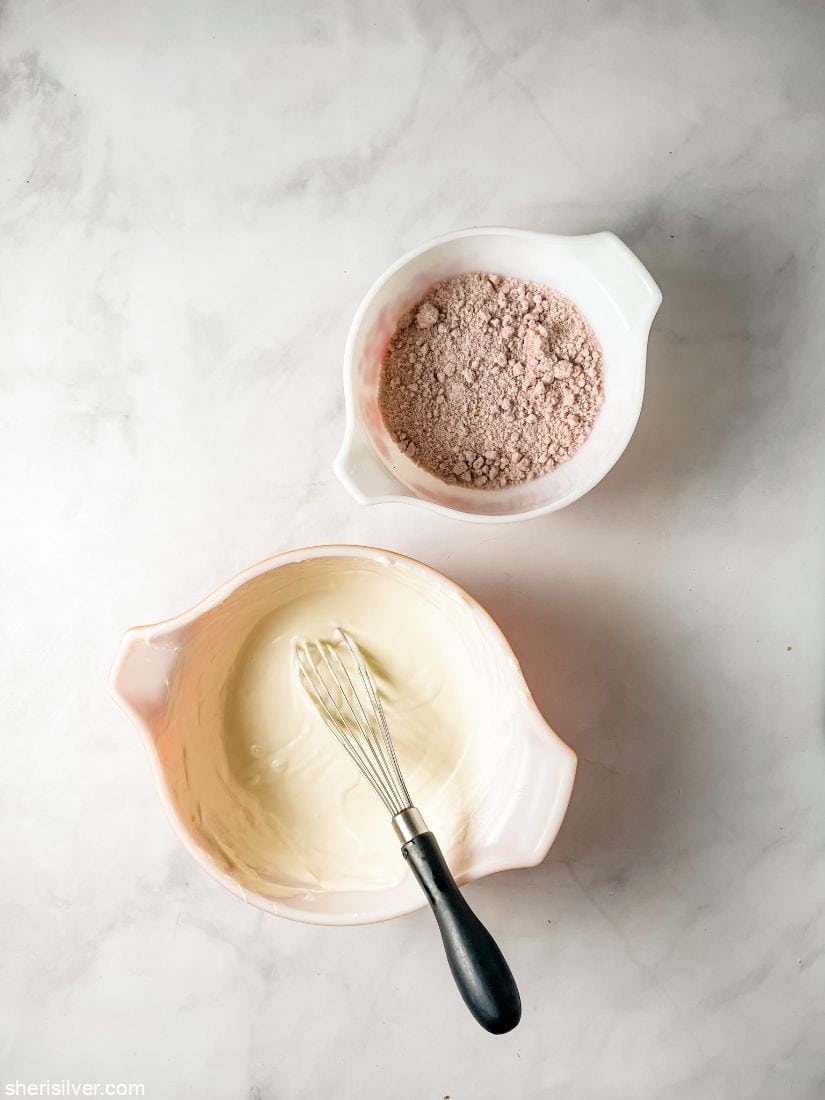
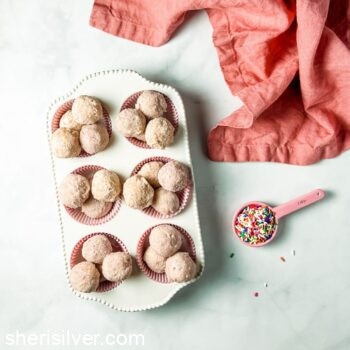
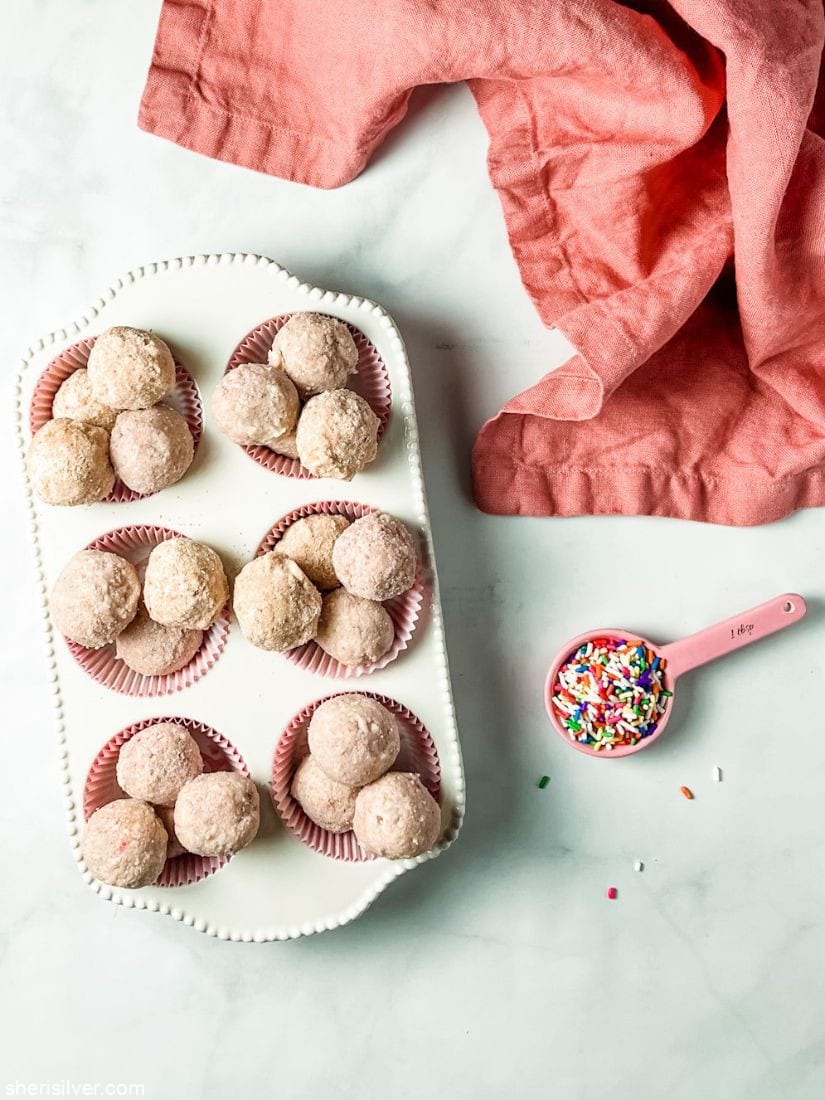
The truffles are then coated in white chocolate and tossed in birthday “sand” – which is very similar to the birthday “crumb” in the cake recipe, but the mixture is processed to the consistency of – you guessed it – sand, so that it adheres to the melted chocolate. That’s pretty much it!
this recipe had some issues!
So I’ve always maintained that Milk Bar cookbooks and recipes are THE BEST. That if you follow them exactly you will 100% have success. Not so much with this one (sorry, Christina). Let’s break it down:
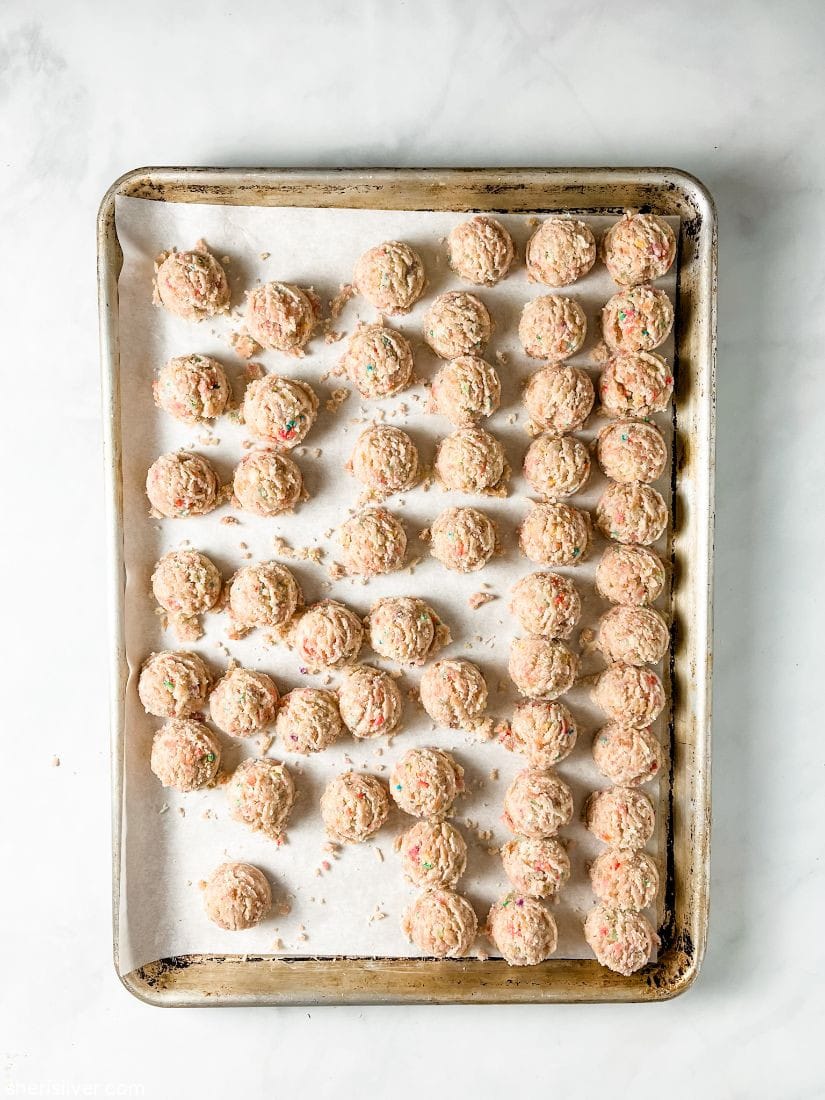
1. To start, the recipe claims to yield “about one dozen 1-ounce cake truffles”. That’s 12 truffles. From an entire cake. I knew this couldn’t be right. Twelve?
2. There was not nearly enough “sand” or white chocolate for what turned out to be the ACTUAL yield, which was 54 truffles. FIFTY FOUR.
3. Finally, there was the process of coating the truffles in the white chocolate and birthday sand. The recipe suggests donning latex gloves and proceeding as follows:
“Put 2 tablespoons of the white chocolate in the palm of your hand and roll each ball between your palms, coating it in a thin layer of melted chocolate. [Then] put 3 or 4 chocolate-covered balls at a time into the bowl of birthday cake sand. Immediately toss them with the crumbs to coat, before the chocolate shell sets and no longer acts as a glue (if this happens, just coat the ball in another thin layer of melted chocolate).”
I actually attempted this before realizing that I was going to have a huge mess on my (gloved) hands, and that the chocolate would harden long before I had coated all of the truffles.
not to worry – I fixed everything!
Longtime readers will also not be surprised to learn that I’m nothing if not tenacious. Failure was NOT an option here; I was making those damn truffles! It was an easy fix, and THIS recipe will absolutely yield success. I simply scaled up the ingredients for the white chocolate and birthday sand, and used my tried-and-true method for coating various things in melted chocolate.
would I make them again?
Hmm. Personally, I am not a “birthday cake” fan – but they WERE a big hit, and if they were requested again (by someone special, of course) I’d have a hard time saying no. Ironically, the layer cake is way less work and IMO more impressive. But I couldn’t deny that the truffles were better suited for the party that they were made for, as the yield was huge (did I mention FIFTY FOUR truffles?), and no slicing/serving messiness.
Let me know if you try them, and what you think!
Milk Bar Birthday Cake Truffles
Equipment
Ingredients
For the birthday cake:
- 4 tablespoons unsalted butter, at room temperature
- 1/2 cup shortening
- 1 1/4 cups granulated sugar
- 3 tablespoons packed light brown sugar
- 3 large eggs, at room temperature
- 1/2 cup buttermilk
- 1/3 cup grapeseed or vegetables oil
- 2 teaspoons clear vanilla extract
- 2 cups flour
- 1 1/2 teaspoons baking powder
- 3/4 teaspoon kosher salt
- 1/4 cup + 2 tablespoons rainbow sprinkles, divided
For the birthday cake "sand":
- 6 tablespoons granulated sugar
- 1 1/2 tablespoons packed light brown sugar
- 1 cup flour
- 1/2 teaspoon baking powder
- 1/2 teaspoon kosher salt
- 2 tablespoons rainbow sprinkles
- 2 tablespoons grapeseed or vegetable oil
- 2 teaspoons clear vanilla extract
For the vanilla milk:
- 1/4 cup milk
- 1 teaspoon clear vanilla extract
For the white chocolate coating:
- 18 ounces white chocolate
- 3 teaspoons grapeseed or vegetable oil
Instructions
Make the birthday cake:
- Heat the oven to 350 degrees. Spray a quarter sheet pan with non-stick cooking spray and line with parchment paper.
- In a stand mixer fitted with a paddle attachment, beat the butter, shortening, and sugars on medium-high for 2 to 3 minutes. Scrape down the sides of the bowl, add the eggs, and beat on medium-high for 2 to 3 more minutes. Scrape down the sides.
- On low speed, pour in the buttermilk, oil and vanilla, raise the speed to medium-high and beat for 6 minutes. Scrape down the sides.
- On low speed, add the flour, baking powder, salt and 1/4 cup of the rainbow sprinkles. Mix just till the batter comes together, about a minute more. Scrape down the sides.
- Use an angled spatula to spread the cake batter in an even layer in the pan. Sprinkle the remaining 2 tablespoons of rainbow sprinkles evenly on top.
- Bake the cake for 30 to 35 minutes, or till set in the center and no longer jiggly. Cool in the pan on a wire rack. The cooled cake can be wrapped in plastic wrap and stored in the fridge for up to 5 days or frozen for up to one month.
Make the birthday cake "sand":
- Heat the oven to 300 degrees. Line a sheet pan with parchment paper.
- Beat the sugars, flour, baking powder, salt and sprinkles on low speed till well combined.
- Add the oil and vanilla and beat till the ingredients form small clusters. Pour onto your prepared baking sheet and bake for 15 minutes. Let the crumbs cool completely.
- Transfer the crumbs to a food processor and process until the consistency of sand. Store in an airtight container for up to one month in the freezer.
Make the vanilla milk:
- Whisk the milk and vanilla in a small bowl or measuring cup.
Make the truffles:
- Combine the cake scraps and vanilla milk in a medium sized bowl and toss with your hands until moist enough to knead into a ball. If needed, you can add up to 2 tablespoons more milk.
- Line a sheet pan with parchment paper.
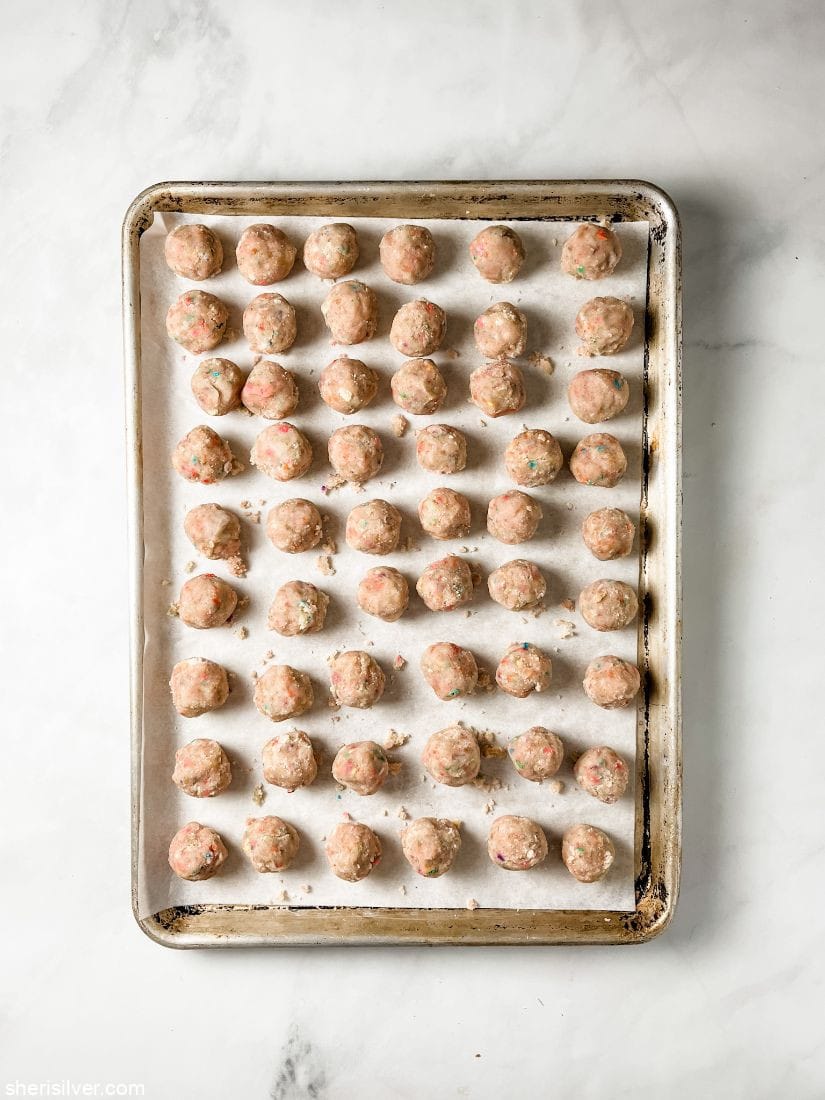
- Use a small ice cream scoop to scoop out the cake onto your baking sheet. Use your hands to roll each scoop into a smooth ball.
- Melt the white chocolate in the top half of a double boiler set over barely simmering water. Remove from heat and whisk in the oil until smooth and emulsified.
- Place the birthday cake sand into a medium bowl.
- Working with one ball at a time, use a fork to dip into the melted chocolate. Rap the handle of the fork against the rim of the bowl so that any excess chocolate drips off. Gently drop the ball into the sand and use another fork to toss the sand over the ball, coating it evenly. You can use your hands to re-roll if you like. Return to the baking sheet and repeat with the remaining ingredients..
- Refrigerate for 5 minutes to set the chocolate before serving. The truffles can be stored in an airtight container in the fridge for up to 1 week, or in the freezer for up to a month.
Nutrition
Please note that this post contains affiliate links. As a Rewards Style influencer I earn a small commission from qualifying purchases – at no additional cost to you.


4 Comments
Leave a Comment

Hi! I'm Sheri!
Welcome to my little corner of the web where you’ll find easy, delicious recipes, the best kitchen hacks and simple tips for turning your home into a clean haven that is free of toxins. So glad you’re here!

OMGGGGG! What a project!! Who knew! Now we know!
A labor of love FOR SURE. xo
I’ve been thinking about these since I saw them on your Instagram to the sound of The Cranberries. You make everything look beautiful (and always delicious), even a ball of cake! Your directions are perfect!
Thank you Annie! I appreciate this because I always hope that the recipes I share feel “doable” for any level of baker! xo