a milk bar cake “update”

Sharing a Milk Bar cake “update” today!
Over the last few years I’ve received a LOT of questions about the actual construction of the Momofuku Milk Bar cakes I’ve shared on the blog. Namely the Chocolate Malt Cake and the much-loved Birthday Layer Cake.

And since I make the latter Every. Single. Year. for Chelsea’s birthday, I took the opportunity this year to take a few more “step-by-step” photos of the process, with the hopes of making things a bit clearer. This is one of those recipes that – on a first go around – can be a bit unclear and confusing. But once you’ve made it the subsequent attempts are so much easier. As I love to bake – and have been baking for decades – I’m comfortable with challenging recipes, but never want to assume that you are as well.
I went back and forth a bit on the best way to show you the steps – should I put the pictures in the original posts, or create a brand new one?
So I asked a few friends and they suggested a new one – and that you print out the recipe so that you can look at both recipe and pictures side-by-side while you work.
Here goes!
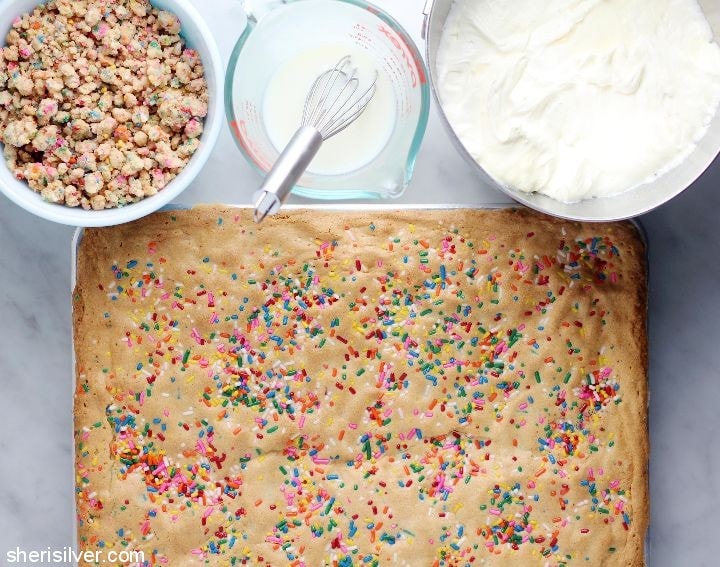
birthday cake crumb/soak/frosting/cake

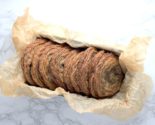
cake circles cut out – save the scraps for the bottom layer!

scraps go in first – pressed in and brushed with the “soak”
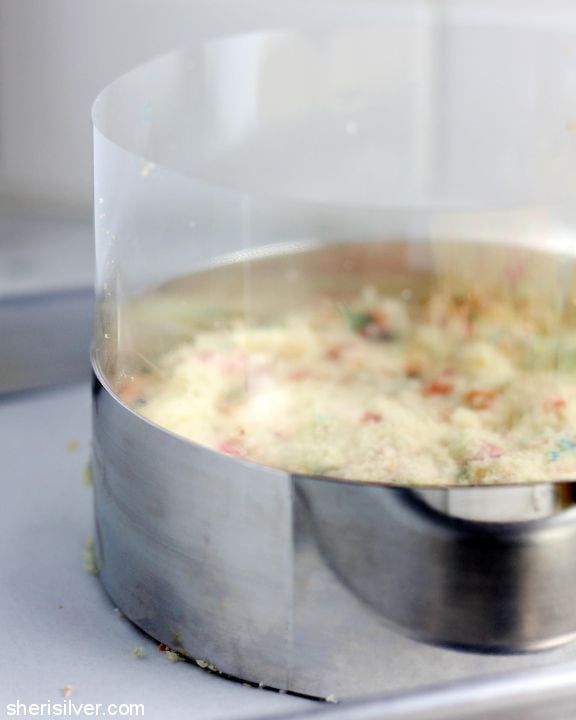
close-up view of the first acetate ring

first frosting/crumb/frosting layer

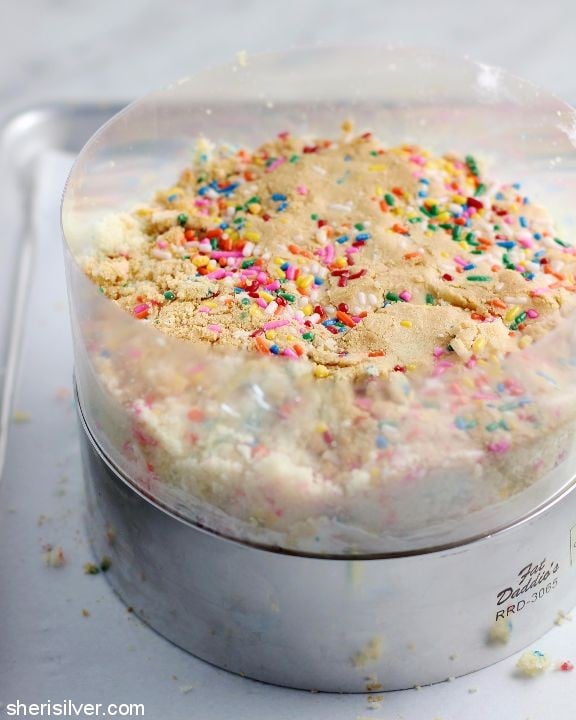
second acetate strip (tucked between the cake ring and the top of the first strip), followed by the second cake layer

another close-up – this one of the second acetate strip
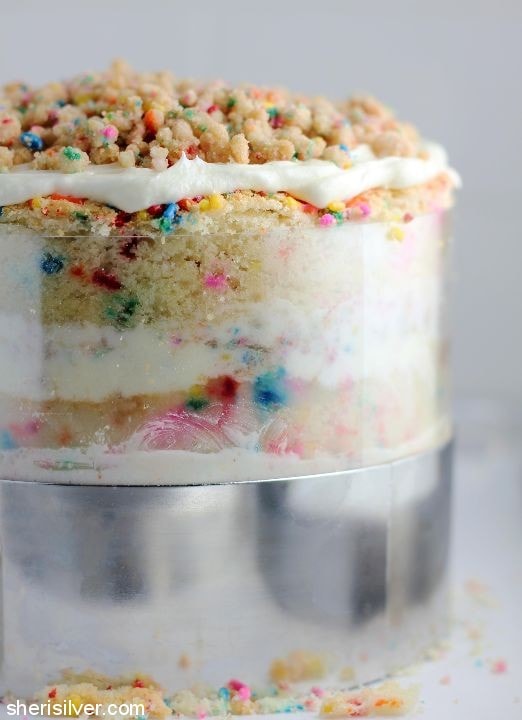
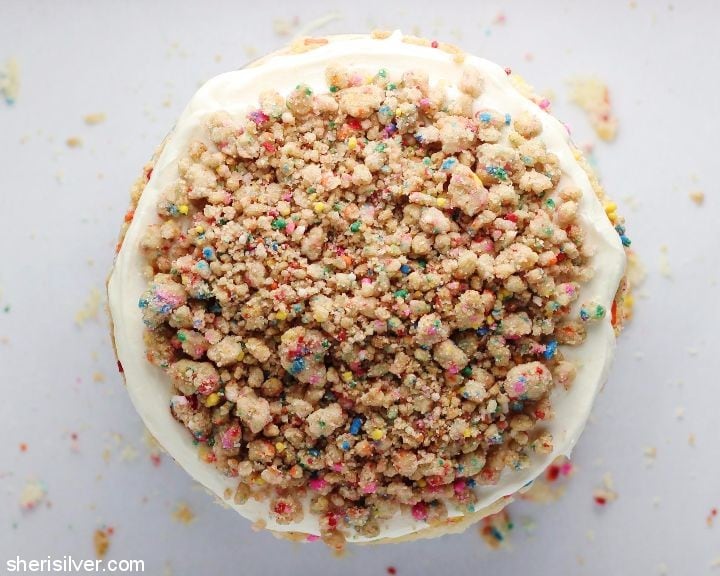
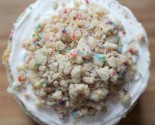
final layers – frosting/crumb/frosting, third cake layer, frosting/crumb
So what do you think? Was this helpful? Please let me know – there will be another cake next year for sure (but if you’re not inclined, at the very least make Crack Pie!)!


Hi! I'm Sheri!
Welcome to my little corner of the web where you’ll find easy, delicious recipes, the best kitchen hacks and simple tips for turning your home into a clean haven that is free of toxins. So glad you’re here!
