how to make these diy mini plaster cheese boards!
How fun would it be to serve up these diy mini cheese boards at your next gathering?

I love a DIY that yields foolproof results with little time and effort!
After sending out a survey last fall I was so surprised to learn that many of you really enjoy my DIY posts! Surprised, because this is, for the most part, a food blog! But I was kind of into it because I’m always up for a challenge and decided that I would do my best to share one DIY each month.
I strive for a few things when picking a craft to make and share with you all:
- easy (no sewing, drilling, sawing, hand tools)
- few materials, easily sourced
- relatively short amount of time to make
- seasonal-ish
And these mini cheese boards check all the boxes!
remember my jarcuterie from a few years ago?
While charcuterie boards have been having a moment for years now, I personally fell in love with the idea of jarcuterie – aka, individual charcuterie, served up in jars. So when I came across these mini cheese boards on Sugar & Cloth I had to try them!
These boards looked charming and adorable, and I envisioned them acting as plates-but-cuter, especially with the suede lace.
what materials do you need?
You need just a handful of materials – all linked below – that you can easily find at your local craft store or online:
- cardboard or plastic boxes and lids – I did a mix of cardboard boxes that I ordered and plastic take out containers that I had lying around. The size is up to you but I kept to around 4 to 6 inches.
- bottle caps or small bottles (like nail polish bottles) – I found that it was easier to use nail polish bottles than bottle caps. The caps have to be tall enough so they don’t get covered over by the plaster, and the bottles were also easier to remove when the plaster dried.
- petroleum jelly – you’ll need this to coat the box sides and bottoms, as well as the bottle, for easy removal of your boards.
- plastic take out containers – the quart size container from your take out place are perfect for stirring up your plaster mixture.
- plaster of paris – this is what the board will be made from!
- powdered pigment – this is easily found either locally or online. Of course you can leave your boards untinted for a concrete look (as I did on one of them), but I liked playing around with the different colors. Start with less pigment than you think as you can always add more for a deeper or more vibrant hue.
- popsicle sticks – for stirring.
- fine sand paper – this smooths out the edges once the boards have set.
- liquid matte medium and foam brush – this helps seal the boards and resist staining.
- suede lace – for a cute finish!

SHOP THE POST!
[show_shopthepost_widget id=”5019673″]
how do you make them?
For each cheese board you’ll need a cardboard or plastic “form”. Lightly coat the bottom and sides with petroleum jelly and wipe off any excess with a paper towel. Coat the sides and bottom of your bottle as well, and place it in the mold where you want your hole to be.
Pour 1 cup of the plaster of paris into a plastic container and add your pigment. The amount of pigment you add will depend on the intensity of color that you want. If you buy the pigment I used, for reference I added the entire packet for each board. In the case of the pink it was way too intense, but the other colors were more mellow and more to my liking. So add less and increase the amount if needed.
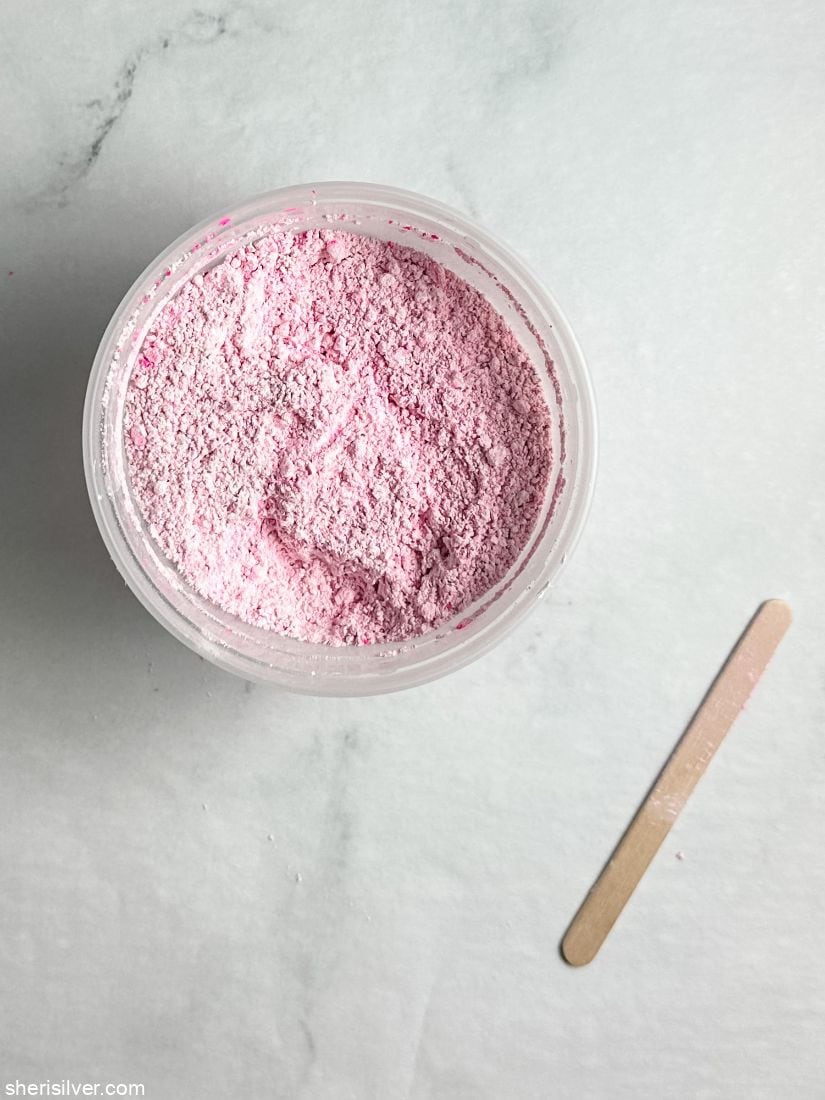
Use a popsicle stick to mix the plaster of paris and pigment together, then add about 1/2 cup of water and stir quickly and thoroughly. The consistency should be as thick as paint, smooth and “pourable”.

Immediately pour into your mold, using the stick to guide the mixture around the bottle. Gently shake and tap the mold to level the mixture and let set overnight.

I’ve never made any plaster of paris crafts before, so I had a bit of a learning curve. The first being that they are more prone to cracking than I expected! I tried popping the first board out of the mold and quickly learned that this was not the move. Instead, I used an exacto knife or scissors to cut down the sides, which released the boards easily.
I didn’t do too much sanding as I liked the rough texture and air bubbles, but you can take the sand paper around the edges to smooth out as you like.

Apply a layer of matte medium and let dry, then finish off the boards with your suede lace!

these adorable boards are perfect for parties!
Put a stack of these boards out at your next get together, alongside a spread of soft and hard cheeses, crackers, little bowls of nuts and preserves, fresh herbs and anything else you like on your charcuterie.
I honestly have NO idea of just how “food safe” these are, so place a small piece of wax or parchment paper on each board, which will also protect from any oils or food stains.

I think these would make a cute gift too! Pair a couple of boards with an assortment of charcuterie ingredients – a good cheese, jar of fig jam, bag of pistachio nuts and assorted crackers – and place in a gift basket! You can pair it with a pretty dish towel, some colorful cheese knives and a bottle of wine or sparkling seltzer.
Or go sweet with cookies, a tin of hot chocolate, a bag of coffee beans and maybe some rock sugar stirrers. And of course you can color the boards to coordinate with your gift or your decor!
Let me know if you try this!

DIY Mini Plaster Cheese Boards
Equipment
- petroleum jelly
- nail polish or other small bottle
- plastic quart sized container
- fine sand paper
Instructions
- Use your fingers to apply a thin layer of petroleum jelly to the sides and bottom of your box. Remove any excess using a paper towel. Do the same with the bottle, then place the bottle in the box where you want the hole to be.
- For each cheese board you'll need a cardboard or plastic "form". Lightly coat the bottom and sides with petroleum jelly and wipe off any excess with a paper towel. Coat the sides and bottom of your bottle as well, and place it in the mold where you want your hole to be.
- Pour 1 cup of the plaster of paris into the quart container and add your pigment. The amount of pigment you add will depend on the intensity of color that you want. If you buy the pigment I used, for reference I added the entire packet for each board. In the case of the pink it was way too intense, but the other colors were more mellow and more to my liking. So add less and increase the amount if needed.
- Use a popsicle stick to mix the plaster of paris and pigment together, then add about 1/2 cup of water and stir quickly and thoroughly. The consistency should be as thick as paint, smooth and "pourable". Immediately pour into your mold, using the stick to guide the mixture around the bottle. Gently shake and tap the mold to level the mixture and let set overnight.
- Used the exacto knife or scissors to cut down the sides of the mold and release the board. Wipe off any petroleum jelly.
- Sand down any rough edges if desired, then apply a layer of matte medium. Let dry, then add your suede lace.
Notes

Hi! I'm Sheri!
Welcome to my little corner of the web where you’ll find easy, delicious recipes, the best kitchen hacks and simple tips for turning your home into a clean haven that is free of toxins. So glad you’re here!
