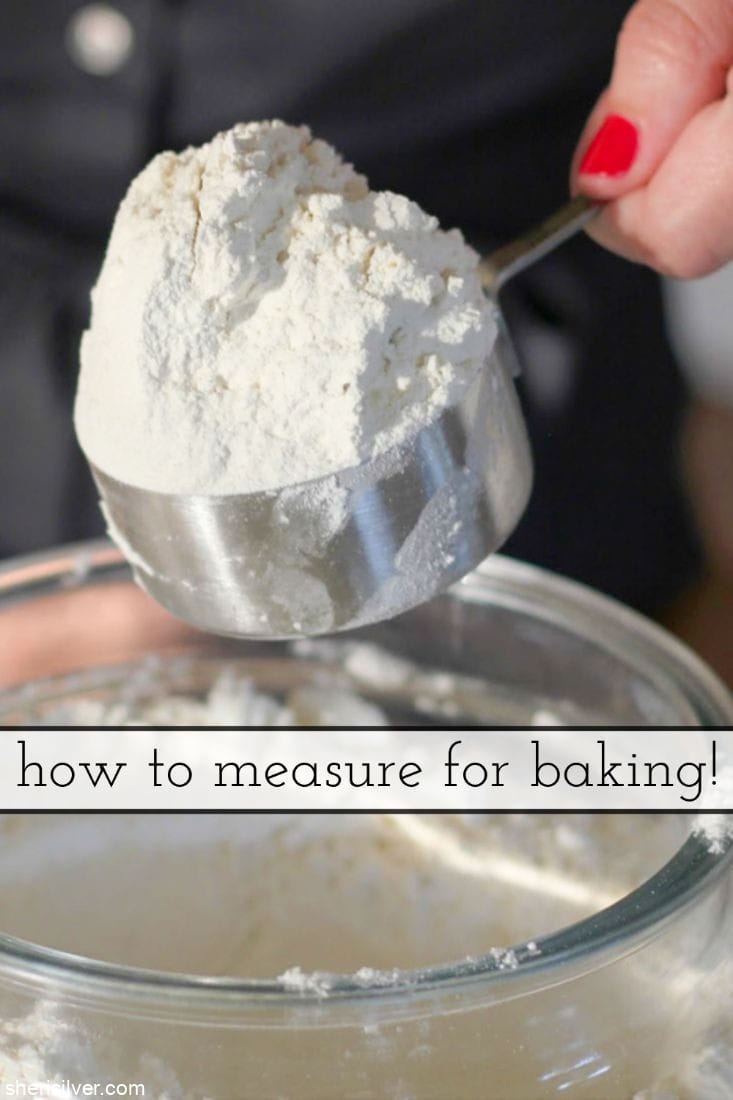
how to measure for baking!
Once you know these easy tips for how to measure for baking you’ll be able to tackle any recipe with confidence!
why it’s important to know how to measure for baking!
When cooking, a “pinch of this” or a “dash of that” typically won’t make an appreciable difference to the final dish. In fact, most experienced cooks take pride in tweaking recipes and making adjustments along the way.
But when it comes to baking? Not so much. Baking is much more of an exact science, with precision and attention to detail being critical to success. And this can spark fear in the hearts of even the most confident cooks, which is why you’ll often hear people say, “I love to cook but hate to bake”.
the most important factor to successful baked goods!
You may think that you need a kitchen full of fancy equipment to turn out perfect baked goods. But in fact, the key to success is in understanding how to correctly read the recipe, and how to measure baking ingredients. And once you learn the basic rules of how to measure ingredients for baking, you’ll be whipping up deliciously PERFECT cookies, cakes and brownies in no time.
dry and liquid ingredients are not measured the same way!
When measuring in baking one of the most important rules is to always measure your dry and liquid ingredients in the appropriate measuring cups. Dry measuring cups and liquid measuring cups are calibrated differently, so you’ll want to have both on-hand when baking.
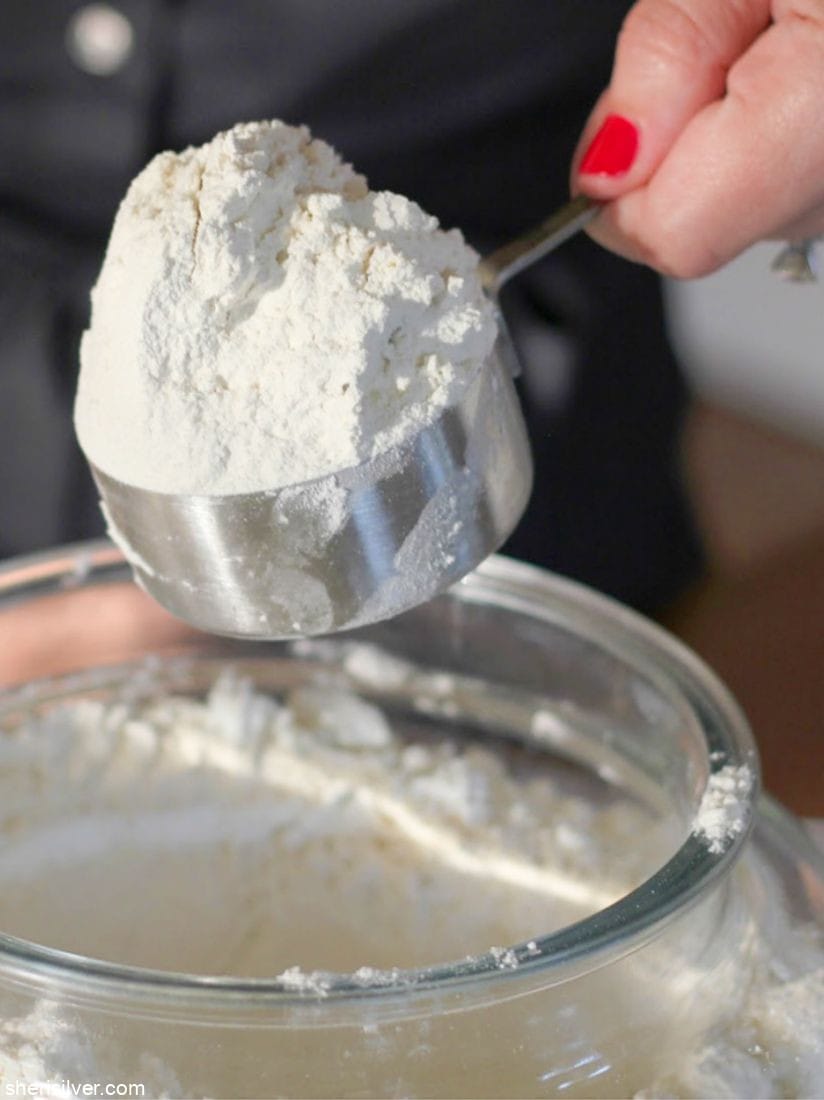
how to measure dry ingredients!
Always measure dry ingredients (sugar, flour, brown sugar, almond meal) in measuring cups, using the “scoop and level” technique. To do so, scoop your ingredient into the cup – without tapping or leveling – and then scrape the excess off with the edge of a knife:
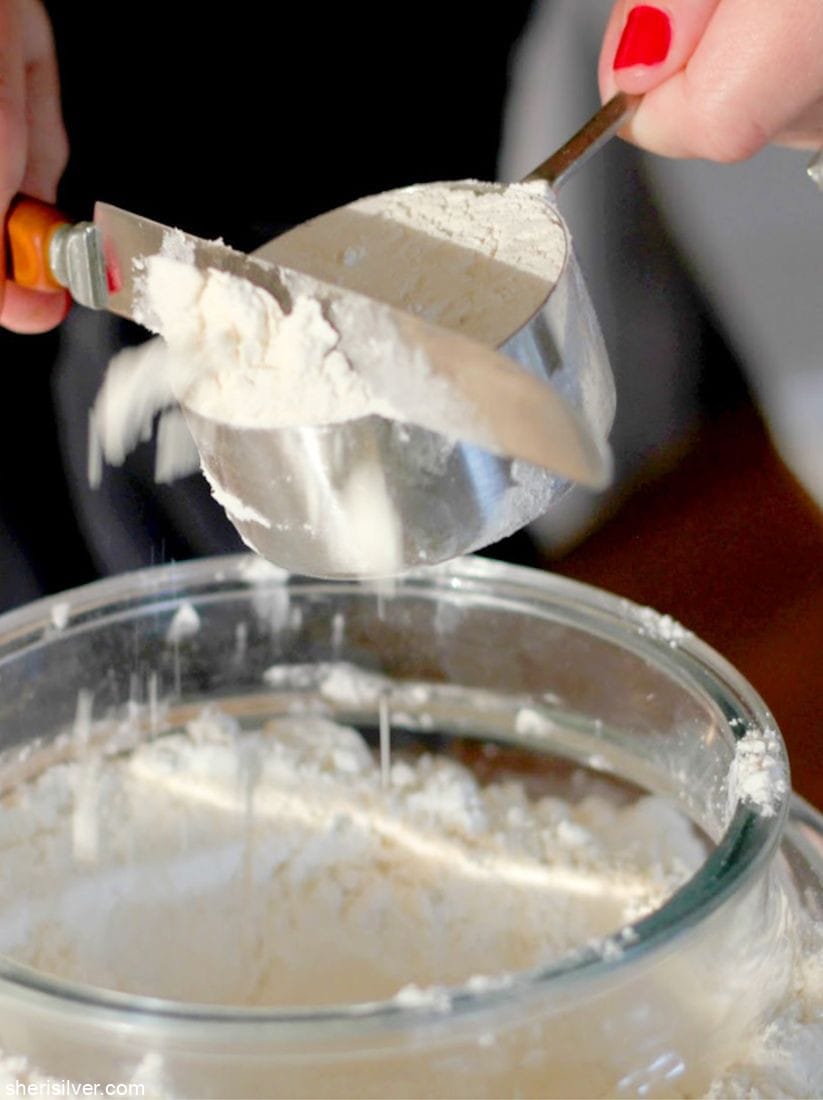
Resist the urge to shake or wiggle the cup, which will compress whatever is already in it and cause you to add too much to the cup.
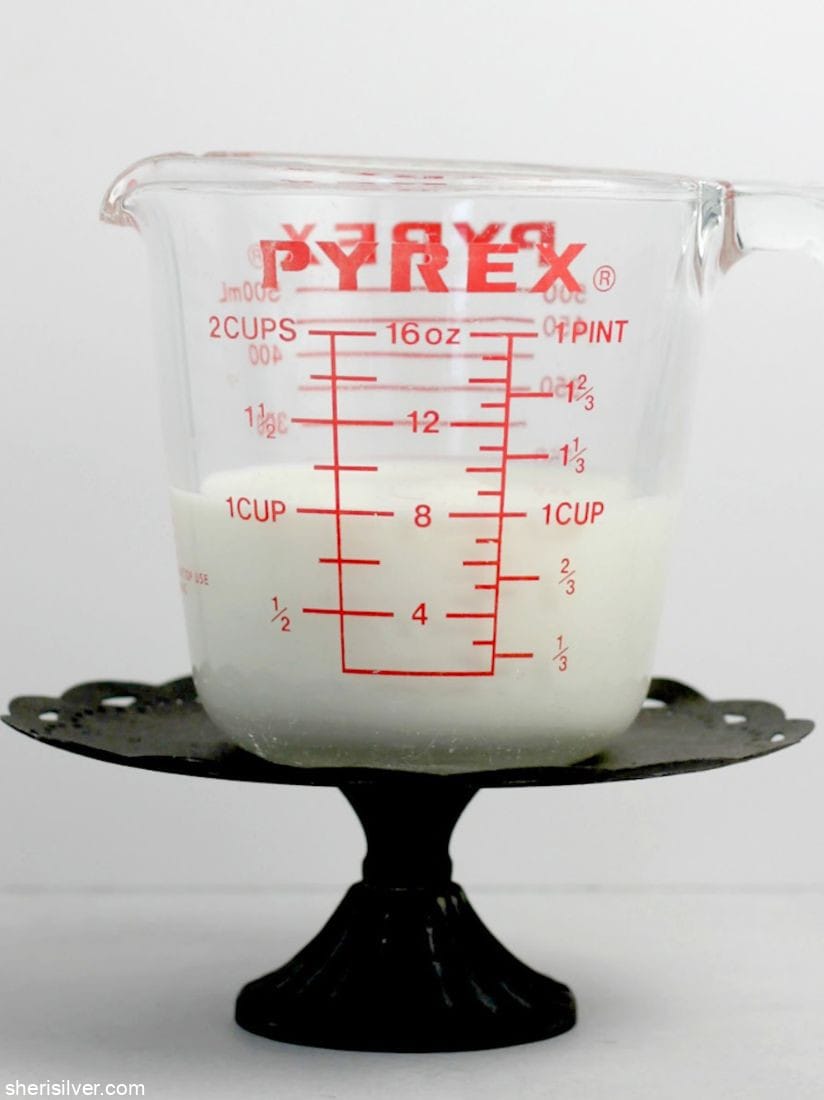
measuring liquid ingredients!
Liquids (milk, cream, juice) should always be measured in a spouted cup. To measure correctly, hold the cup at eye level and pour your ingredient to the correct line:
why I almost always weigh my ingredients!
While mastering these techniques will definitely help you turn out better baked goods, my hands-down favorite tool for measuring ingredients is my kitchen scale. Kitchen scales are a must-have if you do any kind of regular baking, for a number of reasons!
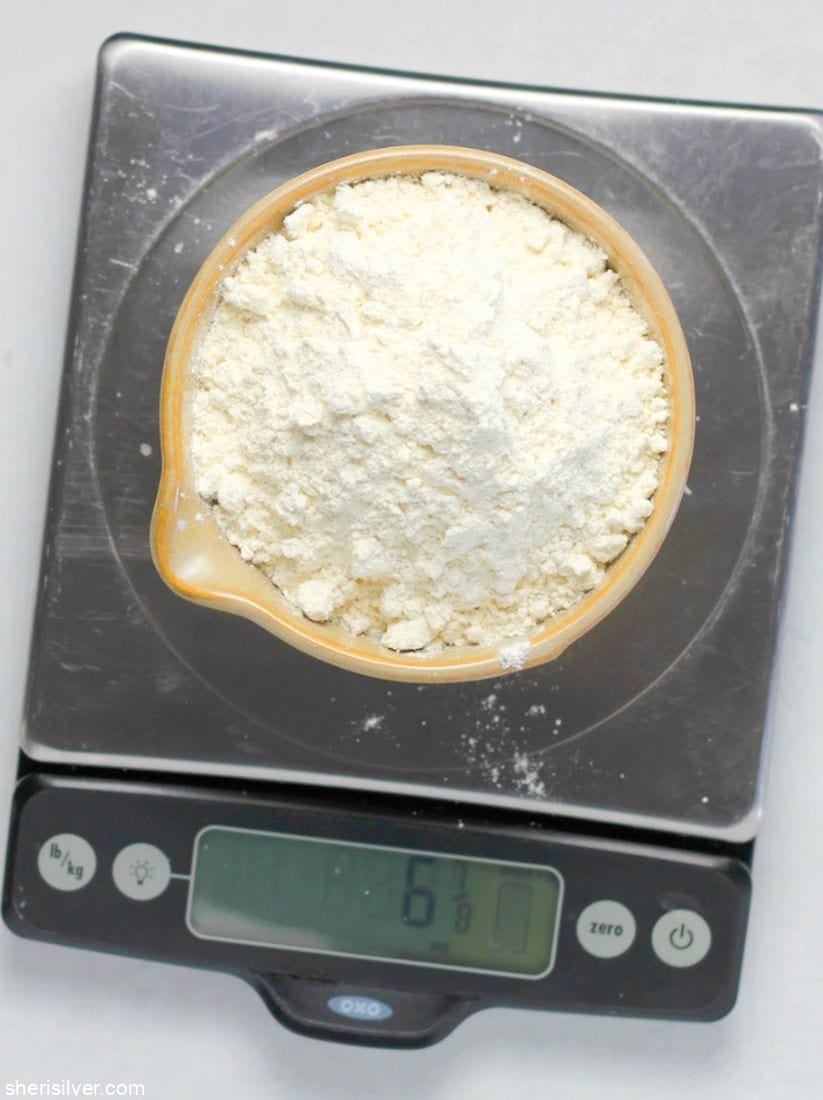
weighing ingredients is the most accurate – and consistent!
Even the most careful scoop-and-level will never be as accurate as a scale. Measuring by weight is simply more consistent, as one hundred grams of bread flour is always one hundred grams.
using a scale means fewer bowls – and less clean up!
Okay, does ANYONE like washing dishes? Weighing eliminates extra cups, bowls and measuring spoons. Simply place your mixing bowl on the scale, reset it to zero and add your first ingredient. Zero it out again and add your second ingredient. And so on.
here’s the exact conversion chart that I use!
As most baking recipes (particularly US ones) are not written in grams, I’m sharing a link to the conversion chart I have taped to the inside of a cabinet door. This allows me to easily convert my most commonly used baking ingredients from ounces to grams.
I’ve got two more baking tips for you!
If a recipe calls for chopped ingredients (like nuts, herbs or dried fruit), it will read in one of two ways:
“1/2 cup almonds, chopped”
OR
“1/2 cup chopped almonds”
These may look the same, but they are actually 2 different instructions. Here’s the difference:
For the first instruction, you’ll measure a half cup of almonds, and then chop them up.
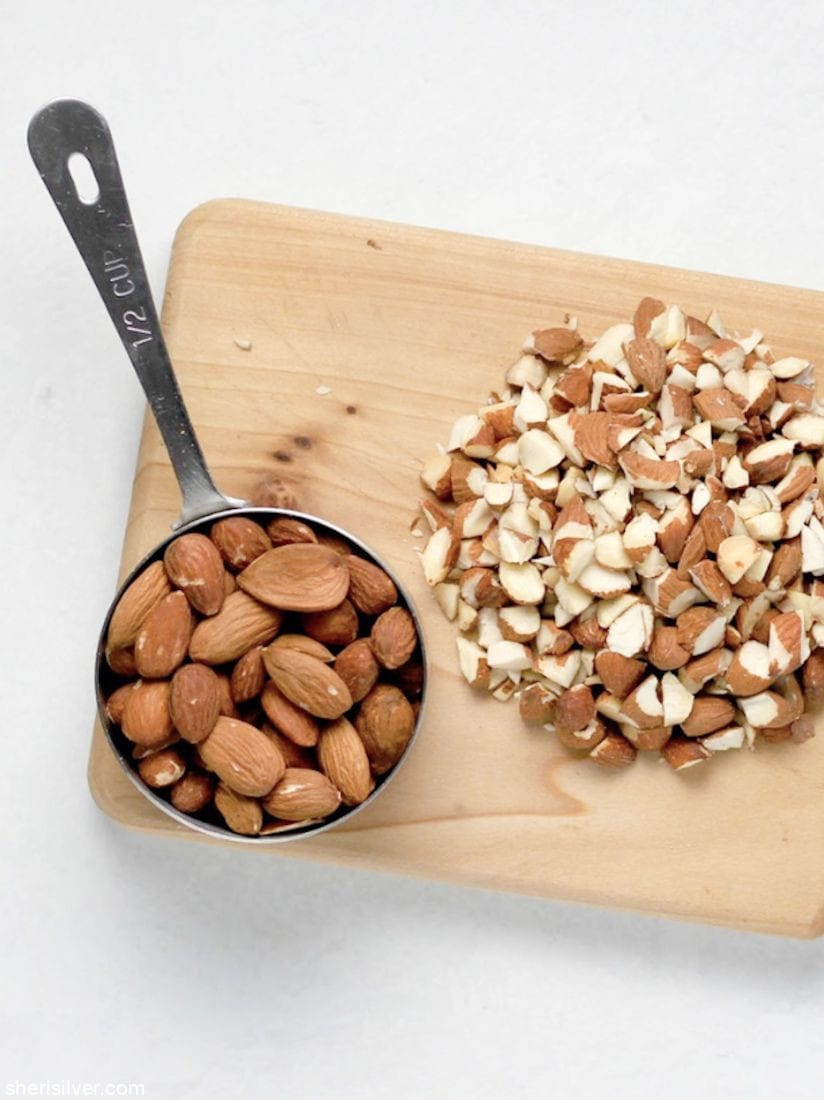
For the second, you’ll chop the almonds first, and then fill the measuring cup.
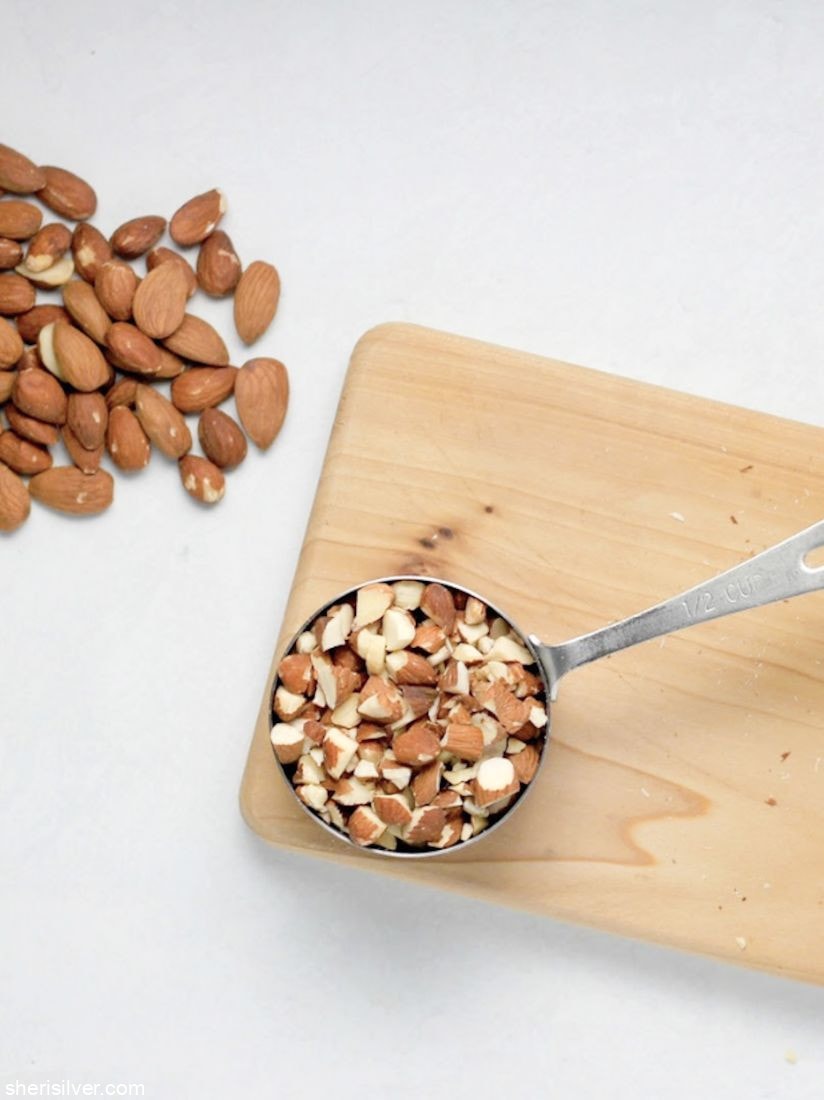
See if you can catch this next time!
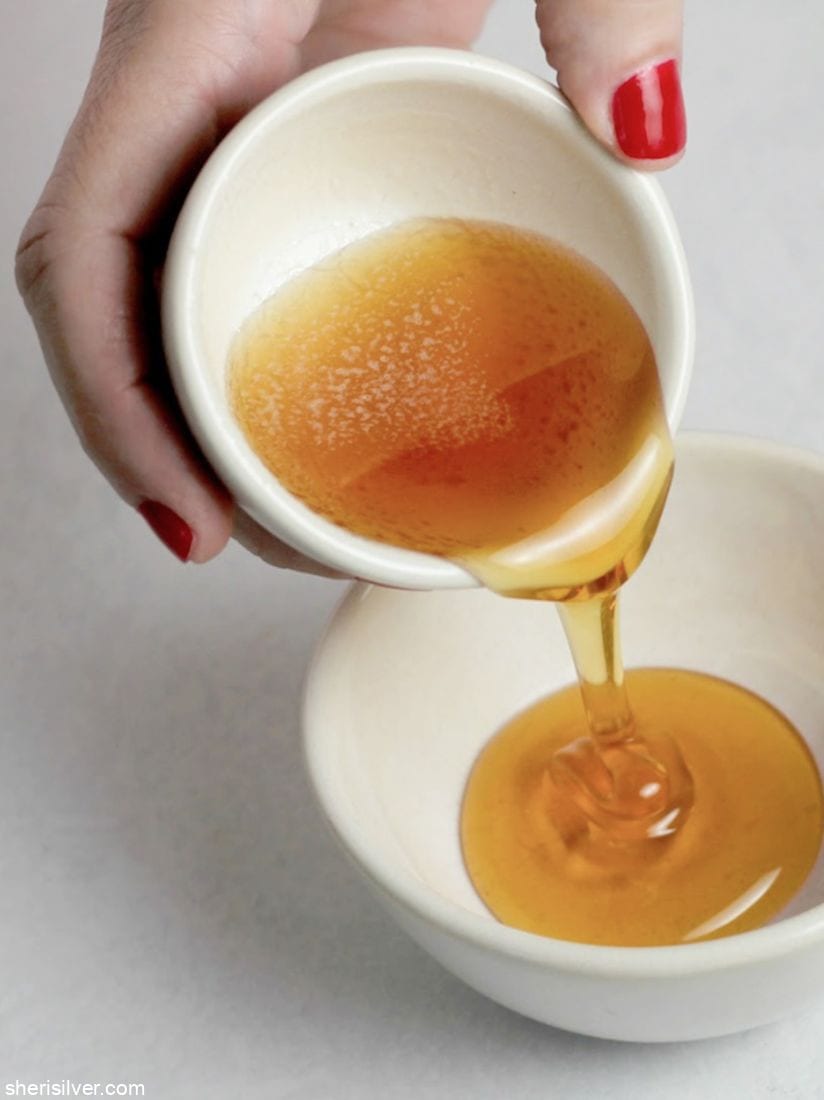
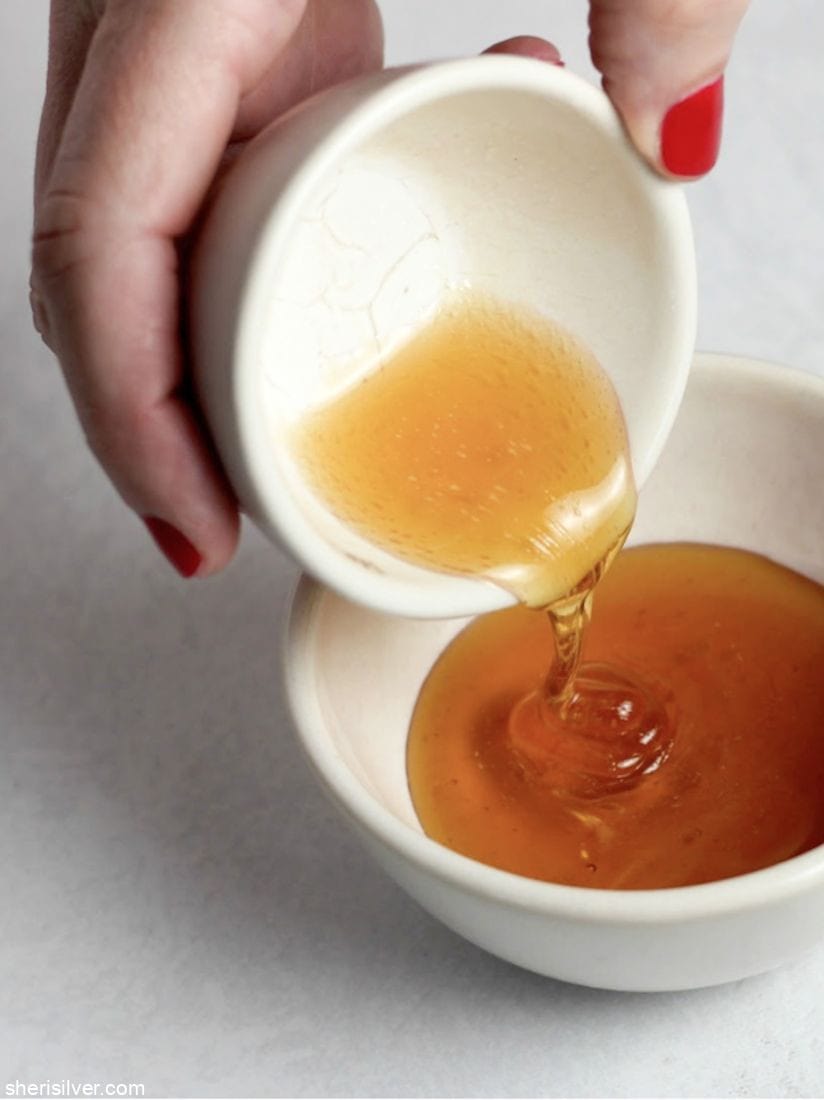
And – as I mentioned already – I hate doing dishes, I love these tips for “mess free” measuring!
If you’re working with a sticky liquid like honey, molasses or corn syrup, give your measuring cup or spoon a quick spray with a non-stick cooking spray. The ingredient will pour out cleanly, leaving just a tiny bit behind and making clean up that much easier.
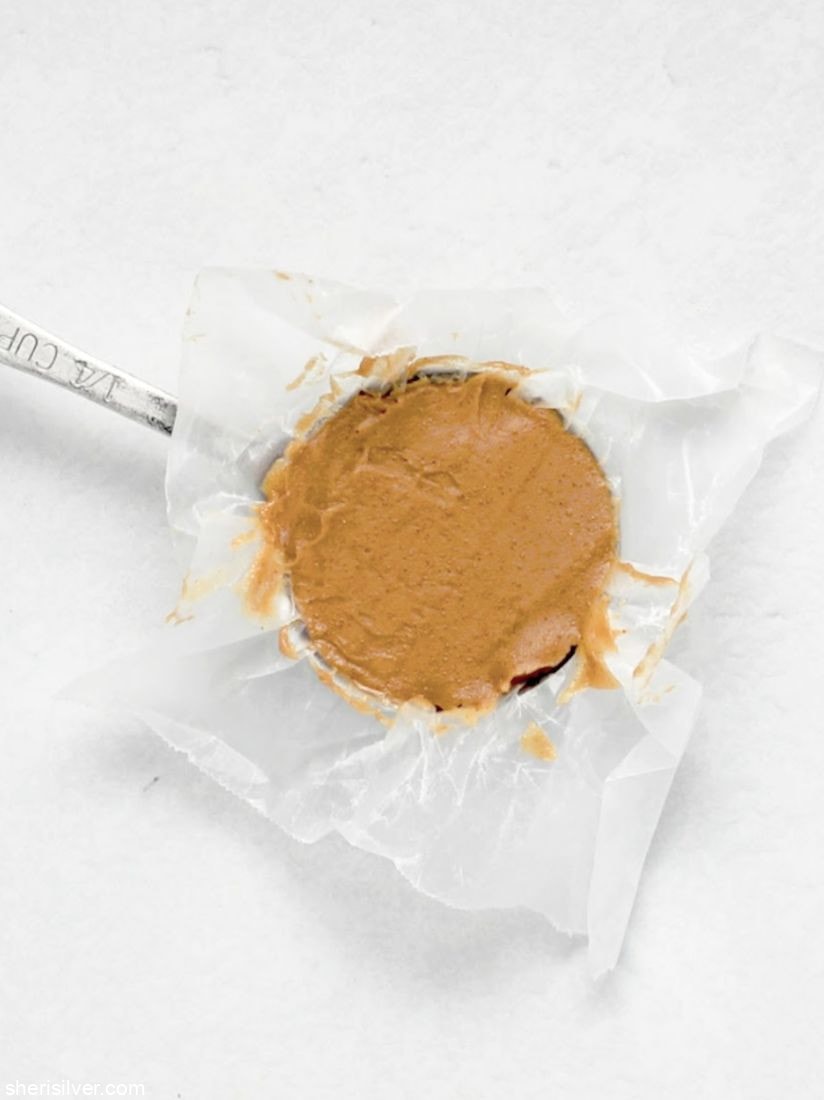
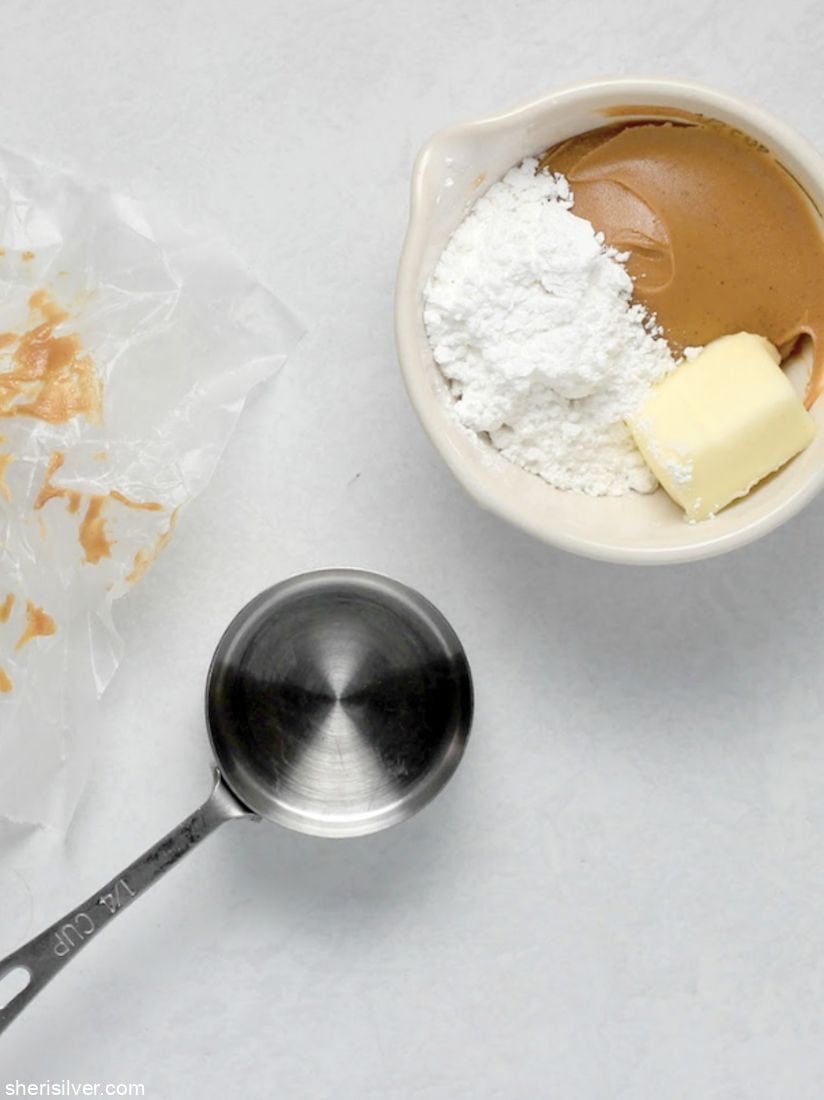
And for solid ingredients like peanut butter, shortening and coconut oil, line your measuring cup with a piece of wax paper or plastic wrap. Add your ingredient, use the paper to pop it out of the cup and transfer it to your mixing bowl. Discard the paper and you have a clean cup!
If you follow me on Instagram I’m sharing videos illustrating some of these tips – let me know your favorite! And if you have any great tips to share, please let me know – I love a good tip!

2 Comments
Leave a Comment

Hi! I'm Sheri!
Welcome to my little corner of the web where you’ll find easy, delicious recipes, the best kitchen hacks and simple tips for turning your home into a clean haven that is free of toxins. So glad you’re here!

So many good tips!
Thanks Annie!