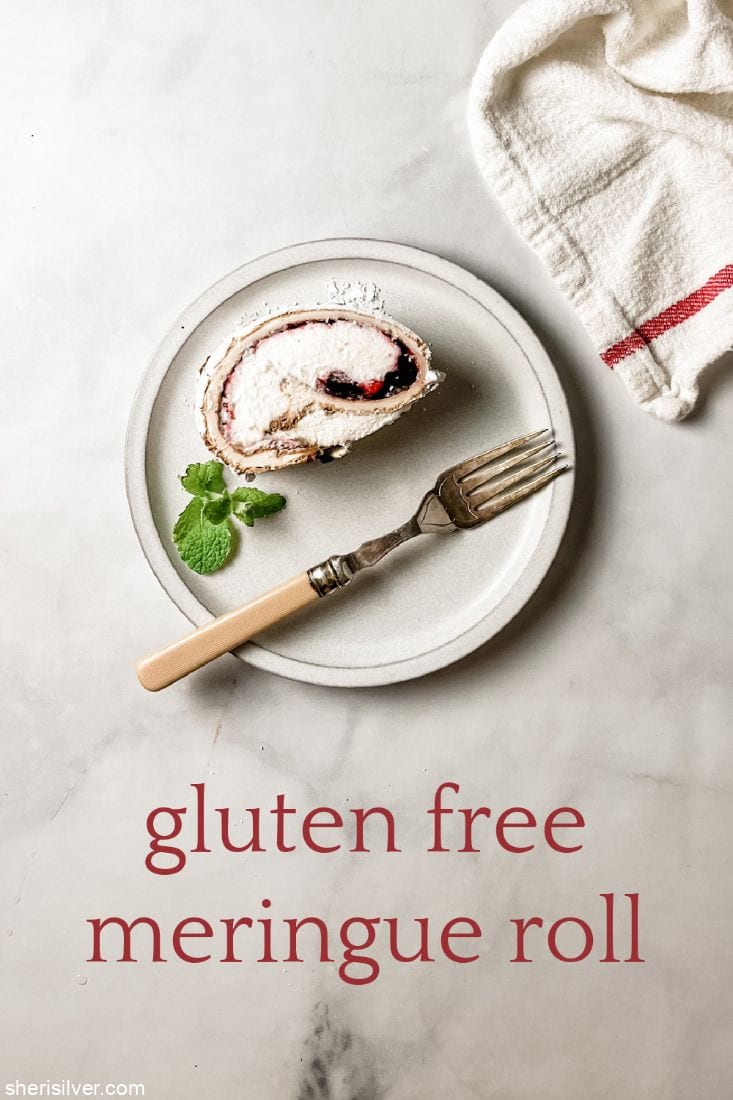
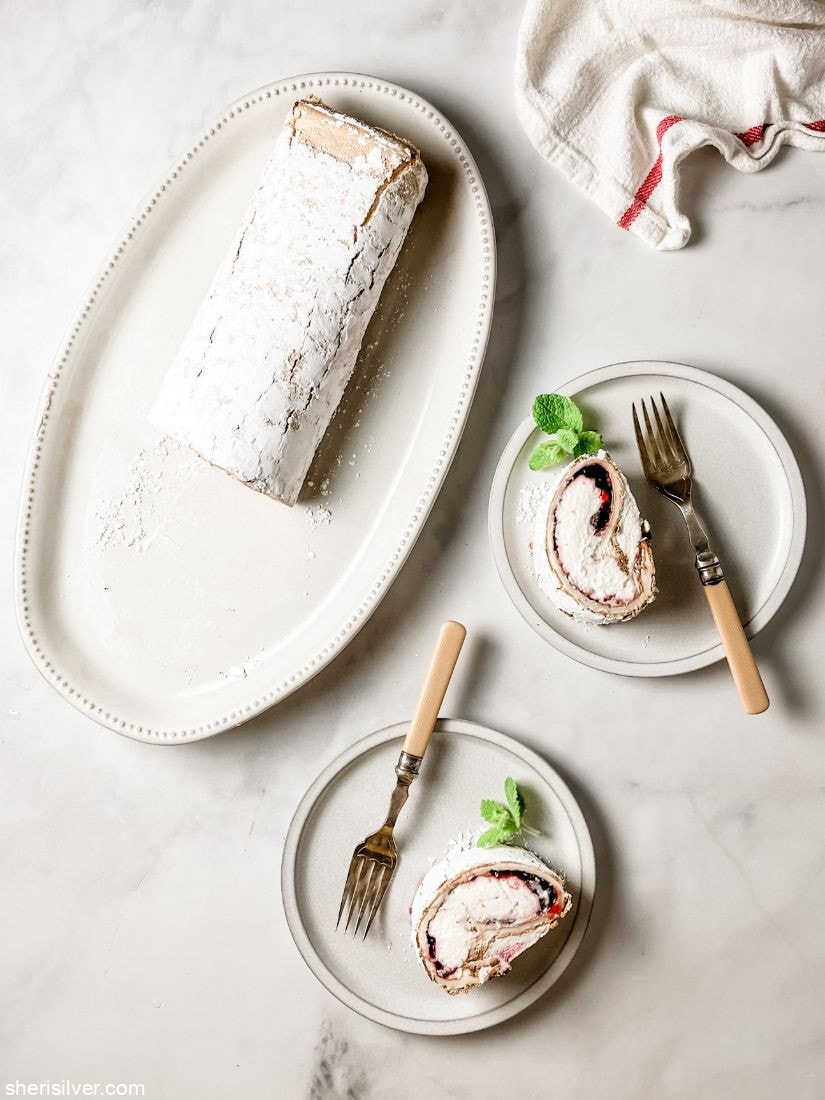
this gluten free meringue roll is easy, delicious and something just a little different!
I make this gluten free meringue roll all the time – here’s why!
what is a meringue roll?
If you’ve ever made my flourless chocolate roulade, think of this cake as its petite, lighter cousin!
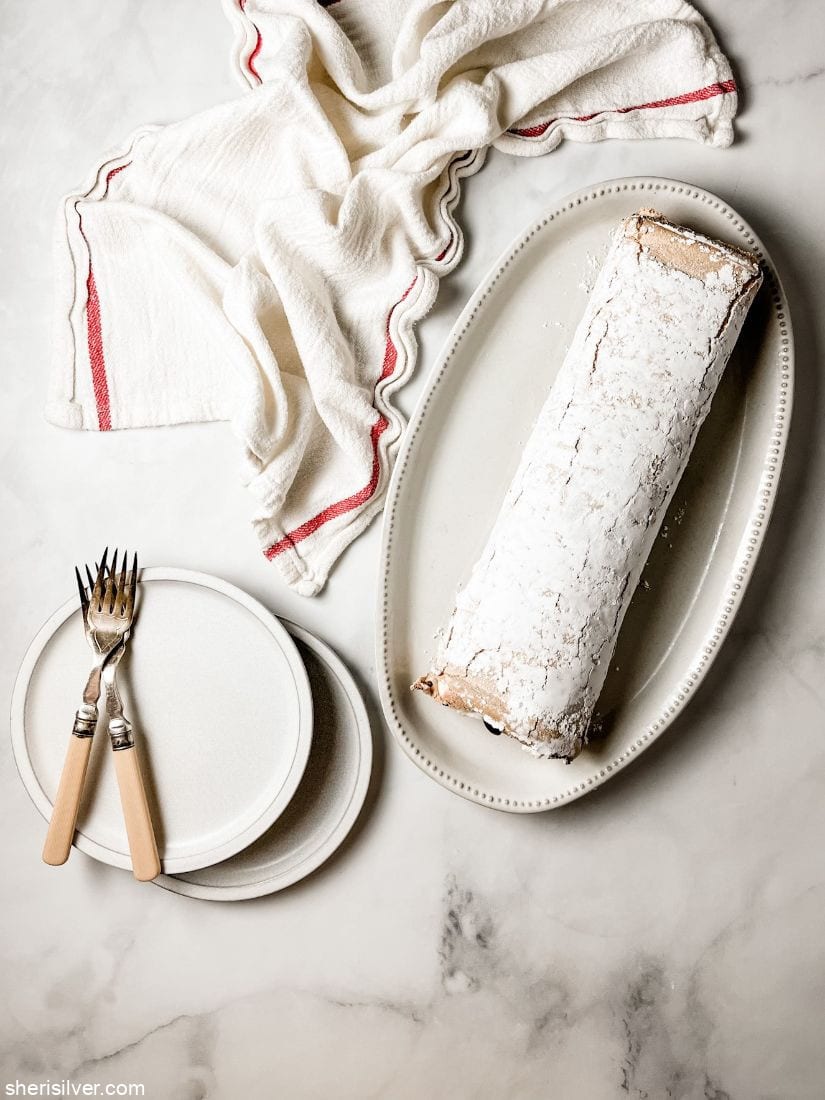
This cake has a meringue base that’s layered with preserves and whipped cream. It all gets rolled up, chilled and sliced, and truly couldn’t be easier!
what ingredients do you need?
Not a lot – which is just one of the reasons I love this recipe! To make this roll you’ll need:
egg whites
cream of tartar
granulated sugar
cornstarch
vanilla extract
confectioner’s sugar
preserves
heavy cream
how do you make it?
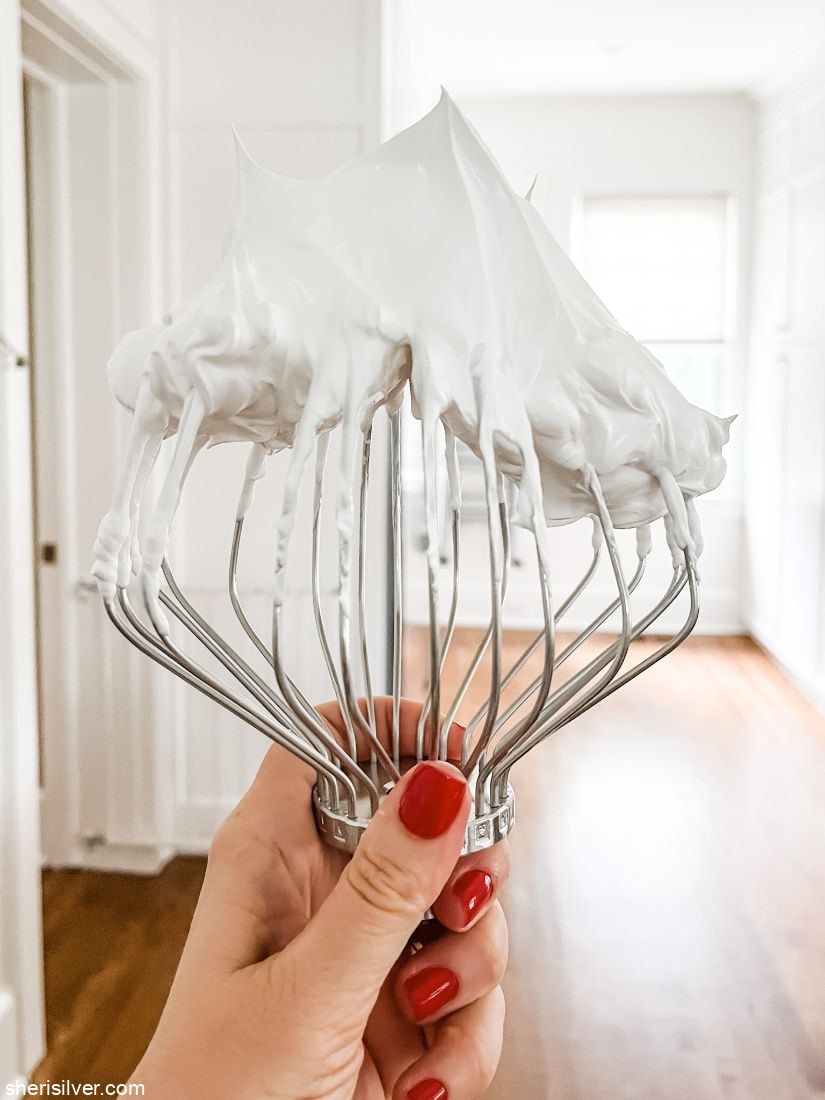
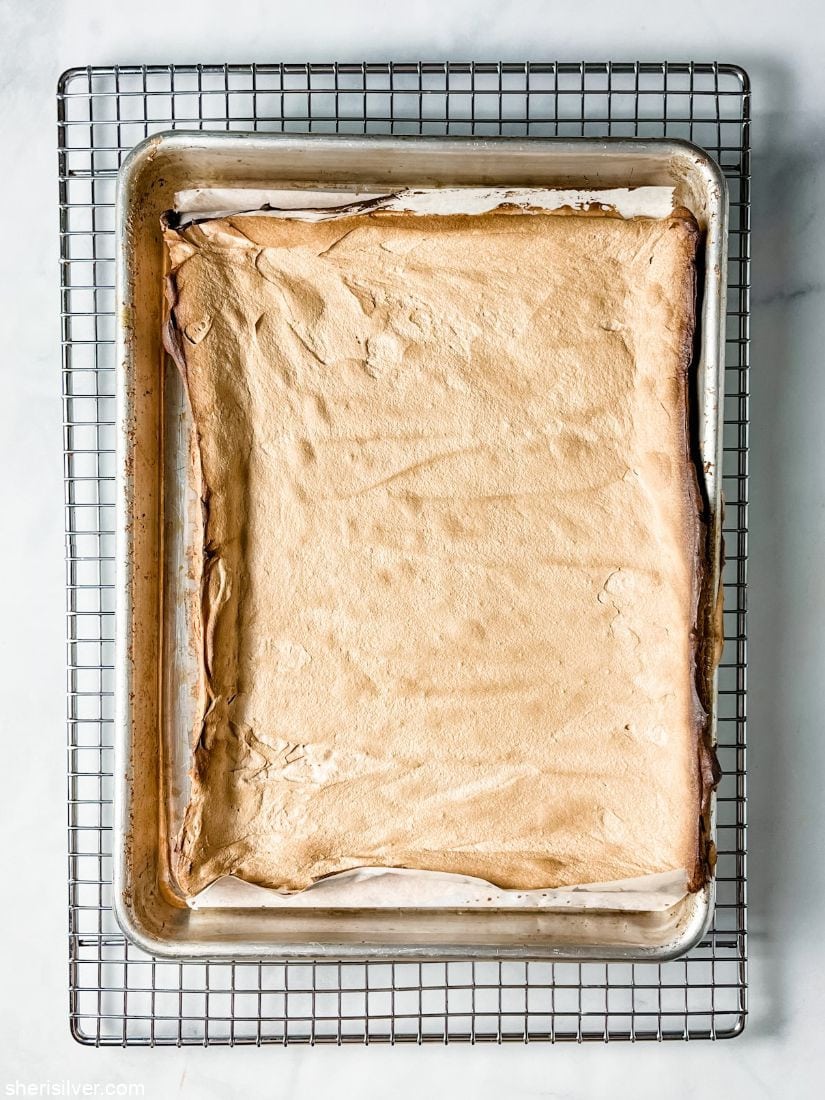
You’ll start with a basic meringue, made by whipping egg whites and a few other ingredients till stiff and glossy. I’ve perfected the technique for foolproof meringues and am sharing it here in this recipe! Spread the meringue mixture in a sheet pan and bake just like a cake.

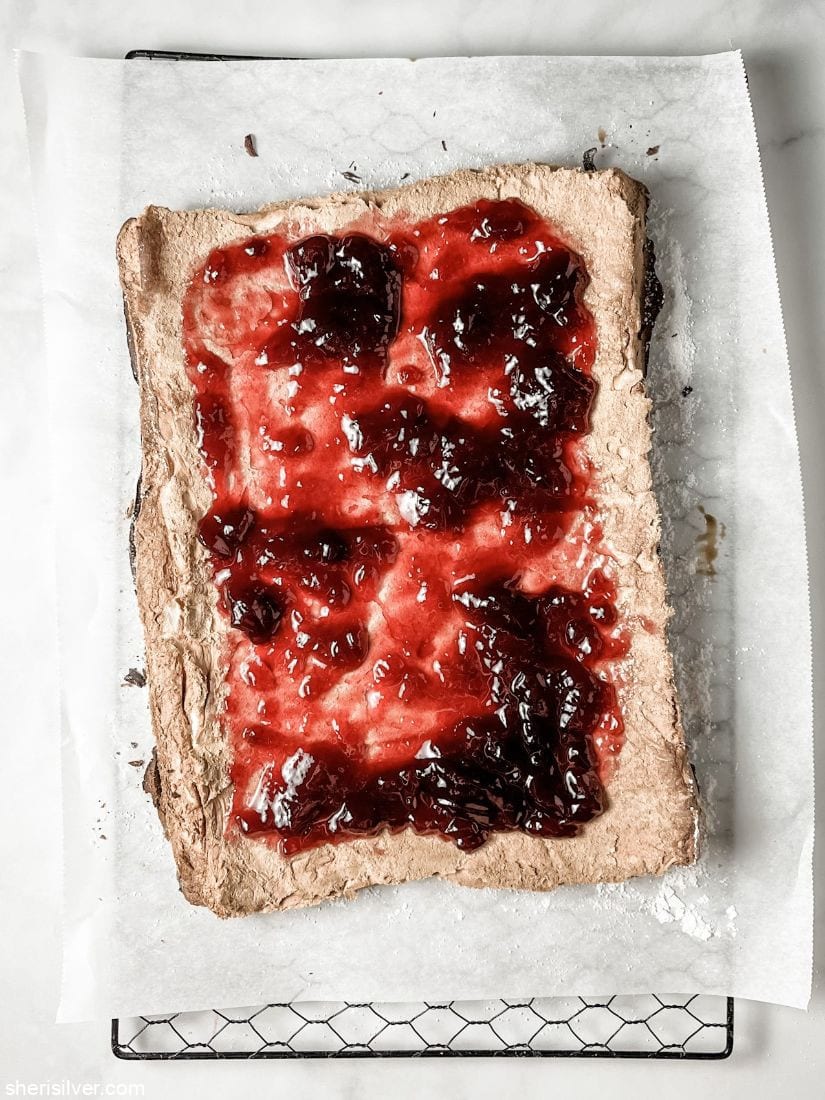
Once it’s baked, remove the cake from the pan and layer with preserves and sweetened heavy cream. Roll it up, pop it in the fridge to set, slice and serve!
what does it taste like?
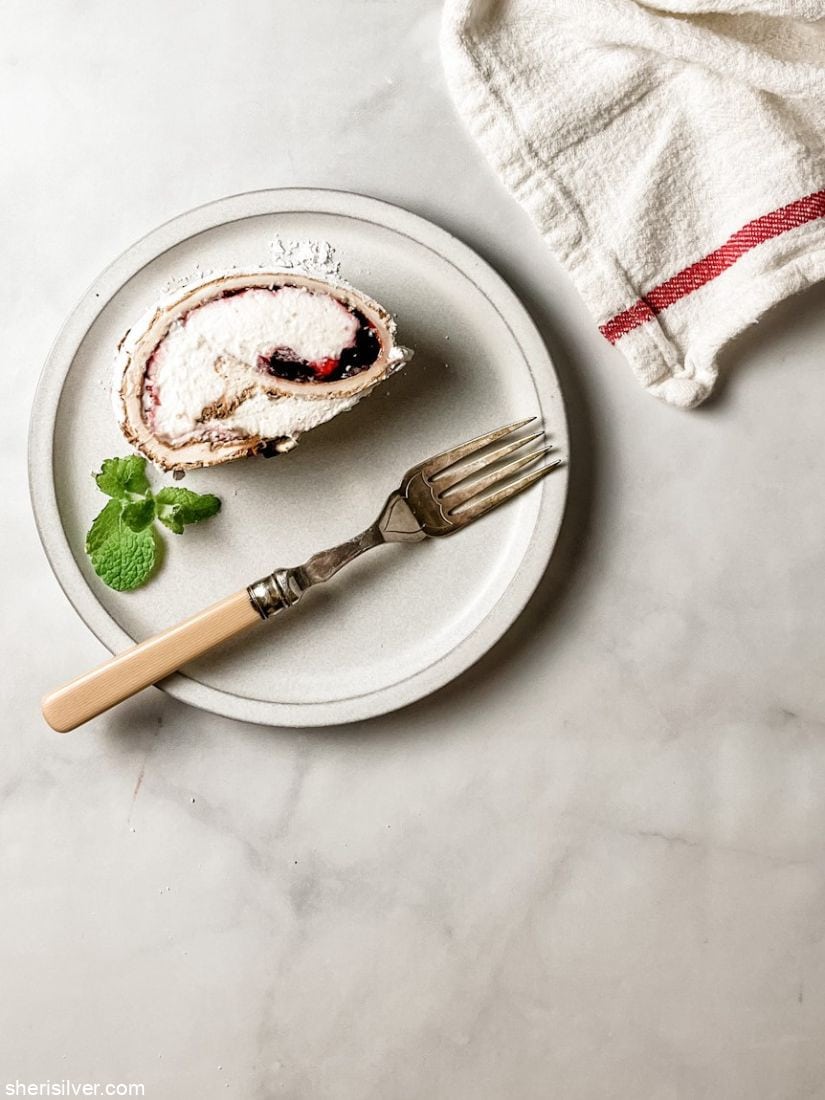
I truly didn’t know what to expect the first time I made this. For me, meringue is either crispy like the cookie or “fluff-like” when torched. This was something completely different. The best way I can describe it is like a sponge cake. That is, airy and not too sweet, the perfect base for the heavy cream/preserves filling. It is a light dessert, perfect for serving during the summer or after a big meal!
frequently asked questions!
is this cake really gluten free?
can you switch up the filling?
can you make this roll dairy free?
can you substitute ice cream for the whipping cream?
I’ve made this roll many times and it never fails. It’s one of my new favorite gluten free recipes so please let me know if you try it!
Gluten Free Meringue Roll!
Ingredients
- 5 large egg whites, at room temperature
- 1/2 teaspoon cream of tartar
- 1 cup + 2 tablespoons granulated sugar, divided
- 2 teaspoons cornstarch
- 2 teaspoons vanilla extract, divided
- confectioner's sugar
- 1 cup berry preserves or jam
- 3/4 cup heavy cream
- mint leaves, for garnish
Instructions
- Pre-heat the oven to 400 degrees; grease and line a quarter sheet pan with parchment paper, leaving an overhang on the long sides.
- Place the egg whites in your mixer bowl with the whisk attachment, and beat on low speed until the surface is completely covered with tiny bubbles. It’s important to go slowly so that you create tiny bubbles – you’ll now have a nice strong base so that when you raise the speed and add the sugar the meringue whips up really stiff and glossy. Large bubbles are less stable and will lead to a weaker meringue.
- Add the cream of tartar and raise the speed to medium. When you see tracks form, slowly add 1 cup of the sugar along with the cornstarch and 1 teaspoon of the vanilla extract, and then raise the speed to high, beating till the mixture is glossy and stiff.
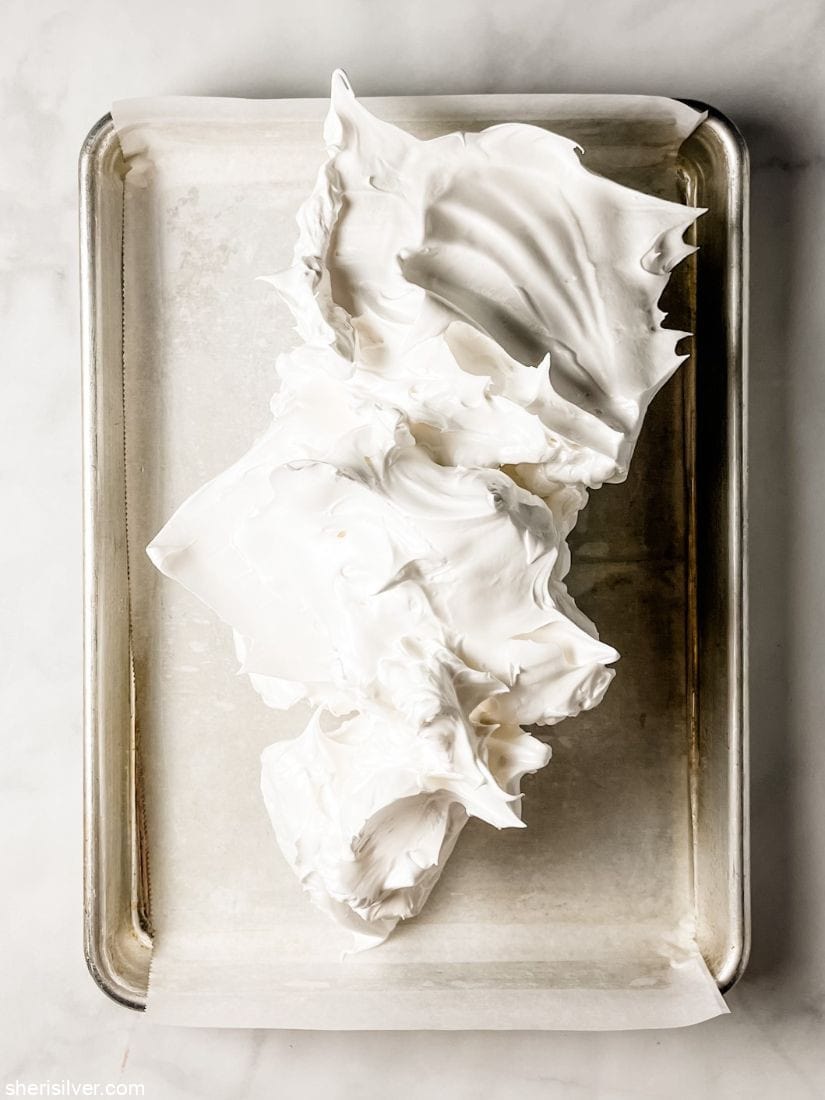
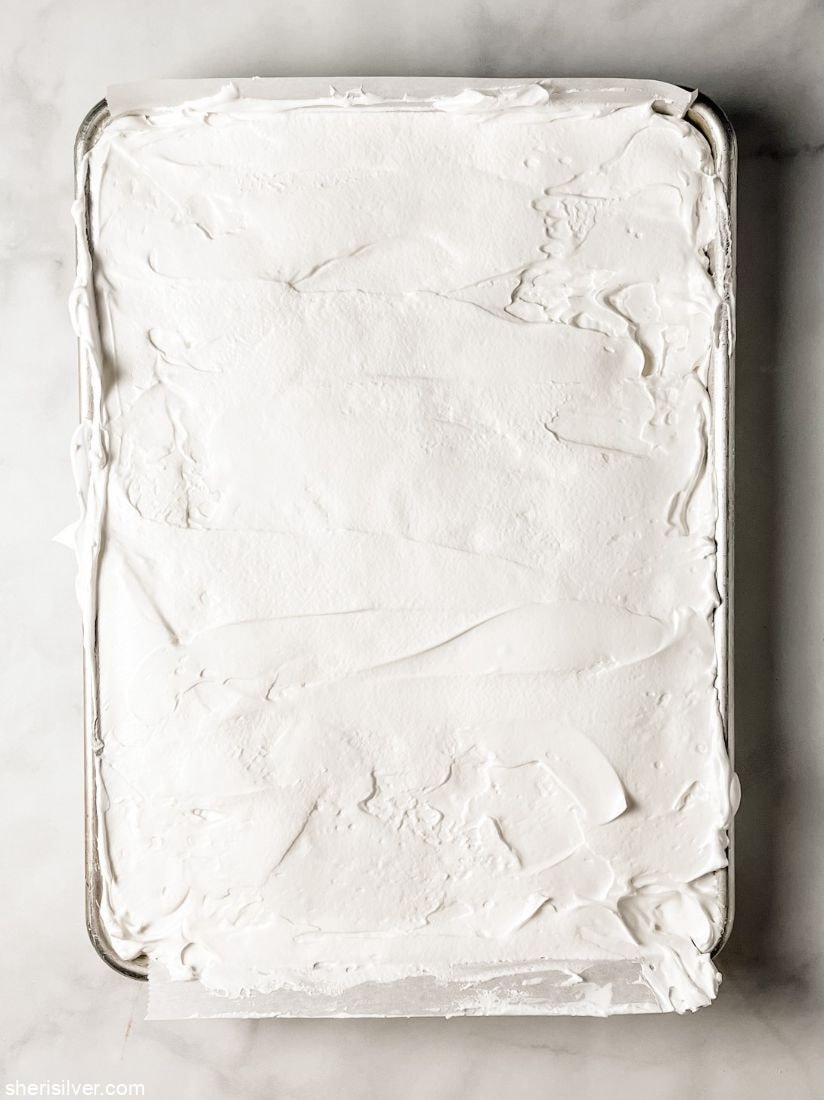
- Spread the mixture into your prepared baking sheet (I find a small angled spatula is the best tool for this). Reduce the oven temperature to 375 degrees and bake for 30 minutes - the meringue should be golden brown. In the meantime place a piece of parchment paper on a wire rack. Clean the bowl and whisk.
- Let the pan cool on a second wire rack for 5 minutes. Dust with confectioner's sugar and invert onto the parchment paper-lined rack. Remove the baked parchment and let cool for 20 minutes.
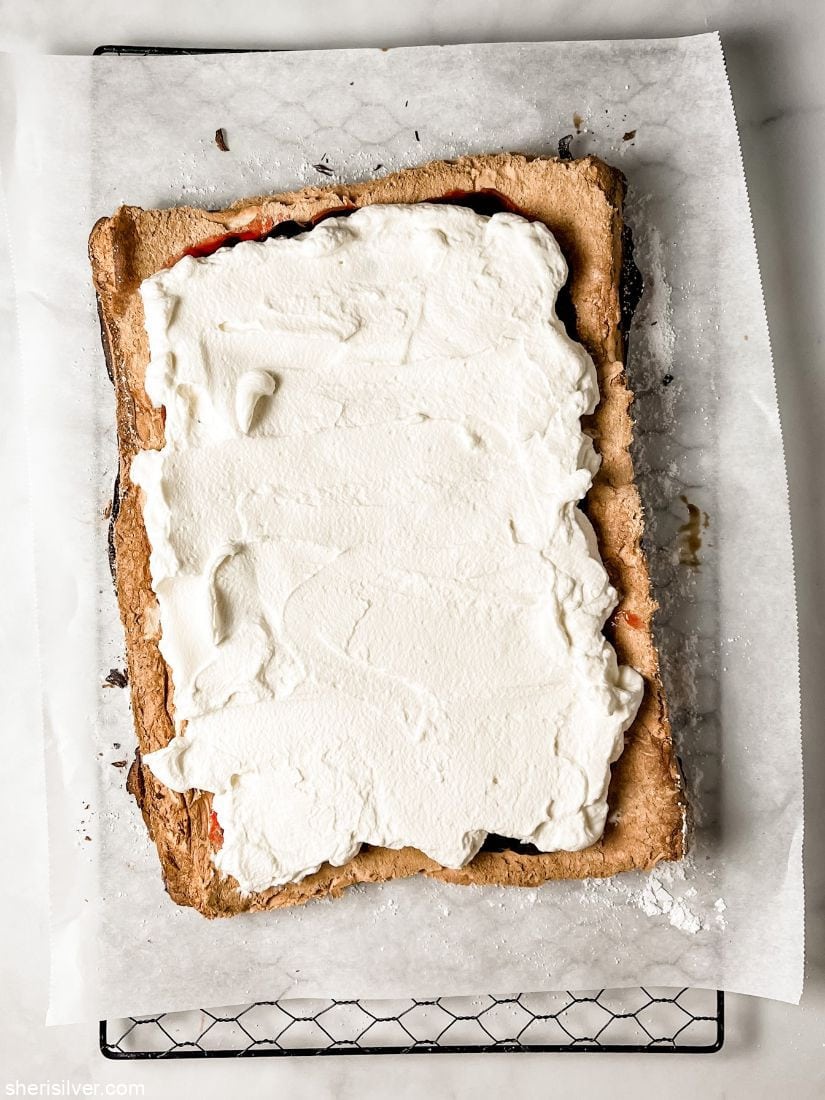
- Beat the heavy cream with the remaining 2 tablespoons of granulated sugar, till stiff peaks form.
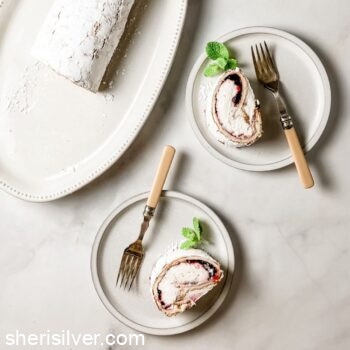
- Spread the jam in an even layer over the cake, leaving a small border on all sides. Cover the jam with the whipped cream. Working with one long side, roll the cake into a tight spiral and place on a serving board or tray. Refrigerate for up to one day.
- Garnish with mint leaves and serve in thick slices.
Notes
- Find the recipe for vegan coconut milk whipped cream here!
- Swap the berries and cream for Nutella, salted caramel or cookie butter!
- Swap the heavy cream for ice cream!
- Add mix-ins! Berries, nuts, chocolate chips or chopped toffee bits!
Nutrition
Please note that this post contains affiliate links. As a Rewards Style influencer I earn a small commission from qualifying purchases – at no additional cost to you.
2 Comments
Leave a Comment

Hi! I'm Sheri!
Welcome to my little corner of the web where you’ll find easy, delicious recipes, the best kitchen hacks and simple tips for turning your home into a clean haven that is free of toxins. So glad you’re here!

I loved watching you make this on Instagram!!
Thanks Annie! xo