mini chocolate cakes check EVERYONE on your list!

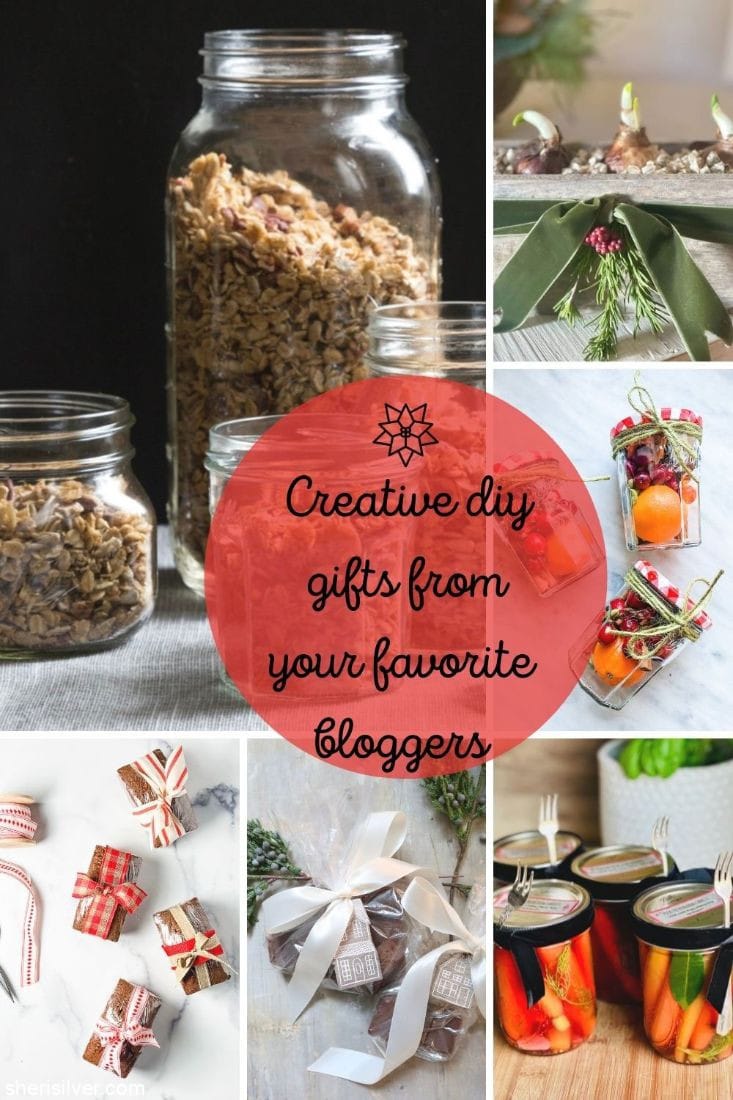
As always I’m so pleased to participate in a round up with the lovely Annie, Cindy and Mary Ann. This month the theme is DIY gifts (natch), and I’ve gotta tell you, I STRUGGLED with this one. As I do each year, I’d already compiled a list of gift ideas to share – what could I do to make this post something special? I really like to “bring it” for these round ups!
take a look at one of my most beloved kitchen tools!
I decided that – while a fun recipe or easy DIY is always appreciated – what I really wanted to share was a simple tip I’ve been using for literally decades. And the tip is this little item that I bought over 30 years ago.
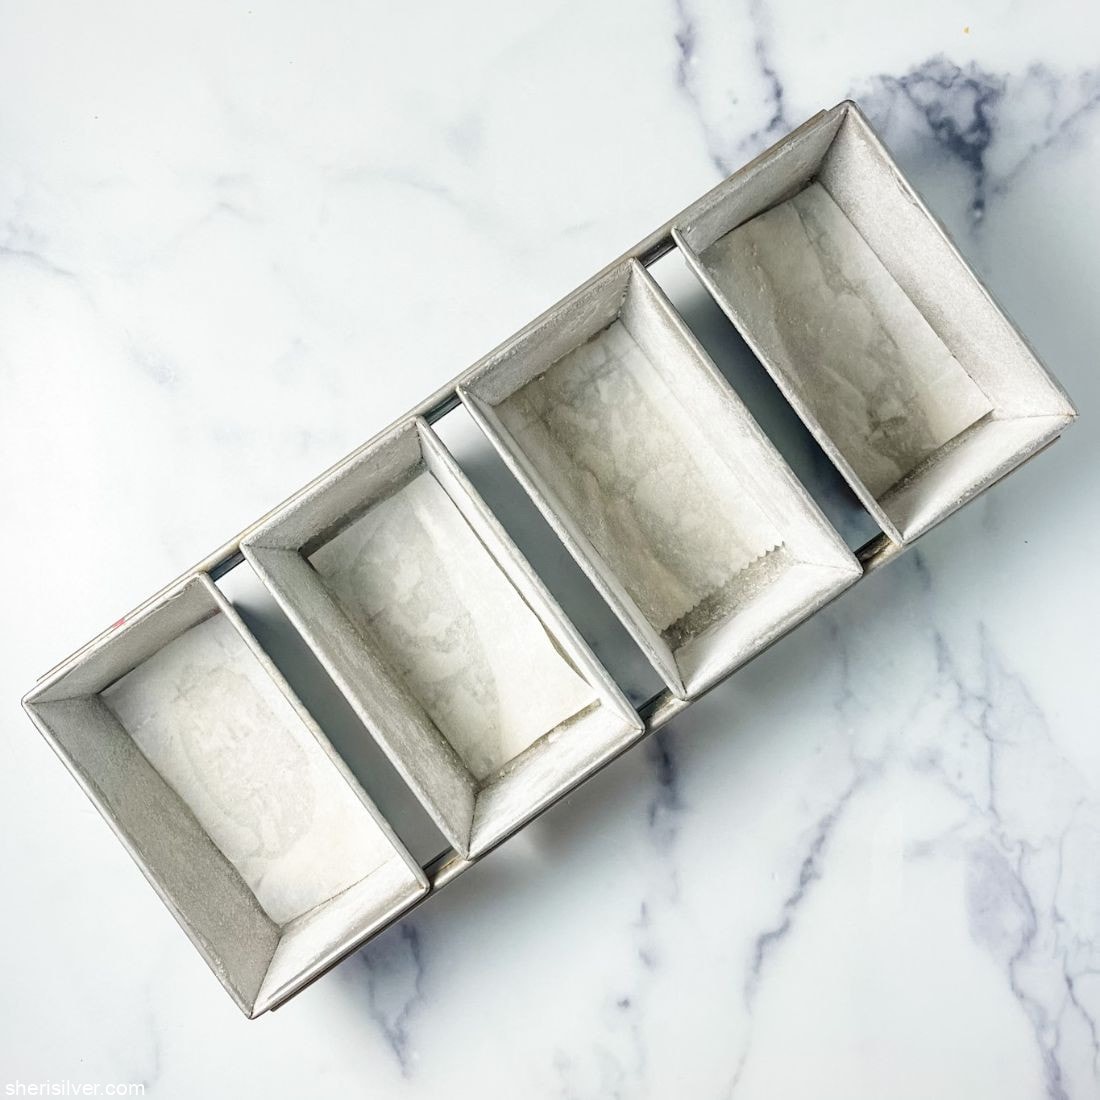
I got it for around $20 at a restaurant supply store (this was several years before Amazon), have never had to replace it, and it was a game changer for my holiday baking. Why? Because instead of getting one loaf/bread/cake out of each baking session I was able to get 2 – 3. For someone who at one time was making 20 – 30 gifts every season this was HUGE. And it made more sense too – a mini cake is easier to wrap and a more appropriate size for giving.

how do you convert a standard recipe to mini?
It’s as simple as this – if your recipe calls for a 9″ x 5″ pan you can divide the batter into 3 of the mini pans. If the recipe calls for an 8″ x 4″ pan, divide the batter into 2 of the mini pans.
my no-fail tips for using this pan!
prep the pan properly!
Proper pan prep (there’s a mouthful!) is essential to ensuring that the loaves come out cleanly. This is how I prep all my pans for baking; be sure to do it for this pan every time: first, spray the sides and bottoms with a non-stick cooking spray. Place a piece of parchment paper in the bottoms and spray again. Add a generous spoonful of flour and tilt the pan so that the flour coats all 4 sides and the bottoms – turn upside down and tap out any excess.
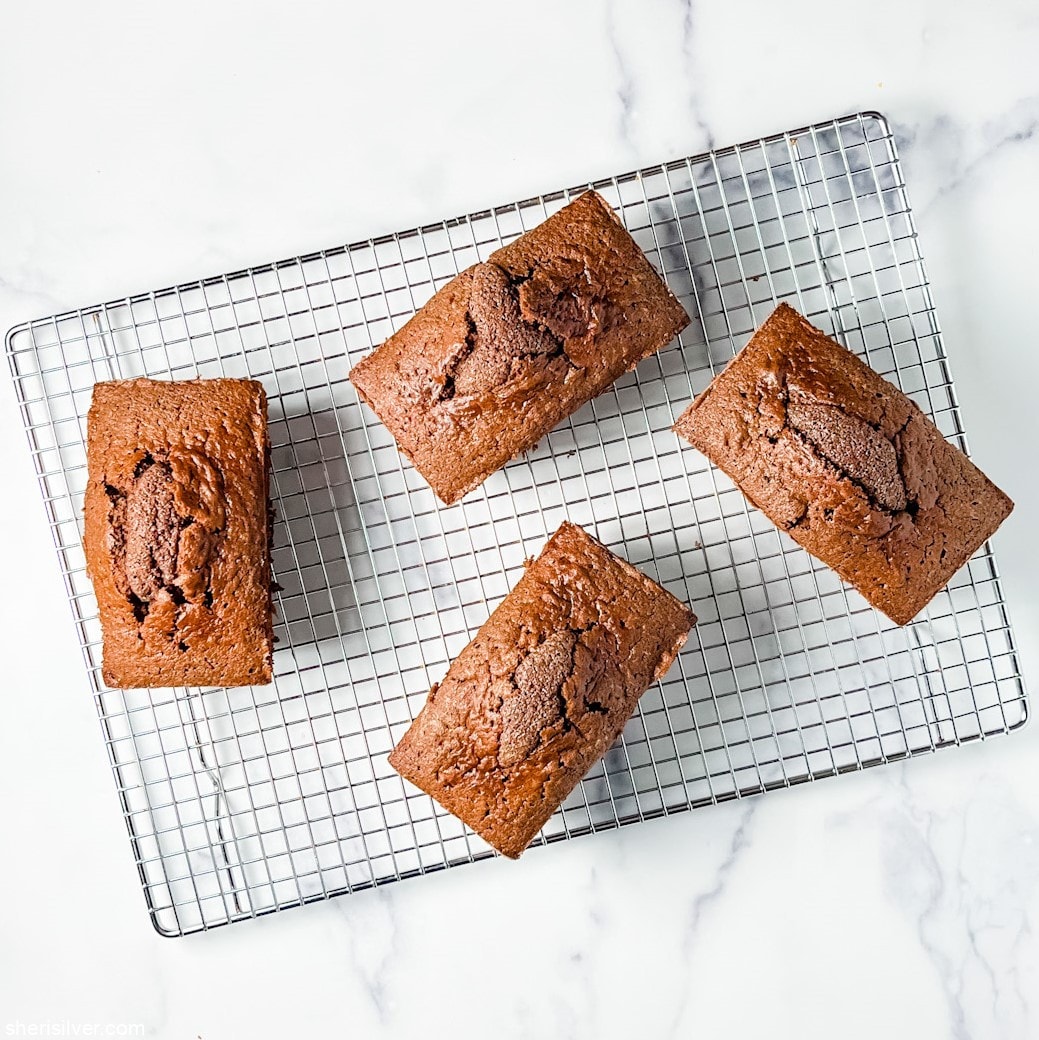
cool the loaves briefly before removing from the pans!
To facilitate getting the loaves out of the pans let the cakes or breads cool in the pans on a wire rack for 10 minutes. Use a small thin knife or angled spatula and run it around all 4 sides of each pan. Gently tilt the pan, and as as the cakes start to come out, remove them and place upright on the wire rack to finish cooling.
adjust the baking time for smaller loaves!
You will need to adjust the baking time for smaller loaves. I start checking at 30 minutes; typically these pans require 30 – 45 minutes of baking time.

i’ve been making these chocolate cakes for over 30 years!
And of COURSE I was going to share a recipe! Along with this recipe, these chocolate cakes are the OG of cakes for me. I’ve been making them FOREVER and actually couldn’t believe that I hadn’t shared them before! They require simple pantry ingredients, need no frosting, and are super moist and flavorful without being too sweet or rich. EVERYONE loves them. And they freeze beautifully, so you can get started right now on that holiday list. If you double the ingredients and use this pan you’ll have 4 cakes for relatively little effort.
Which is the best tip I could think to share with you at this time of year! Let me know if you make them, and tag me on Instagram @sherisilver if you do!


Mini Chocolate Cakes from The Cake Bible
Ingredients
- 3 tablespoons + 1 1/2 teaspoons unsweetened cocoa powder
- 3 tablespoons boiling water
- 1 1/2 teaspoons vanilla extract
- 3 large eggs at room temperature
- 1 1/4 cups flour
- 3/4 cup + 2 tablespoons sugar
- 3/4 teaspoon baking powder
- 1/4 teaspoon salt
- 13 tablespoons unsalted butter at room temperature
Instructions
- Pre-heat the oven to 350 degrees and line your baking pan(s) as described above.
- In a medium bowl whisk the cocoa and boiling water till smooth - when at room temperature whisk in the vanilla and eggs.
- Combine the dry ingredients in a mixer bowl. Beat for 30 seconds to blend. Add all of the butter and half the chocolate mixture. Beat on low till the dry ingredients are moistened, then increase the speed to medium and beat for one minute. Scrape down the sides and add the remaining chocolate mixture in two additions, beating for 30 seconds each time. Scrape down the sides.
- Transfer the batter to your baking pan(s) and use a small angled spatula to smooth the top(s). Bake till a toothpick tests clean, about 30 - 40 minutes for mini cakes and 50 - 60 minutes for a standard size. Let cool on a wire rack in the pan(s) for 10 minutes, then run a thin knife or angled spatula around the sides to loosen. Carefully tilt out of the pan(s) and cool completely on the wire rack.
- Serve or wrap well and freeze for longer storage.
Notes
Please take a look at all of the other lovely gift ideas shared by my fellow bloggers!
Related posts:

12 Comments
Leave a Comment

Hi! I'm Sheri!
Welcome to my little corner of the web where you’ll find easy, delicious recipes, the best kitchen hacks and simple tips for turning your home into a clean haven that is free of toxins. So glad you’re here!

Sheri! Not only do I love the sound of chocolate bread, but I love every one of your tips! You’ve changed up everything in my kitchen and pantry with all your tips and favor-ettes!
xx
I have one in my freezer just for you! xoxoxo
This is such a thoughtful gift. Everyone loves chocolate and a smaller loaf just feels so special!
Great idea!
Thank you for including me this month Mary Ann! Hope you try this cake! xo
Hi Sheri
I tried to comment earlier and it wouldn’t let me for some reason. Everything you craft or make is always beautifully done. It is evident the time and care you take. These chocolate cakes are no exception. My husband and granddaughter would love these! That loaf pan is a game-changer. Thank you for sharing! We always love having you Sheri!
Thank you so much for having me Cindy – love being part of these round ups! xo
Looks yummy, gonna give them a try. One question though, if I double this, that would be 6 eggs, wowza, that’s a whole lotta eggs, just wanted to make sure that is correct.
Yes it’s 6 eggs for 2 cakes! 🙂
I’m trying to buy your pan online. I found a site that sells what looks the right item. It comes in two sizes: four one pound loaves or four 3/8 pound loaves. Do you know which one you have? Thank you!
Can you send me the link? I put this link in the blog post if that helps: https://rstyle.me/+db73h6kNiKzmGxwMumdSBA
I love this recipe any time of year! I just clicked on the link for the pans! I did not realize you could still buy them!
Yes! I’m always so nervous that it will be gone one day (I have a back up just in case, you know me!) but they’re still around!